


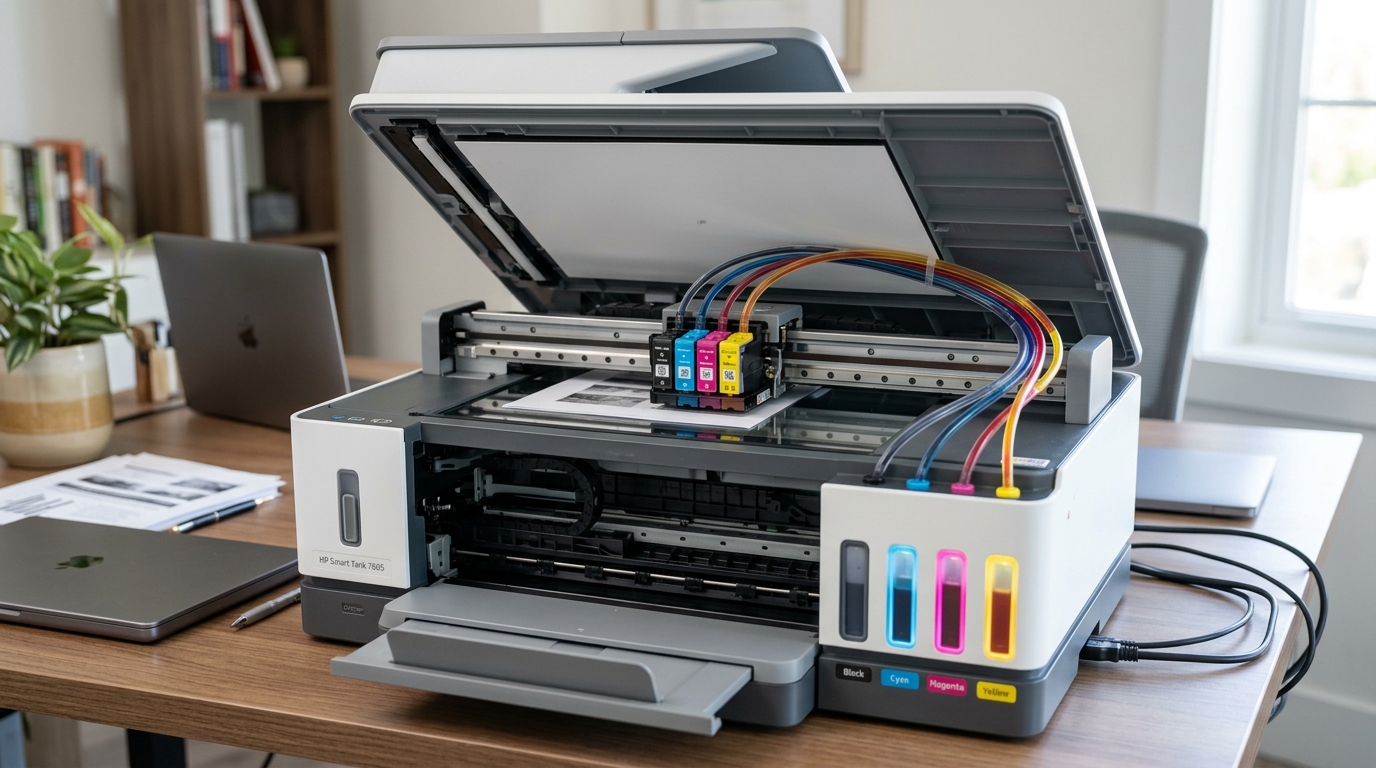
Understanding the HP Smart Tank 5101 Printhead System
The HP Smart Tank 5101 uses a very different ink architecture compared to standard inkjet printers. Instead of buying replacement cartridges, ink is stored in large, refillable tanks built into the body of the printer.
However, the actual component that sprays ink onto the paper — the printhead — is a separate, removable module that you install during initial setup.
This means the printhead is user-replaceable. When the printer shows a printhead error, the issue is usually fixable without calling a technician.
What Triggers the Printhead Error
The HP Smart Tank 5101 shows a printhead error (often indicated by a blinking orange light or an exclamation mark icon on the display) when:
- The printhead is not fully seated in the carriage
- The copper electrical contacts on the printhead are contaminated with ink or fingerprint oils
- The matching contact pads inside the carriage are dirty
- The printhead's ink nozzles are severely clogged and the printhead has reported a nozzle failure to the logic board
- The printhead has suffered an electrical failure (rare)
Step-by-Step: Clean and Reseat the Printhead
- Prepare the printer: Turn the printer on. Open the front doors to access the ink tanks, then open the printhead access door. Wait for the carriage to slide to the center position — do not force it manually.
- Open the printhead latch: Press down firmly on the blue printhead latch until it pops open with a click. If you force it without the carriage being centered, you can snap the latch mechanism.
- Remove the printhead: Grip the printhead by its sides and pull it straight up and out of the carriage. Never touch the ink nozzle plate on the bottom or the copper contacts on the back — oil from your fingers can permanently damage the nozzle array.
- Clean the printhead contacts with IPA: Dampen a lint-free cloth or foam swab with 99% isopropyl alcohol (IPA). Gently wipe the copper-colored contacts on the back of the printhead in a single direction. IPA is critical here — regular cleaning wipes contain detergents that leave residue on the contacts.
- Clean the carriage contacts: Look inside the carriage where the printhead sits. You will see a row of spring-loaded gold-colored contact pins. Wipe these with a fresh lint-free cloth dampened with IPA. Allow everything to dry for 5 minutes.
- Reinstall the printhead: Lower the printhead back into the carriage, aligning the guides. Push it down firmly until it is fully seated — it should sit flush with the surrounding carriage frame.
- Lock the latch: Press down firmly on the blue latch until it clicks locked. Close the access doors.
- Test: Print a test page. The printer will run an alignment and nozzle check automatically after a new printhead installation.
If the Error Persists After 2 Reseats
If you have cleaned and reseated the printhead twice . The error remains, the problem has escalated beyond simple contact contamination:
Check for Corroded Carriage Pins
Look carefully at the gold contact pins inside the carriage. If you see a green or bluish crust on any of the pins, that is corrosion from ink splash.
Corroded pins cannot make reliable electrical contact. Use a dry cotton swab to gently scrub the corroded pins.
If corrosion is severe, the carriage assembly itself needs replacement — a procedure that requires HP service.
Try a Distilled Water Flush for Clogged Nozzles
If the error comes with visible gaps in test prints, the nozzles may be blocked with dried ink. Place the printhead on a paper towel, nozzle-plate side down.
Drip a few drops of distilled water (not tap water) onto the nozzle plate. Let it soak for 10 minutes, then blot gently with a lint-free cloth.
Do not press hard — you can bend the nozzle plate.
Frequently Asked Questions
Can I use third-party ink in the HP Smart Tank 5101?
HP strongly advises against third-party ink in Smart Tank printers. The ink formulation is matched to the printhead's nozzle chemistry.
Does refilling the tanks myself void the warranty?
No — the Smart Tank system is specifically designed for user refilling using HP's refill bottles. Using genuine HP refill bottles does not void the warranty.
How long does an HP Smart Tank 5101 printhead last?
HP rates the Smart Tank printhead for the life of the printer under normal conditions. Unlike cartridge-based printers, the printhead is not expected to be a consumable item you replace regularly.
What is the HP Smart Tank 5101 printhead warranty?
The printhead is covered by HP's 2-year limited warranty that comes with the printer. If the printhead fails due to a manufacturing defect (not physical damage or third-party ink).
When to Contact HP Support
If cleaning the printhead contacts twice with IPA does not clear the error, . You do not see visible corrosion on the carriage pins, the printhead has likely suffered an electrical failure and needs to be replaced.
HP Smart Tank replacement printheads are available directly from HP. Contact HP Support at support.hp.com to order a replacement under warranty or purchase one directly.
