


Introduction
Pantum laser printers are widely appreciated for their affordability, compact size,. Cost-effective toner replacements, making them a popular choice for home offices and small businesses.
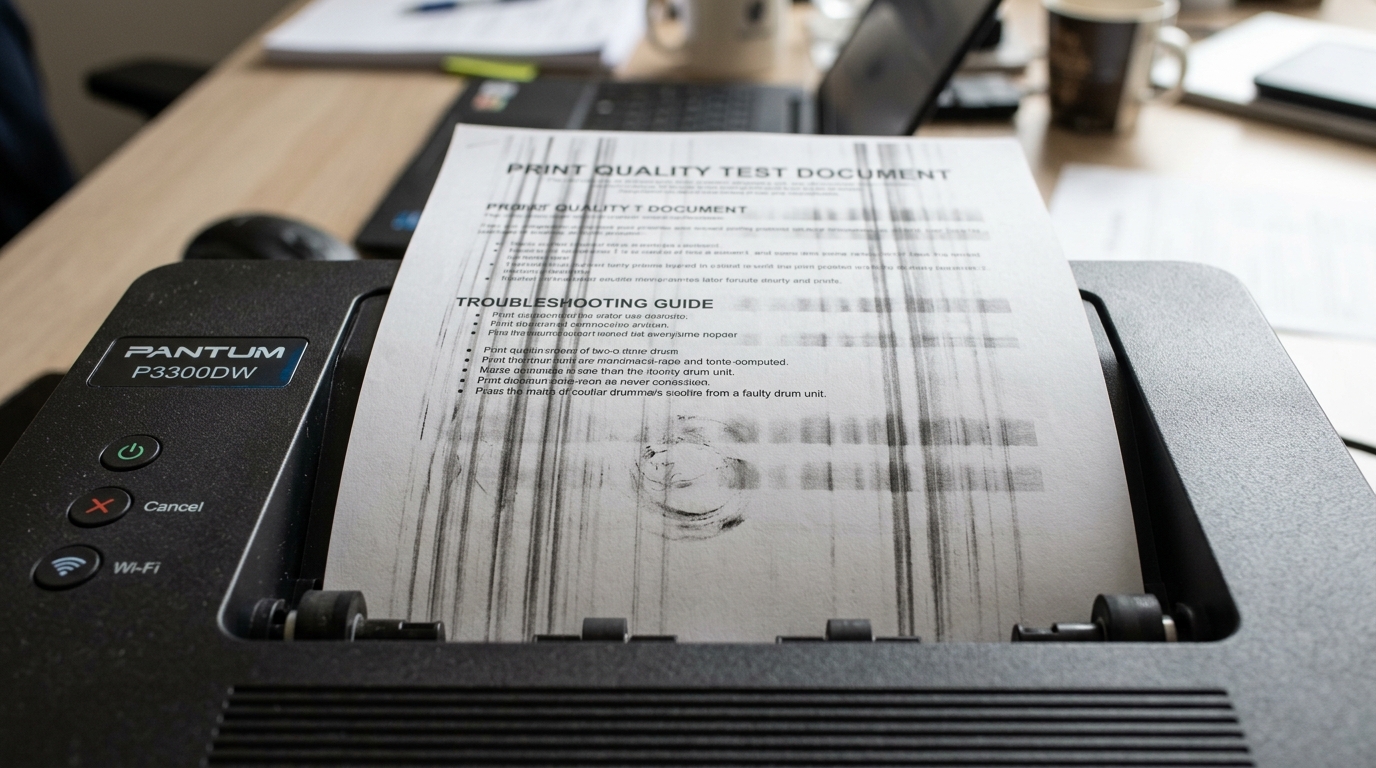
However, one of the most frustrating issues users encounter is a sudden degradation in print quality, exactly the appearance of streaky lines, repeating drum marks, or ghosting across the page. This problem is particularly prevalent when attempting to print on heavy cardstock, labels, or textured media.
Instead of crisp, professional documents, you are left with pages marred by vertical black streaks or faint, repeating shadows of previously printed text. These print defects not only waste toner and expensive heavy paper but can bring a project to a complete halt.
This comprehensive guide will explain the mechanics of how laser printers handle heavy paper, why these specific streaky lines. Drum marks occur in Pantum models, and provide a detailed, step-by-step fixing process to clean your hardware, adjust your settings, and restore your printer's output to pristine condition.
Why This Happens
To fix streaky lines. Drum marks, it is essential to understand the electrophotographic process inside your Pantum printer and how thick media disrupts it.
The printing process involves a photosensitive drum, a toner cartridge, a fuser unit, and high voltages. Here are the primary reasons why these defects appear when using heavy paper:
1. Incorrect Fuser Temperature Settings: The fuser is the component at the rear of the printer that uses heat.
Pressure to melt the toner powder permanently into the paper fibers. Heavy paper (cardstock) acts as an insulator, absorbing more heat than standard 20lb copy paper.
If the printer software is not explicitly told that heavy paper is being used, the fuser will not reach a high enough temperature. As a result, the toner doesn't fully melt, leading to smudging, streaking,.
Toner sticking to the fuser roller itself, which then creates repeating marks down the page.
2. Contaminated Drum Unit (OPC): The Organic Photo-Conductor (OPC) drum is the green or blue cylinder inside the imaging unit that transfers toner to the paper.
If toner doesn't fully fuse to the heavy paper, the excess toner can build up on the drum or the cleaning blade. Once the cleaning blade is overwhelmed, a vertical line of toner will bypass the blade, resulting in a continuous streak down the length of the page.
Furthermore, a scratch on the drum surface will result in a repeating mark.
3. Media Thickness and Paper Path Constraints: Pantum printers, particularly the entry-level models, have a tight paper path designed primarily for standard A4 or Letter paper.
Forcing thick cardstock through a tight U-turn paper path can cause the paper to rub against internal components before the toner is fused. This physical abrasion smudges the unfused toner powder, creating streaks.
4. High Voltage and Transfer Roller Issues: The transfer roller applies an electrical charge to the back of the paper to pull the toner off the drum.
Heavy paper requires a stronger electrical charge to pull the toner through the thick fibers. If the media setting is incorrect, the charge is too weak, resulting in patchy, light printing, while excess toner remains on the drum, eventually causing streaks on subsequent pages.
Step-by-Step Fix
Resolving streaky lines and drum marks requires a combination of software settings and physical cleaning of the printer components. Follow these steps carefully to fix the issue.
- Change the Media Type in Software: This is the most crucial step. Before printing, open the document on your computer. Go to File > Print > Printer Properties (or Preferences). Navigate to the 'Paper' or 'Quality' tab. Change the 'Media Type' or 'Paper Type' from 'Plain Paper' to 'Cardstock', 'Heavy Paper', or 'Thick'. This tells the printer to slow down the feed rate and increase the fuser temperature, ensuring the toner melts fully.
- Run a Cleaning Page: Many Pantum printers have a built-in cleaning cycle. Check your printer's manual or the Pantum status monitor software. Running a cleaning page feeds a blank sheet of paper slowly through the heated fuser to pick up. Remove residual, baked-on toner that might be causing the repeating marks.
- Remove and Inspect the Toner/Drum Unit: Turn off the printer and open the front cover. Carefully pull out the toner and drum assembly. Place it on a piece of newspaper to avoid making a mess. Avoid exposing the green/blue drum cylinder to bright light for more than a few minutes, as it is photosensitive.
- Clean the Drum Surface (With Extreme Caution): Look at the drum cylinder. If you see a line of toner or a physical smudge, this is the source of your streak. Using a fully dry, highly lint-free microfiber cloth, very gently wipe the toner off the drum. DO NOT use water, alcohol, or solvents, as this will destroy the OPC coating. DO NOT touch the drum with your bare fingers, as skin oils will cause permanent print defects.
- Clean the Corona Wire/Primary Charge Roller: Depending on your Pantum model, there may be a small slider tab on the drum unit (usually blue or green). Slide this tab back. Forth across the width of the unit 5 to 6 times to clean the corona wire. Ensure the tab is snapped back into its original resting position, or you will get a solid black vertical band on your prints.
- Check the Paper Path and Fuser: Look inside the empty printer. Check the transfer roller (a spongy black roller) for loose toner. Gently wipe it with a dry cloth if necessary. Look towards the back at the fuser. If you see large amounts of melted toner on the orange or brown fuser rollers, the fuser may be permanently damaged. Require replacement.
- Reassemble and Test Print: Reinsert the toner/drum unit securely. Turn the printer on. Perform a test print using standard plain paper first to ensure the streaks are gone. Once confirmed, load your heavy paper, ensure the software settings are correct, and print your desired document.
Advanced Fixing
If the standard cleaning. Software adjustments do not resolve the streaky lines, you are likely dealing with physical hardware degradation that requires part replacement.
Drum Unit End of Life: The OPC drum has a specific lifespan, usually rated for 10,000 to 12,000 pages. Over time, the photosensitive coating wears thin, especially at the edges where paper rubs against it, or the rubber cleaning blade degrades and hardens.
If cleaning the drum doesn't work,. The streak persists in the exact same spot, the drum unit must be replaced.
In many Pantum models, the drum and toner are separate components, allowing you to replace just the drum.
Fuser Roller Damage: If the repeating marks exactly match the circumference of the fuser roller (you can measure the distance between marks. Calculate the diameter), and you cannot clean the baked-on toner off by running cleaning pages, the fuser's Teflon coating is likely scratched or worn off.
Replacing a fuser in entry-level printers is often expensive and technically difficult, sometimes warranting a printer replacement.
Using the Correct Bypass Tray: Heavy paper should never be fed through the standard bottom paper cassette if avoidable. Always use the manual feed slot or multipurpose bypass tray located on the front or front-top of the printer.
The manual feed slot provides a much straighter paper path, reducing the bending. Physical stress on the thick paper, which minimizes toner smudging before the paper reaches the fuser.
FAQ
Why does changing the paper setting to 'Thick' make the printer run slower?
When you select 'Thick' or 'Cardstock', the printer slows down the motor speeds. This allows the heavy paper to spend more time passing through the fuser unit.
How can I tell if the repeating mark is caused by the drum or the fuser?
You can determine this by measuring the distance between the repeating marks on the page. 5 to 2 inches) typically corresponds to the smaller diameter of the OPC drum.
Can I clean the drum with rubbing alcohol if the toner is really stuck?
No. You should never use isopropyl alcohol or any solvents on the OPC drum cylinder.
Is there a maximum paper weight my Pantum printer can handle?
Yes. Every printer has a maximum media weight specification, usually listed in grams per square meter (gsm) or pounds (lb).
Why is there a solid vertical line after I cleaned the corona wire?
When you clean the corona wire using the small sliding tab on the drum unit, you must ensure that you return the tab to its designated "Home" position (usually marked with an arrow). If you leave the tab in the middle of the drum unit, it blocks the laser or charge, resulting in a solid, unprinted vertical line down the entire page.
