


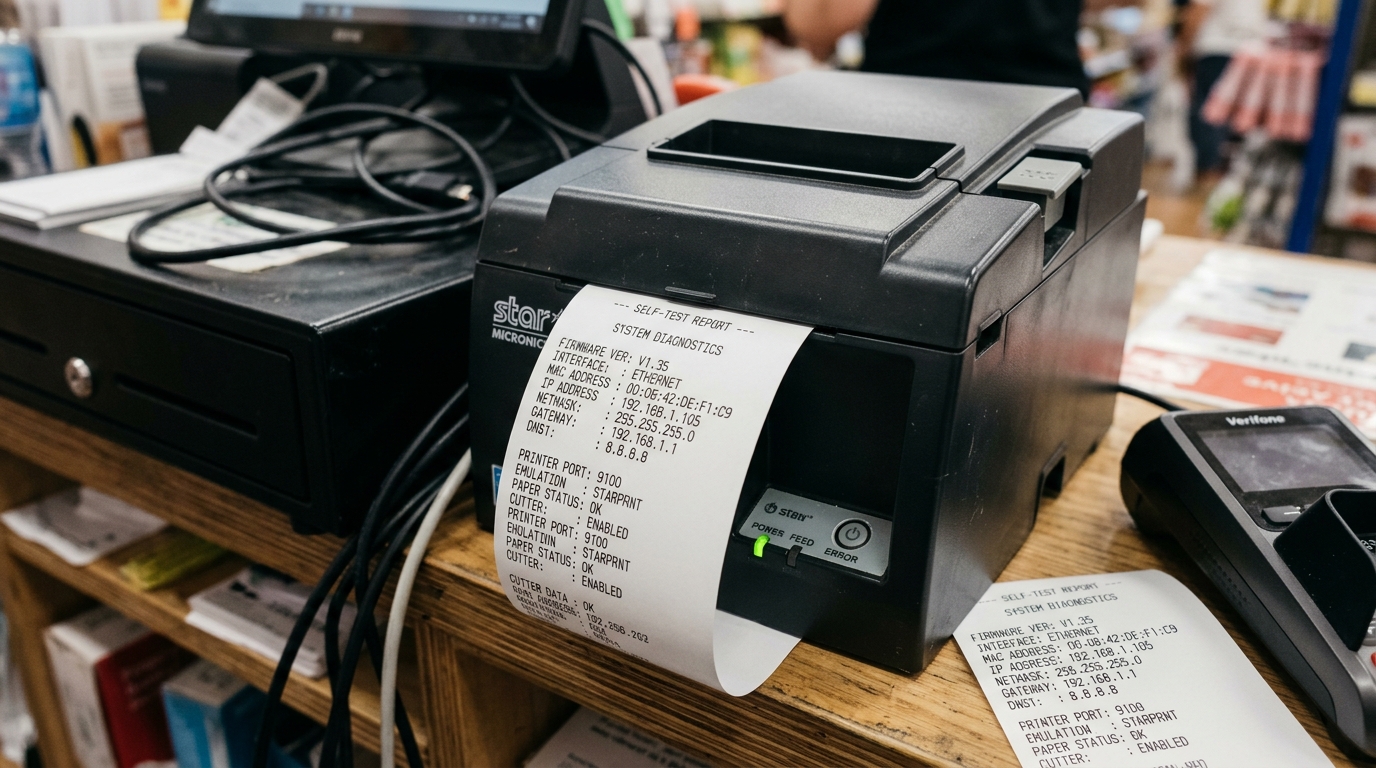
Introduction to Star Micronics Self-Test Pages
Star Micronics receipt printers, including popular series like the TSP100, TSP650, and mC-Print, are the backbone of countless Point of Sale (POS) systems worldwide. When troubleshooting connection issues, print quality degradation, or network misconfigurations, the very first step any technician takes is printing a self-test diagnostic page.
This page contains a wealth of critical information, including the printer's firmware version, MAC address, current IP address, emulation mode, and dip switch settings. Knowing how to generate and read this page is an essential skill for anyone managing a POS environment.
Why This Happens (and Why You Need the Test Page)
POS systems often suffer from environmental chaos. Cables get bumped, routers are rebooted, and IP addresses shift.
When a tablet or terminal can no longer find the Star Micronics printer, the self-test page acts as the source of truth. It bypasses the POS software entirely.
If the self-test page prints successfully, you immediately know the printer's power supply, thermal print head, and paper feed mechanism are physically healthy. The issue must then lie in the network, the POS app, or the cabling.
Furthermore, the diagnostic page is crucial for verifying hardware configurations. Star printers utilize internal DIP switches or memory switches to determine their emulation mode (e.g., Star Line Mode vs.
ESC/POS). If your POS software is sending ESC/POS commands but the printer is expecting Star Line commands, it will print garbage characters or nothing at all.
The self-test page clearly lists the current emulation setting, allowing you to quickly identify mismatch errors.
Step-by-Step Fix: Printing the Self-Test
Generating the self-test page requires a specific hardware button combination. The process is remarkably consistent across most Star Micronics thermal models.
- Power Down the Printer: Ensure the printer is plugged into a power source, but the physical power switch (usually located on the side or front left) is turned OFF.
- Verify Paper Supply: Open the top cover and ensure a fresh roll of thermal paper is correctly loaded. The paper should feed from underneath the roll, not over the top. Close the cover securely until it clicks.
- Press and Hold the FEED Button: Locate the FEED button on the front control panel. Press and hold it down firmly. Do not let go.
- Power On While Holding FEED: While continuing to hold the FEED button, flip the power switch to the ON position.
- Release After Printing Starts: Wait until the printer begins to make noise and feed paper. Once the printing starts, you can release the FEED button.
- Read the First Page: The printer will print a long strip containing hardware information, firmware version, and dip switch settings.
- Wait for the Network Page (If Applicable): If you have an Ethernet or Wi-Fi model, the printer will pause for about 5 to 10 seconds while it communicates with the network, and then it will automatically print a second, shorter page containing the IP address, Subnet Mask, and Default Gateway.
Advanced Troubleshooting: Interpreting the Data
Once you have the self-test pages, you need to know what to look for. On the first page, locate the 'Emulation' section.
Most modern tablet POS systems (like Square or Toast) require 'StarPRNT' or 'Star Line' mode. If it says 'ESC/POS', you will likely need to change the memory switches using the Star Utility software to make it compatible with your system.
On the second page (the network diagnostic page), check the IP address. If the IP address reads '0.0.0.0' or '192.168.192.168' (a common default), the printer is not successfully pulling a DHCP address from your router.
This points to a faulty Ethernet cable, a dead port on the switch, or a router that has run out of DHCP leases. If the printer has a valid IP (e.g., 10.0.1.55), ping that address from a computer on the same network.
If the ping fails, you have a subnet routing issue or AP isolation is turned on in your Wi-Fi settings.
If the printer prints the hardware page but completely fails to print the network page after waiting 30 seconds, the internal network interface card (NIC) might be seated improperly or damaged. On older models, the NIC is a modular slide-in card; try powering off the printer, unscrewing the NIC, and reseating it firmly.
FAQ
Why is the self-test page printing completely blank?
This almost always means the thermal paper is loaded upside down. Thermal printers only heat one side of the paper.
How do I change the IP address listed on the page?
You cannot change it directly from the printer. You must type the current IP address into a web browser on a connected PC to access the printer's web interface, login (default username is 'root', password 'public'), and change the IP settings there.
The printer cuts the paper mid-test, is it broken?
No, many Star Micronics models are programmed to perform a partial cut between the hardware information page and the network information page. Just wait a few seconds and the second half will print.
What does 'DHCP: Disabled' mean on the test page?
It means the printer has been configured with a Static IP address. It will not request a new IP from the router.
