


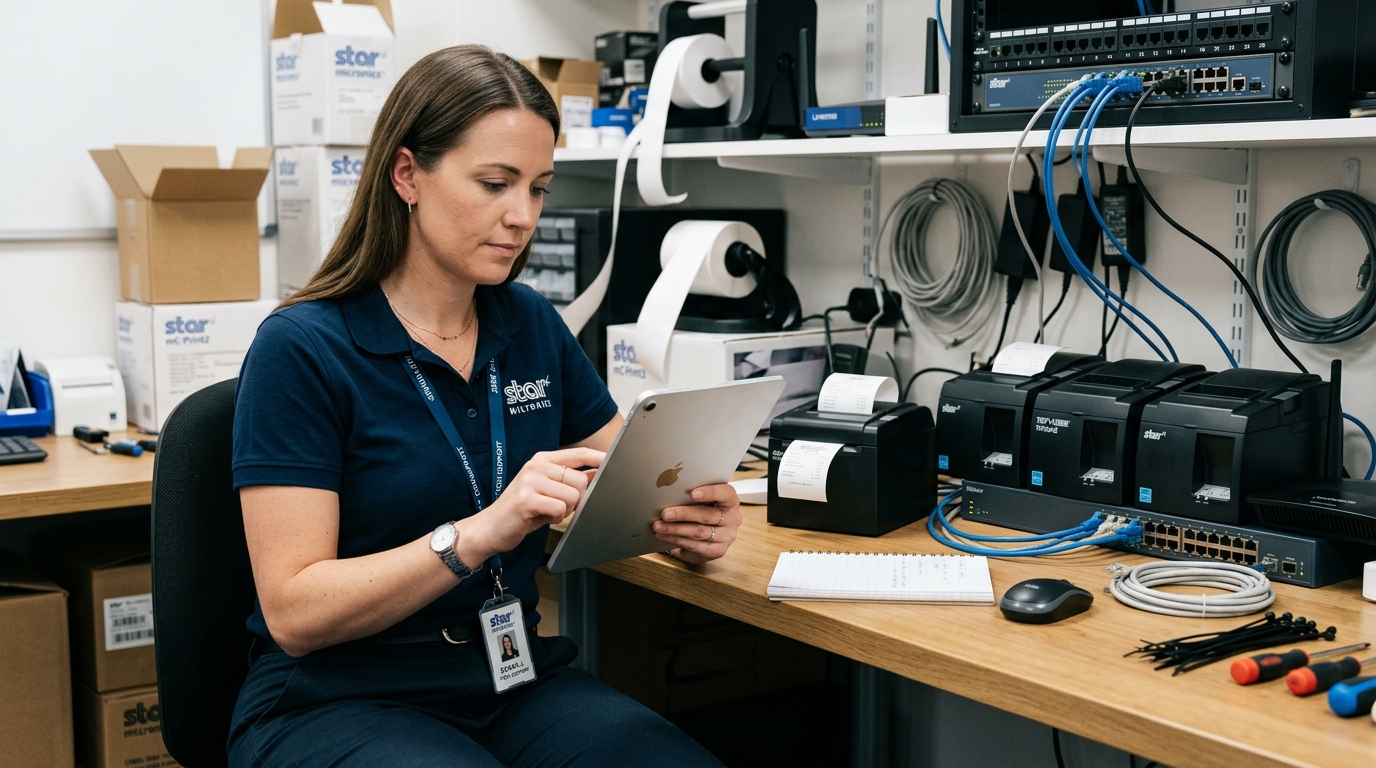
Introduction to Star Micronics Network Setup and Static IPs
Setting up multiple Star Micronics receipt printers on a single network can quickly become a complex networking challenge, particularly in fast-paced retail or restaurant environments where reliability is paramount. When utilizing the Star Micronics Network Setup Utility App to configure devices like the TSP100III, TSP654II, or mC-Print series, one of the most critical steps to ensure long-term stability is assigning a Static IP address to each printer.
In dynamic environments, modern Point of Sale (POS) systems such as Square, Toast, or Lightspeed rely heavily on consistent network pathways to send print jobs directly to the kitchen or the front counter. If the network is left to its default behavior, the router's DHCP (Dynamic Host settings Protocol) server will automatically assign IP addresses to these printers on a temporary basis, known as a DHCP lease.
When these leases expire or when the router reboots after a power outage, the printers may receive completely new IP addresses. This sudden change breaks the communication link between the POS terminal and the printer, resulting in dropped print jobs, missing kitchen tickets.
And severe operational delays. By implementing static IP addresses, you permanently anchor each printer to a specific address on your local network, ensuring that your POS software always knows exactly where to route the data, regardless of network reboots, power cycles, or the addition of new devices to the local area network.
Why This Happens: The Pitfalls of DHCP in Multi-Printer Environments
To fully grasp why network printers randomly stop communicating, it is essential to understand the underlying mechanics of network addressing. In a standard network topology, the router acts as the traffic controller, distributing IP addresses from a predefined pool called the DHCP scope.
When a Star Micronics printer is powered on. And connected via Ethernet or Wi-Fi, it broadcasts a request to the router asking for an IP address.
The router responds by leasing out an available address—for example, 192.168.1.15. The POS system is then configured to send print commands to 192.168.1.15.
However, this lease is strictly temporary, often defaulting to 24 hours. Once the lease expires, or if the printer is turned off overnight, that specific IP address is thrown back into the available pool.
If a customer's smartphone or a smart TV connects to the network in the meantime, the router might hand 192.168.1.15 to that device. When the printer is turned back on, it is forced to request a new address, receiving perhaps 192.168.1.20 instead.
Because the POS system is still stubbornly trying to send tickets to 192.168.1.15 (which is now occupied by a smartphone), the print jobs vanish into the void. This IP conflict.
And relocation issue is exacerbated exponentially when multiple printers are involved, as the likelihood of IP shuffling increases. Furthermore, network broadcast storms or misconfigured subnet masks can cause the Star Micronics Network Setup Utility to fail to detect the printers entirely, leaving administrators flying blind.
Static IP assignment completely neutralizes this variable by hardcoding the network coordinates directly into the printer's non-volatile memory or by binding the printer's MAC address at the router level.
Step-by-Step Fix: Assigning Static IPs via the Network Setup Utility
- Print a Network settings Report: Before making any software changes, physically turn off the Star Micronics printer. Hold down the "Feed" button on the front panel. And turn the power switch back on while continuing to hold the button. Release it once the printer begins to print. It will output a self-test page followed by a detailed Network settings report. Retain this slip, as it contains the printer's current dynamic IP address, the Subnet Mask, the Default Gateway. And the unique MAC address.
- Download. And Launch the Utility: Ensure your computer or mobile device is connected to the exact same local network (SSID and subnet) as the printers. Download the official Star Micronics Network Setup Utility from the iOS App Store, Google Play Store, or the Star Micronics global support website for Windows. Launch the application and allow it permission to scan your local network.
- Discover the Printers: Click or tap the "Search" or "Discover" button within the app. The utility will broadcast a UDP discovery packet across the subnet. Wait a few moments for the list to populate. You should see all connected Star printers listed with their model names, MAC addresses, and current DHCP-assigned IP addresses. Compare the MAC addresses on your printed slips to identify which printer is which (e.g., Kitchen vs. Front Desk).
- Access the Network Settings: Select the first printer you wish to configure. The utility will prompt you for login credentials. By default, the username is typically
rootand the password ispublic. Once authenticated, navigate to the "IP Parameters" or "Network Settings" menu within the utility interface. - Switch from Dynamic to Static: Locate the setting labeled "IP Address Mode" or "DHCP Client". And change the toggle from "Dynamic (DHCP)" to "Static". This will unlock the IP address input fields below it.
- Assign the Static IP: Carefully input a new static IP address. It is crucial that this address is on the same subnet as your router (usually matching the first three octets, like 192.168.1.X). But outside of the router's active DHCP range to prevent future conflicts. For instance, if your DHCP range is 192.168.1.100 to 192.168.1.200, assign the printer an address like 192.168.1.50.
- Verify Subnet. And Gateway: Enter the Subnet Mask (typically 255.255.255.0) and the Default Gateway (the IP address of your router, often 192.168.1.1) exactly as they appeared on the initial settings report slip.
- Save and Reboot: Click "Save" or "Apply". The utility will write these new settings to the printer's NVRAM. The printer will then automatically reboot to apply the new network settings. Wait roughly 60 seconds for the network link light on the back of the printer to turn solid green.
- Update the POS System: Log into your Point of Sale system's hardware settings. Delete the old printer settings and add a new printer. Input the newly assigned static IP address (e.g., 192.168.1.50) to re-establish the connection. Run a test print to confirm functionality. Repeat steps 4-9 for any additional printers, ensuring each gets a unique static IP address (e.g., 192.168.1.51, .52).
Advanced Troubleshooting: Deep Dive into Network Reliability
If you have followed the steps above. And the Star Micronics printers are still dropping offline or failing to communicate, you must explore advanced network diagnostics.
First, consider implementing DHCP Reservation (also known as MAC Binding) directly within your router's administrative dashboard as a secondary layer of static IP enforcement. By logging into your router (often via 192.168.1.1 or 10.0.0.1).
And navigating to the LAN Setup or DHCP menu, you can permanently tie the printer's MAC address to its assigned IP address. This ensures that even if the printer's internal static IP settings are accidentally factory reset, the router will still enforce the correct IP assignment.
Another common point of failure is network isolation protocols. Many modern mesh Wi-Fi systems (like Eero, Google Nest, or Orbi).
And business routers have a feature called "AP Isolation" or "Client Isolation" enabled on guest networks. This security feature explicitly prevents devices on the network from communicating with one another, allowing internet access only.
If your POS tablet. And the printer are on a network with AP Isolation enabled, the POS will never be able to discover or send data to the printer, regardless of static IP settings.
Ensure all POS hardware is on a dedicated, non-guest VLAN with isolation disabled. Additionally, firmware (internal software) obsolescence can cause unexpected network dropouts.
Utilize the Star Micronics utility to check the current firmware (internal software) version of the printer network card (IFBD-HE07/08 or built-in WLAN). And flash the latest update provided by the manufacturer.
Finally, physical layer issues should not be ignored; verify that ethernet cables are CAT5e or better, securely crimped. And that network switches are not aggressively utilizing Green Ethernet/Energy Efficient Ethernet (802.3az) protocols, which can sometimes put printer network interfaces to sleep improperly.
FAQ: Frequently Asked Questions
How do I know what IP address to choose for my Static IP?
You must choose an IP address that matches your router's subnet but sits outside its DHCP pool. 1.
What is the default login for the Star Micronics Network Setup Utility?
For the vast majority of Star Micronics printers, including the TSP100. And mC-Print series, the default username is strictly "root" and the default password is "public" (all lowercase).
I assigned a Static IP, but now the printer won't print at all. What went wrong?
The most common cause for this is inputting the incorrect Subnet Mask or Default Gateway during setup. Which isolates the printer from the network traffic.
Can I just use Wi-Fi instead of Ethernet for a more stable connection?
While Star Micronics does offer excellent Wi-Fi printers, hardwired Ethernet connections are always exponentially more reliable in commercial environments. Wi-Fi signals are subject to heavy interference from microwaves, Bluetooth devices, thick walls, and competing networks.
How do I factory reset my Star Micronics printer to start over?
To reset the network settings, turn the printer off. Locate the small recessed "Reset" or "SW" button on the back near the ethernet port.
