


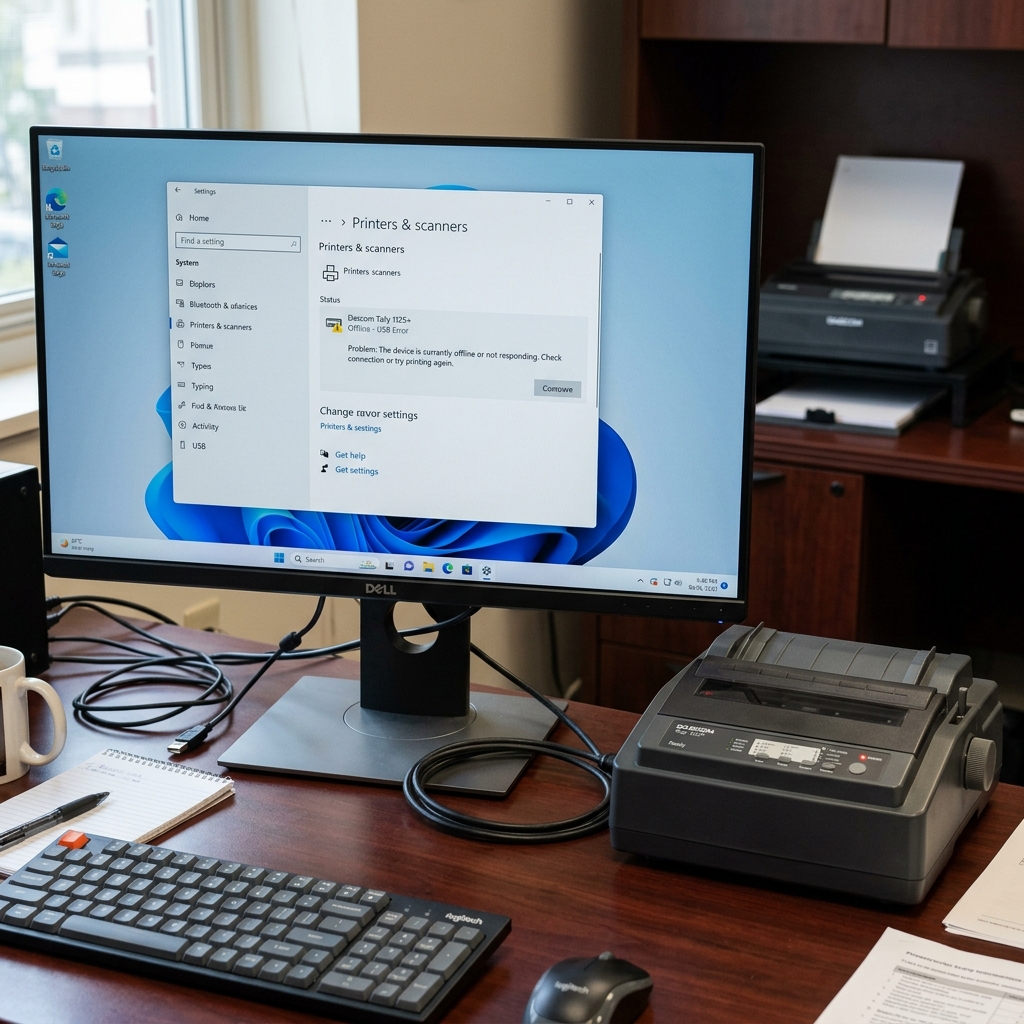
Dascom printers, renowned for their rugged durability and high-volume dot matrix capabilities, are staples in logistics, manufacturing, and legacy enterprise environments. However, a common and highly disruptive issue occurs when a Dascom printer suddenly shows as "Offline" or fails to be detected via USB on a Windows operating system.
This interruption can halt critical operations, such as printing manifests, multi-part invoices, or shipping labels. The root cause is rarely a complete hardware failure, but rather a complex interplay between Windows USB power management, outdated driver signing certificates, corrupted print spooler states, or mismatched interface configurations on the printer's logic board.
This comprehensive diagnostic guide will walk you through deep system-level troubleshooting to restore communication between your Windows PC and your Dascom printer.
Why This Happens
Why This Happens: USB Enumeration and Spooler Failures
When you connect a USB device, Windows initiates an enumeration process to identify the hardware, load the appropriate driver, and allocate system resources. With industrial printers like Dascom models, several factors can derail this process:
1.
USB Selective Suspend: Windows aggressively manages power to USB root hubs. If the printer is idle, Windows may suspend the port to save power.
When a print job is sent, the port fails to wake up fast enough, causing the spooler to flag the printer as offline.
2. Ghost Devices in Device Manager: Repeatedly plugging the printer into different USB ports creates multiple hidden "ghost" instances of the device in the Windows Registry.
This confuses the print spooler, which may attempt to route the job to an inactive virtual USB port (e.g., USB001 instead of USB003).
3. Fast Startup and Hibernation: The Windows Fast Startup feature saves a kernel image to disk to speed up boot times.
This can cause the OS to load stale USB state information, preventing it from recognizing newly connected or re-initialized legacy hardware.
4. Interface Menu Misconfiguration: Many Dascom printers have modular interfaces (Serial, Parallel, Ethernet, USB).
If the internal hardware menu (accessed via the front panel buttons) is explicitly set to expect data via the Parallel port, the USB interface will be physically active but logically ignored by the printer's mainboard.
5. Corrupt Print Spooler Queue:
A malformed print job or a sudden power loss during transmission can leave a corrupted temporary file (.SHD or .SPL) in the system spool directory.
The spooler service will continually attempt to process this bad file, blocking all new jobs and eventually reporting an offline state.
Step-by-Step Fix and Setup Guide
- Verify Printer Interface Settings: Power on the Dascom printer. Access the configuration menu using the front panel buttons (typically by holding the 'Setup' or 'Menu' button). Print out the configuration page. Ensure that the 'Active Interface' is set to 'Auto' or explicitly set to 'USB'. If it is set to 'Parallel' or 'Serial', change it, save the settings, and restart the printer.
- Disable USB Selective Suspend: Open the Windows Control Panel, go to Power Options, and click "Change plan settings" next to your active power plan. Click "Change advanced power settings". Expand the "USB settings" node, then expand "USB selective suspend setting". Change the setting to "Disabled" and click Apply.
- Clear Ghost USB Devices: Open an elevated Command Prompt (Run as Administrator). Type
set devmgr_show_nonpresent_devices=1and press Enter. Then typedevmgmt.mscto open Device Manager. Click 'View' -> 'Show hidden devices'. Expand 'Printers', 'Print queues', and 'Universal Serial Bus controllers'. Right-click and uninstall any greyed-out or duplicate Dascom printer entries and unused 'USB Printing Support' devices. - Purge the Print Spooler: Open the Windows Services app (services.msc). Locate the "Print Spooler" service, right-click it, and select "Stop". Open File Explorer and navigate to
C:\Windows\System32\spool\PRINTERS. Delete all files inside this folder (do not delete the folder itself). Return to the Services app, right-click "Print Spooler", and select "Start". - Update Motherboard Chipset Drivers: The issue may lie with the host PC's USB root hub controllers. Visit your computer manufacturer's website (or the motherboard vendor like Intel or AMD) and download the latest chipset drivers. Install them and reboot the computer to ensure the USB host controllers are operating with the latest stability patches.
- Manually Reassign the USB Port: Open 'Printers & scanners' in Windows Settings. Select the Dascom printer, click 'Manage', then 'Printer properties'. Go to the 'Ports' tab. Look for the checked port. If it's checked on 'LPT1' or a disconnected COM port, scroll down and check the highest numbered available 'Virtual printer port for USB' (e.g., USB002). Click Apply.
- Disable Windows Fast Startup: Open the Control Panel, go to Power Options, and click "Choose what the power buttons do" on the left pane. Click "Change settings that are currently unavailable". Uncheck the box for "Turn on fast startup (recommended)". Save changes and perform a full system restart.
- Perform a Hard Reset on the Printer: If all else fails, disconnect the USB cable and the power cable from the printer. Wait for 60 seconds to allow the internal capacitors to drain completely. Reconnect power, perform a factory reset via the front panel (refer to the specific model's manual), and then reconnect the USB cable directly to a rear motherboard USB port on the PC.
Advanced Troubleshooting
Advanced Troubleshooting In industrial environments, long USB cable runs are a common point of failure. The USB 2.0 specification limits passive cable length to 5 meters (16 feet).
If your Dascom printer is located further away, signal degradation will cause intermittent disconnects. Replace the cable with a high-quality, shielded active USB extension cable, or migrate to a USB-to-Ethernet print server solution.
Additionally, examine the Windows Event Viewer. Navigate to Applications and Services Logs -> Microsoft -> Windows -> PrintService -> Admin.
Look for Event ID 372 or 808, which indicate driver rendering failures. If you see these errors, the current driver is incompatible with your build of Windows 10/11.
You must completely remove the driver package via the Print Management console (printmanagement.msc), reboot, and install a fresh driver downloaded directly from Dascom's enterprise support portal, bypassing the generic Windows Update drivers. In extremely rare cases, the USB B-Type female receptacle on the printer's logic board may have suffered physical damage or broken solder joints from repeated cable yanking, requiring a mainboard replacement.
FAQ
Can I use a USB hub with a Dascom printer?
It is highly discouraged. Industrial dot matrix printers require stable data streams to prevent buffer under-runs. Unpowered USB hubs, or hubs shared with high-bandwidth devices (like webcams or external hard drives), can interrupt the print stream, causing the printer to pause indefinitely or drop offline. Always connect directly to the computer.Why does the printer work on one computer but not another?
This usually points to a driver architecture mismatch (32-bit vs. 64-bit), corrupted USB root hubs on the failing PC, or a conflict with other installed software, such as aggressive antivirus suites that monitor USB traffic. Check the driver versions and ensure both PCs have identical Windows updates.What does it mean if the printer prints garbage characters via USB?
Printing garbage characters (like random wingdings, endless pages of smiley faces, or hexadecimal codes) indicates a driver language mismatch. The computer is sending data in a Page Description Language (like PostScript or PCL) that the Dascom printer does not understand. Ensure you have installed the correct Dascom driver, not a generic text driver.Is there a diagnostic tool for Dascom printers?
Yes, Dascom provides a utility called the "Dascom Setup Tool" or "Tally Dascom Config Tool" on their support site. This software allows you to communicate with the printer via USB or Network to read internal logs, update firmware, and dump EEPROM settings for deep analysis.Disclaimer: Before proceeding with any hardware modifications, firmware flashes, or deep driver configurations, it is absolutely essential to ensure that your operating system is fully up to date and that you have backed up any critical print spooler configurations.
Thermal and dot matrix printers, along with modern network enterprise printers, frequently interact with low-level system APIs (such as the Windows Print Spooler service, CUPS on macOS/Linux, or proprietary vendor port monitors).
Modifying these parameters without a solid understanding of your network topology, USB root hub power management settings, and driver signing enforcement can lead to system instability, unrecoverable printing queues, or degraded print head lifespans. Additionally, if your device is under an active manufacturer warranty or an extended service contract, opening the chassis, breaking warranty seals, or installing unsigned third-party drivers might void your support agreement.
Always consult your IT department or the official vendor documentation if you are operating within a strict compliance framework (such as HIPAA, PCI-DSS, or SOX), as misconfigured network printers can expose internal subnets to unauthorized access or lead to data leakage through unencrypted print streams. Use extreme caution when handling thermal print heads or physical cutter blades, as they can cause burns or lacerations.
Allow the device to cool down completely for at least 15 to 30 minutes after extensive use before attempting any physical clearing of jams, roller maintenance with isopropyl alcohol, or ribbon replacements. Always use a grounded anti-static wrist strap when interacting with internal logic boards to prevent electrostatic discharge (ESD) from permanently damaging sensitive microcontroller units or NVRAM chips.
This comprehensive guide is designed for system administrators, advanced power users, and IT technicians who need to resolve persistent hardware or software issues that standard troubleshooting steps have failed to address. It is provided 'as is' without warranties of any kind.
