


Introduction
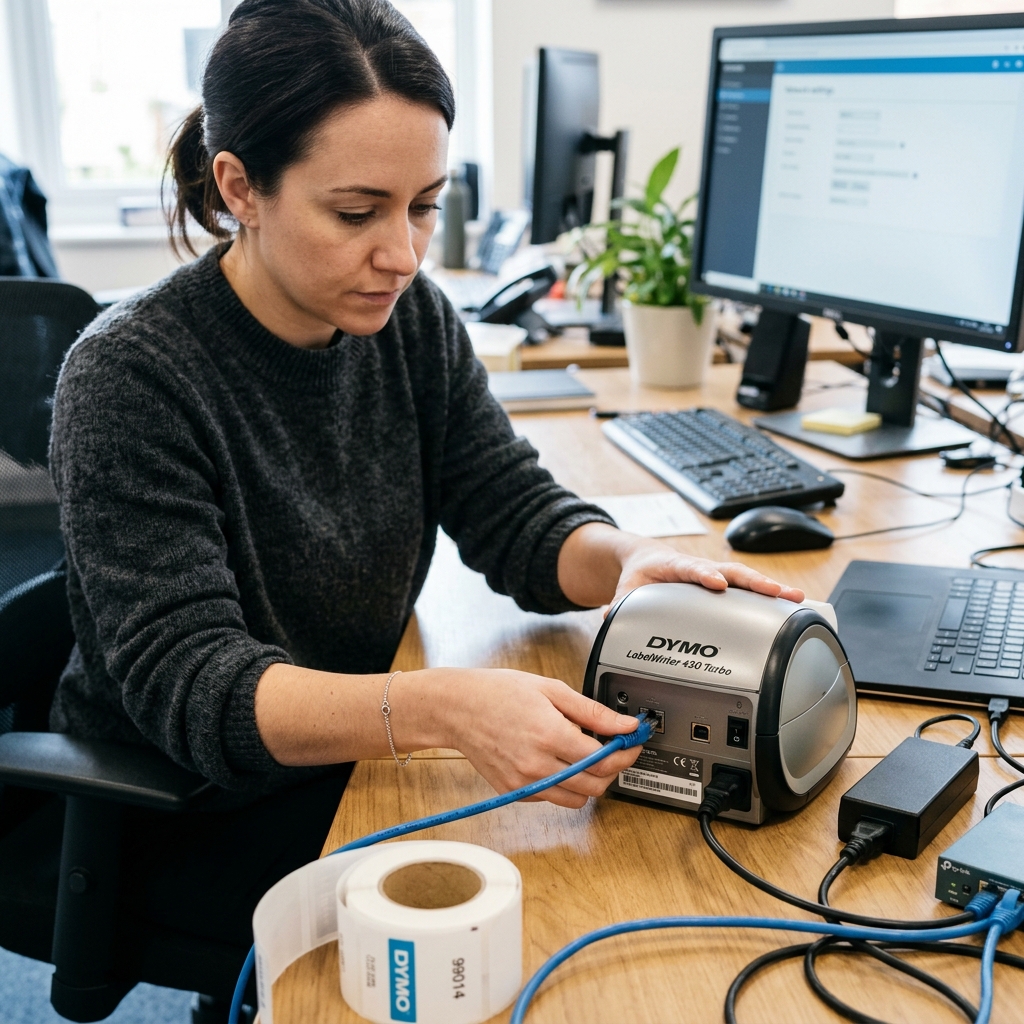
Transforming a standalone DYMO LabelWriter into a networked workhorse is a game-changer for offices, shipping departments, and retail environments. Sharing a single, high-speed thermal printer across multiple workstations eliminates the need for redundant hardware purchases and centralizes your labeling operations.
However, navigating the DYMO LabelWriter network setup—whether through a direct LAN connection on supported models or via Wi-Fi utilizing print servers—can often lead to confusing 'Printer Offline' errors, IP address conflicts, or software non-discovery. This comprehensive guide will meticulously walk you through the various methods of networking a DYMO printer, from utilizing built-in Ethernet ports on models like the 550 Turbo to effectively employing third-party wireless print servers or OS-level printer sharing, ensuring a stable, accessible printer for your entire team.
Why This Happens: The Complexities of Network Printing
Network printing issues with DYMOs typically stem from a mismatch between how the computer expects to find the printer and how the network is actually routing the traffic. When a DYMO printer with a built-in LAN port is connected to a router, it is assigned an IP address dynamically via DHCP.
If the router reboots or the DHCP lease expires, the printer might receive a new IP address. The DYMO software on the user's computer, however, might still be looking for the old IP address, resulting in an immediate 'Printer Offline' status.
In scenarios where you are using a Wi-Fi Print Server (a small external box that converts USB to Wi-Fi), the complexity increases. These servers rely on specific two-way connection protocols to report printer status (like 'Out of Paper' or 'Cover Open').
If the print server does not support bidirectional USB communication perfectly, the DYMO software may refuse to send the print job, assuming the printer is broken. Lastly, local firewall settings on Windows or macOS can silently block the specific ports the DYMO Connect software uses for local network discovery (like Bonjour/mDNS), making the printer invisible even if it is perfectly connected to the network.
Step-by-Step Fix: Establishing a Rock-Solid Network Connection
- Identify Your Networking Method: Determine if you have a LAN-equipped model (like the LabelWriter 550 Turbo or 450 Twin Turbo network edition), if you are using an external USB Print Server. If you plan to use OS-level USB sharing from a host computer.
- Direct LAN Setup - Physical Connection: For LAN models, connect a high-quality Cat5e or Cat6 Ethernet cable directly from the printer to your network switch or router. Power on the printer and wait 60 seconds for it to negotiate an IP address from the DHCP server.
- Print the Network settings Page: On a LAN-equipped DYMO, you can usually press and hold the form-feed button to print a self-test label that includes the current IP address. This confirms the network hand-shake was successful.
- Assign a Static IP Address: This is the most crucial step for stability. Log into your network router's administrative interface. Locate the DHCP reservation or Static IP assignment section. Find the DYMO's MAC address (printed on the bottom of the device or on the config label) and permanently assign it an IP address outside of your standard DHCP pool. This prevents the address from ever changing.
- Install DYMO Connect on Workstations: Ensure all computers intending to use the printer have the latest version of DYMO Connect installed. Older versions may lack the necessary drivers for newer network protocols.
- Add the Printer via Software: Open DYMO Connect. Navigate to File > Add Network Printer. The software should auto-discover the printer using mDNS. If it fails, manually enter the Static IP address you assigned in Step 4.
- Configure Windows Firewall: If discovery fails on Windows, go to Windows Defender Firewall > Allow an app or feature through Windows Defender Firewall. Ensure 'DYMO Connect' and 'Bonjour Service' (if present) are checked for both Private and Public networks.
- Setting up an External Wi-Fi Print Server: If using a device like a TP-Link or IOGEAR USB print server, configure the server via its web interface to connect to your Wi-Fi network. Ensure the server explicitly supports bidirectional USB printing. Add the printer in Windows using a Standard TCP/IP Port, pointing to the server's IP address.
- Configuring OS-Level Sharing (Alternative): Connect the DYMO via USB to a dedicated 'Host' PC. Go to Settings > Devices > Printers > Printer Properties > Sharing. Check 'Share this printer'. Other PCs on the same network can now add this by browsing the network for the Host PC. Note: The Host PC must always be powered on.
- Test Print from Multiple Nodes: Once configured, send a test label from at least two different computers simultaneously to verify the print spooler is correctly managing the network queue and not crashing under concurrent requests.
Advanced Troubleshooting: Deep Network Diagnostics
When the printer is successfully added but jobs simply vanish into the ether, advanced troubleshooting is required at the port level. Open the 'Print Management' console on Windows (printmanagement.msc).
Locate the DYMO network printer, right-click. Select Properties, then go to the Ports tab.
Ensure that 'Enable bidirectional support' is checked. If it is greyed out, the port settings is incorrect.
Click 'Configure Port'. Ensure the protocol is set to 'Raw' and the Port Number is 9100.
Sometimes, network printers default to LPR protocol with generic queue names, which DYMO software notoriously misinterprets, leading to silently dropped print jobs. For macOS users experiencing Bonjour discovery drops, resetting the entire printing system (Right-click in the Printers &
Scanners list and select 'Reset printing system...') will clear corrupted CUPS settings files and force a clean rebuild of the network discovery cache, often instantly resolving persistent offline issues.
FAQ
Can I connect a standard USB LabelWriter 450 to my Wi-Fi?
Not directly. The standard 450 lacks wireless hardware.
Why does my network DYMO show as 'Offline' every morning?
This is almost certainly a DHCP lease issue. The printer is receiving a new IP address daily.
Do I need to install DYMO software on every computer on the network?
Yes. Every workstation requires the DYMO drivers to format the labels correctly.
Can I print to a networked DYMO from my iPhone or iPad?
Currently, DYMO's official support for iOS/Android network printing is limited. The LabelWriter series does not natively support Apple AirPrint.
What is the 'Bonjour Service' and why does DYMO need it?
Bonjour is a zero-settings networking protocol developed by Apple but used heavily on Windows by DYMO. It allows the DYMO software to automatically scan the local network and discover the printer without requiring you to manually type in IP addresses.
