


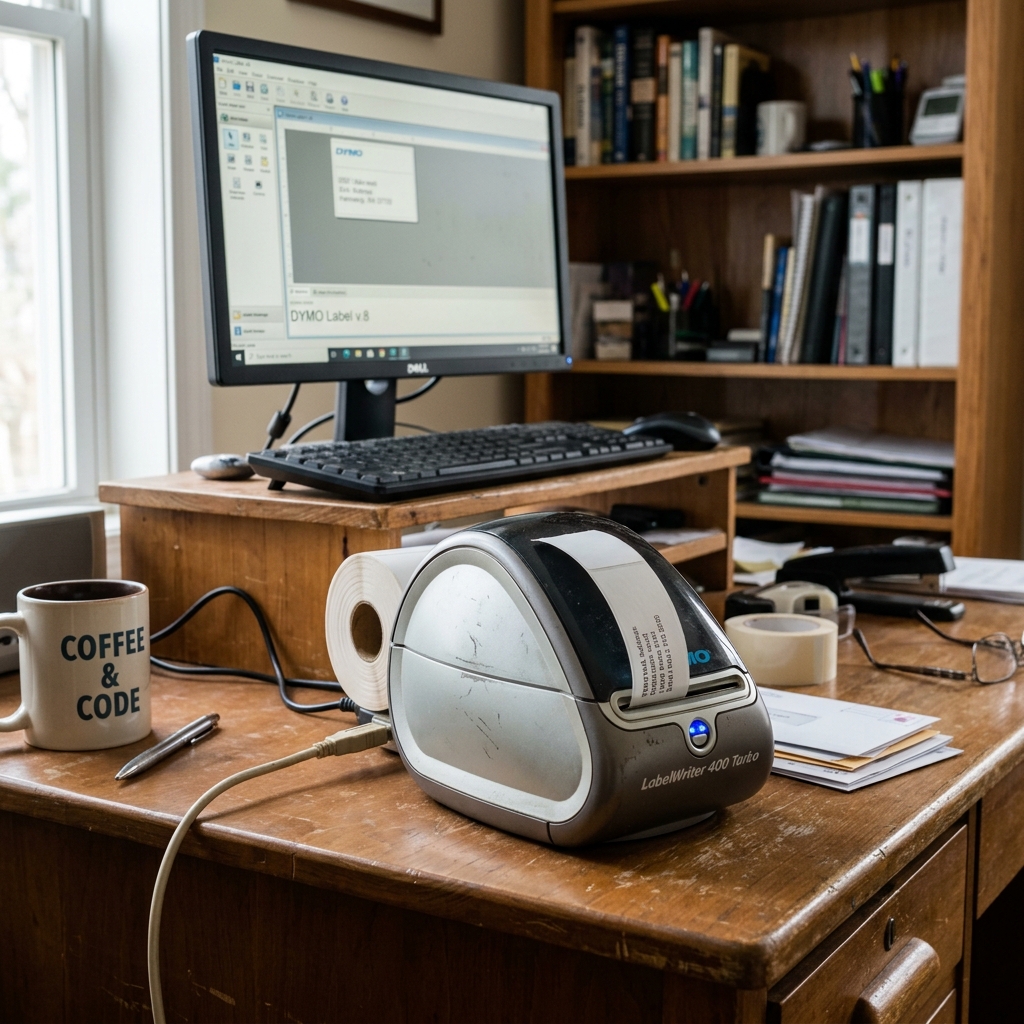
The Dymo LabelWriter 400 Turbo and its enterprise counterpart, the SE450, are legendary workhorses in the thermal printing world, known for their rugged durability and lack of the restrictive DRM found in newer models. Although officially discontinued by Dymo years ago, these printers remain highly sought after on the secondary market precisely.
This happens because they happily accept inexpensive third-party labels, drastically lowering long-term operating costs. However,.
This happens because these printers were engineered in an era before Wi-Fi and Bluetooth were standard desktop features, they are natively restricted to a direct USB or serial connection. In modern workflows where printing from laptops, tablets.
Smartphones over a wireless network is essential, this physical tether becomes a significant bottleneck. Fortunately, the lack of built-in wireless capability does not mean these reliable machines must be retired.
Through the strategic use of print servers, network sharing protocols. Modern mini-routers, it is entirely possible to retrofit a discontinued Dymo 400 Turbo or SE450 into a fully functional, network-accessible wireless printer.
This comprehensive guide will detail the technical steps required to bridge the gap between legacy hardware. Modern wireless networks, exploring various methods ranging from simple Windows network sharing to deploying dedicated hardware print servers, ensuring your legacy Dymo remains a central part of your modern shipping or organization workflow.
Why This Happens
The challenge of making a legacy printer wireless stems from the fundamental difference between how USB architecture. Network architecture handle data.
The Dymo 400 Turbo is a "dumb" USB device; it relies entirely on the host computer's CPU. Print spooler to rasterize the label image and send raw, timing-critical commands over the USB cable.
It does not possess an internal network interface card (NIC), a TCP/IP stack, or the processing power to negotiate a Wi-Fi connection on its own. When you attempt to connect a modern device to it wirelessly, there must be an intermediary "host" that speaks standard network protocols (like AirPrint, IPP, or standard Windows TCP/IP printing) on one side.
Raw USB on the other. This intermediary can be a computer that remains powered on constantly, sharing the printer over the local network, or a dedicated piece of hardware known as a print server.
Dedicated print servers are essentially tiny, low-power computers running a stripped-down operating system (often Linux) designed solely to receive network print jobs, translate them. Push them out a physical USB port to the printer.
The complexity arises. This happens because Dymo drivers are built-in and sometimes finicky; generic print servers don't always understand the specific two-way connection the Dymo software requires to check label status or printer readiness, leading to situations where the printer receives data but refuses to execute the print command.
Step-by-Step Fix
- Method 1: Windows Network Sharing (The Free Route): If you have a desktop PC that is always powered on, connect the Dymo 400 directly to it via USB. Install the latest compatible Dymo Label Software (DLS version 8.7.4 is usually best for legacy models). Go to Windows Settings -> Devices -> Printers & Scanners. Select the Dymo, click "Manage," then "Printer Properties." Go to the "Sharing" tab, check "Share this printer," and give it a simple name (e.g., "Dymo400"). Other computers on your Wi-Fi network can now add this printer by searching for network printers, routing their jobs through the host PC.
- Method 2: Using a Dedicated USB Wireless Print Server: Purchase a standalone wireless USB print server (brands like TP-Link or StarTech offer reliable models). Connect the print server to power and to your Dymo printer via USB. You must first configure the print server to join your Wi-Fi network. This usually involves connecting it directly to your router via Ethernet for initial setup, logging into its web interface via its IP address, and entering your Wi-Fi SSID and password.
- Installing the Network Printer on Client Machines: Once the print server is on your Wi-Fi, you must install the printer on your laptops. DO NOT use the standard Dymo installation software for this step. Instead, go to "Add a Printer" in your OS. Select "Add a printer using a TCP/IP address or hostname." Enter the IP address assigned to the print server by your router. When prompted for the driver, manually select the Dymo 400 Turbo driver from the list of installed drivers (you may need to run the Dymo installer first just to get the drivers onto your system).
- Configuring the Port Settings: This is the most critical step for print servers. In the printer properties under the "Ports" tab, click "Configure Port." Ensure the protocol is set to "Raw" and the Port Number is 9100, or set it to "LPR" with a queue name specified in your print server's manual. Incorrect port settings will result in print jobs vanishing into the void.
- Testing and Adjusting Paper Sizes: Send a test print. Because the network layer sometimes strips away specific metadata, you must ensure that the paper size defaults in the printer preferences on every client machine exactly match the physical labels loaded in the Dymo. If the sizes mismatch, the Dymo will often flash its light and refuse to print the network job.
Advanced Troubleshooting
If you have successfully configured the print server but the Dymo refuses to print, throwing a persistent flashing light or an "Error - Printing" status in the spooler, you are likely facing a two-way connection failure. The Dymo software heavily relies on bidirectional USB communication to verify printer readiness and paper status.
Many cheap print servers do not properly support bidirectional data flow. To bypass this, go to the Printer Properties on your computer, navigate to the "Ports" tab.
UNCHECK the box labeled "Enable bidirectional support." This forces the computer to send the print data blindly, trusting the printer will handle it, which often resolves print server lockups. For the most robust, enterprise-grade solution, consider using a Raspberry Pi as a dedicated print server.
By installing a lightweight Linux distribution and CUPS (Common UNIX Printing System), you can create a highly customizable, incredibly stable print server. CUPS has excellent built-in drivers for legacy Dymo models.
A Raspberry Pi running CUPS can also be configured to broadcast the Dymo printer as an AirPrint-compatible device, allowing seamless, driverless printing directly from iPhones. IPads—a feature impossible to achieve with basic Windows sharing or cheap off-the-shelf print servers.
FAQ
Will a wireless adapter plug directly into the Dymo's USB port?
No. You cannot plug a simple USB Wi-Fi dongle (like the ones used to give a PC Wi-Fi capabilities) directly into the printer.
What is the best version of Dymo software for the 400 Turbo?
4 is widely considered the most stable and reliable for discontinued models like the 400 Turbo and SE450. The newer Dymo Connect software is heavily optimized for the newer 550 series.
Can I print from my iPhone to the Dymo 400?
Natively, no. The Dymo 400 does not support AirPrint.
Why does the printer pause between every label on a network?
If your Dymo prints one label, pauses for several seconds. Then prints the next, this is usually caused by network latency or a slow print server processor rasterizing the image too slowly.
