


Fix: Dymo Printer Not Showing Up on Mac OS
Dymo label makers, such as the popular LabelWriter 450 and 4XL series, are essential tools for countless offices, warehouses, and home businesses. They provide fast, reliable thermal printing for everything from address labels to barcodes.
However, a frequently encountered and highly disruptive issue occurs when the Dymo printer simply refuses to show up on a Mac running macOS. You plug in the USB cable, you hear the printer power on, but it remains invisible in the Printers & Scanners list and the Dymo Connect or Dymo Label software claims no printer is connected.
This situation can completely halt your shipping or organizational workflows. The invisibility of the printer is rarely a hardware failure of the printer itself; rather, it is almost exclusively a communication breakdown between the macOS hardware abstraction layer, the USB bus, and the specific Dymo drivers.
This extensive guide dives deep into the root causes of this invisibility and provides a rigorous, step-by-step methodology to force your Mac to recognize the Dymo printer, ensuring you can get back to printing labels efficiently and reliably.
Why This Happens
The underlying reasons for a Dymo printer failing to enumerate (show up) on macOS are multifaceted and often stem from software conflicts or security policies. First and foremost, macOS has increasingly stringent security protocols regarding kernel extensions and background background processes.
Dymo's older software, specifically the legacy Dymo Label v8, relies on older driver architectures that modern macOS versions (like macOS Monterey, Ventura, or Sonoma) actively block or deprecate. If the operating system blocks the Dymo driver from loading, the printer remains an unrecognized USB device.
Secondly, there is a known conflict involving the Dymo Connect software and the specific version of the CUPS (Common UNIX Printing System) drivers provided by Dymo. Sometimes, installing multiple versions of Dymo software simultaneously can create conflicting driver files, confusing macOS.
Thirdly, physical USB connectivity issues are common. Modern Macs rely on USB-C/Thunderbolt ports, necessitating hubs or adapters for the Dymo's traditional USB-A cable.
Cheap or unpowered USB hubs often fail to negotiate the correct data protocols required by thermal printers, causing the device to draw power but fail to transmit data. Finally, Apple's transition to Apple Silicon (M-series chips) means that older x86-based drivers must run through the Rosetta 2 translation layer.
If the driver is not optimized, the translation can fail silently, resulting in the printer never appearing in the system settings.
Step-by-Step Fix
- Physical Connection Audit: Begin by eliminating physical variables. Unplug the Dymo printer's USB cable from any docks, hubs, or adapters. If possible, use an official Apple USB-C to USB adapter or a direct USB-C to USB-B cable to connect the printer directly to a port on the Mac chassis.
- Complete Software Removal: Open the "Applications" folder on your Mac. Locate the "DYMO Connect" or "DYMO Label" application. Drag the application to the Trash.
- Deep Clean Library Files: Emptying the Trash is not enough. You must manually delete driver remnants. Open Finder, click "Go" in the top menu bar, hold down the "Option" (⌥) key, and click "Library".
- Delete Dymo Frameworks: Within the hidden Library folder, navigate to the "Printers" folder. Delete any folder named "DYMO". Then, go back to the root of your hard drive, navigate to
/Library/Printers/(this is the global Library, not the user Library), and delete the DYMO folder there as well. - Remove PPDs: Still within the global
/Library/Printers/directory, open the "PPDs" folder, then "Contents", then "Resources". Search for and delete any files that begin with "dymo". - Delete Dymo Preferences: In your user Library (
~/Library/Preferences/), delete any files starting withcom.dymo. Empty the Trash to finalize the cleanup. - Restart Your Mac: A full system restart is mandatory at this stage to clear the driver cache in the macOS kernel.
- Download the Correct Software: Navigate to the official Dymo support website. Do not use CD-ROMs included with the printer. Download the absolute latest version of DYMO Connect for Desktop that explicitly states compatibility with your specific macOS version (e.g., Sonoma).
- Install and Grant Permissions: Run the installer. Crucially, during or immediately after installation, macOS may prompt you that a system extension or background process from Dymo requires permission. Open "System Settings" > "Privacy & Security" and look for a prompt to "Allow" software from DYMO. You must click Allow and authenticate with your password.
- Connect and Power Cycle: Plug the USB cable back into the Mac. Unplug the power cable from the back of the Dymo printer, wait 10 seconds, and plug it back in to force a hardware reboot of the printer while connected to the USB bus.
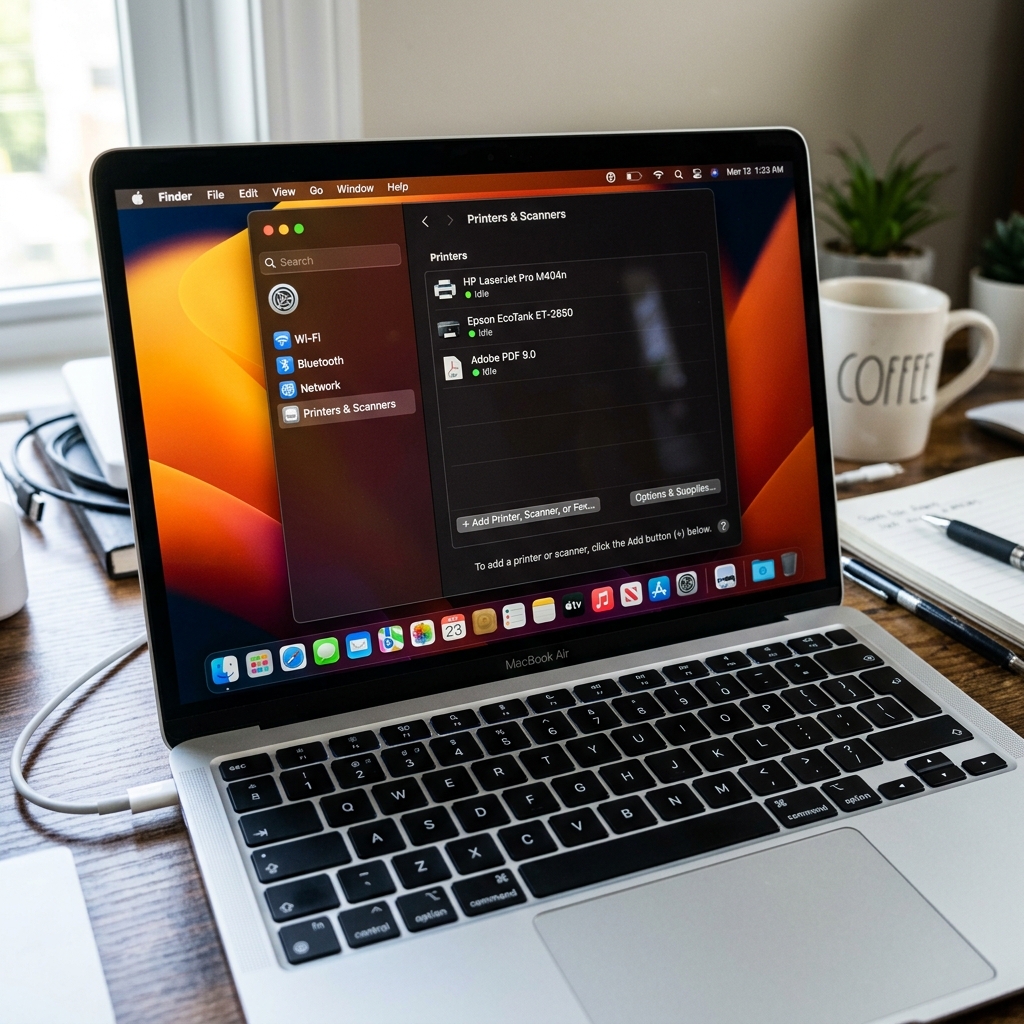
- Verify in System Settings: Open "Printers & Scanners" in System Settings. The Dymo printer should now automatically appear in the list, or you should be able to click "Add Printer" and see it listed as a USB connection.
Advanced Troubleshooting
If the printer still refuses to appear after a clean installation and permissions grant, you must investigate the USB bus directly using the macOS System Information tool. Hold the "Option" (⌥) key and click the Apple menu (), then select "System Information".
In the left-hand column, click on "USB" under the Hardware section. Examine the USB Device Tree on the right.
You should see "DYMO LabelWriter" listed under one of the USB buses. If it is listed here but not in Printers & Scanners, the issue is strictly a driver or CUPS configuration failure.
If it is NOT listed in the USB Device Tree at all, your Mac is physically not detecting the hardware. This indicates a faulty USB cable, a bad port on the Mac, a failed USB hub/adapter, or a hardware failure within the Dymo printer's logic board itself.
Try a completely different USB cable (borrow one from a regular printer) to rule out cable failure. For software-side stubbornness, you can use the Terminal to manually kill the Dymo background daemons.
Use the command sudo killall DymoPnPService and sudo killall DYMOConnectService, then relaunch the DYMO Connect application. Additionally, ensure that your Mac's firewall or third-party endpoint security software (like CrowdStrike, SentinelOne, or sophisticated antivirus suites) is not aggressively blocking the local port communications (usually port 41951) that the Dymo software uses to communicate with its own background printing service.
FAQ
Should I use DYMO Label v8 or DYMO Connect on a new Mac?
You should absolutely use DYMO Connect for Desktop. DYMO Label v8 is a legacy, 32-bit architecture software that has been officially discontinued and is highly incompatible with modern macOS versions (Catalina and newer), especially on Apple Silicon Macs.
The Dymo shows up in USB System Information but not in Printers & Scanners. Why?
This specifically indicates that the hardware connection is successful—power and basic USB handshaking are working—but macOS cannot find a matching, authorized driver to operate the device as a printer. This is almost always caused by missing security permissions in System Settings > Privacy & Security, or by conflicting older driver files preventing the new driver from registering with the CUPS system.
Can I print to a Dymo 4XL from Safari without the Dymo app?
Yes, once the printer is successfully installed in Printers & Scanners, it acts as a standard system printer. You can print directly from Safari, Preview, Chrome, or any other application.
Why does the blue light on my Dymo flash continuously?
A continuously flashing blue (or sometimes green depending on the model) light typically indicates a hardware state issue, not a Mac software issue. It usually means the printer is out of labels, the labels are jammed, or the optical sensor that detects the gap between labels is dirty or blocked.
