


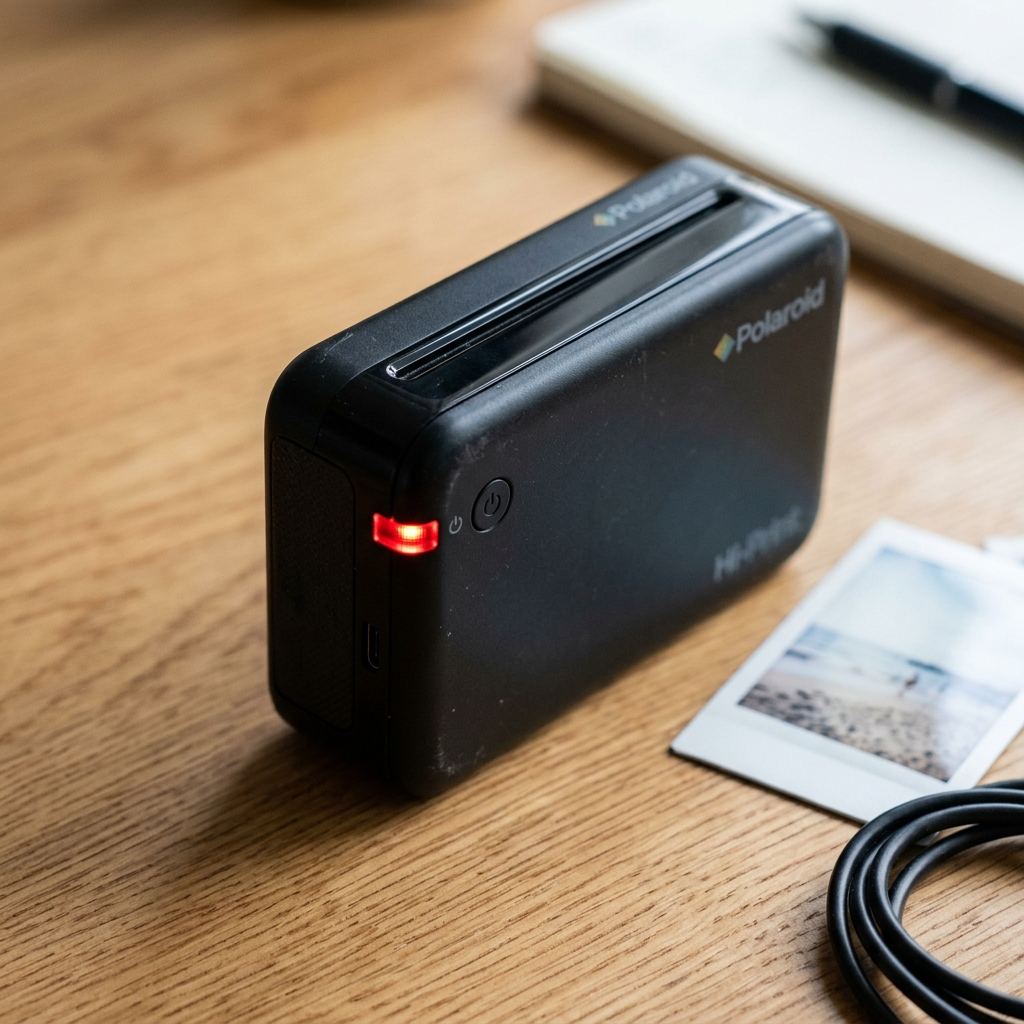
Complete Guide: Fixing Polaroid Hi-Print Red Blinking Light, Battery Drain, and Reset Procedures
The Polaroid Hi-Print is an incredibly popular pocket photo printer that uses dye-sublimation technology to produce vibrant, high-quality 2x3 inch prints. While generally reliable, many users eventually encounter a frustrating issue: a persistent red blinking light accompanied by rapid battery drain or complete unresponsiveness.
This comprehensive guide will walk you through the technical reasons behind these failures, how to properly diagnose the specific error code indicated by the blinking light patterns, and provide a definitive step-by-step resolution path to restore your device to perfect working order.
When the Polaroid Hi-Print indicator LED flashes red, it is signaling a critical hardware or software fault that prevents the print engine from initializing. This is often tied to the internal battery management system (BMS), thermal sensor anomalies in the print head, or firmware corruption.
Understanding the exact nature of the fault is essential before attempting any physical repairs or resets. The dye-sublimation process requires precise temperature control and substantial instantaneous power delivery; if the battery cannot supply the necessary voltage under load, the system will halt to prevent damage to the thermal print head.
Battery drain issues in the Hi-Print are similarly complex. The internal lithium-ion cell degrades over time, but premature capacity loss is frequently caused by leaving the device in standby mode, charging with incompatible high-wattage adapters, or exposing the printer to extreme temperatures.
When the battery's internal resistance increases, it fails to deliver the high current required during the printing cycle, triggering the red light error even if the device shows a full charge when plugged in.
Why This Happens: The Technical Root Causes
To effectively repair the Polaroid Hi-Print, we must explore the underlying mechanical and electrical systems that trigger the red blinking light and battery drain. The issues typically fall into three main categories: Power Delivery Failure, Cartridge Jam/Sensor Fault, and Firmware State Corruption.
Power Delivery Failure and Battery Degradation: The Hi-Print uses a custom lithium-polymer (LiPo) battery pack. Dye-sublimation printing involves heating a ribbon to transfer cyan, magenta, and yellow dyes onto the paper in successive passes.
This thermal process demands significant peak current (often exceeding 2 amps). If the battery has degraded due to age or improper charging cycles (such as being left completely discharged for months), its voltage will sag under the heavy load of the print head.
The internal voltage monitor detects this sag, interprets it as a critically low battery or short circuit, and triggers the red blinking light fault. Furthermore, a failing power management IC (PMIC) on the logic board can cause parasitic drain, emptying the battery even when the device is powered off.
Cartridge Jam and Sensor Faults: The all-in-one cartridge contains both the photo paper and the dye ribbon. Inside the printer, optical sensors and micro-switches track the position of the ribbon and the paper.
If a previous print job was interrupted, the ribbon can become slack or misaligned. When the printer powers on, it attempts to tension the ribbon and find the starting index mark for the yellow dye panel.
If the motor encounters too much resistance or the optical sensor fails to read the index mark, the logic board halts the initialization and flashes the red LED. Dust accumulation on these optical sensors is a common culprit, especially if the device is carried in a pocket or bag without a case.
Firmware State Corruption: Like all modern smart devices, the Hi-Print relies on an embedded operating system. Occasionally, the Bluetooth communication stack or the print spooler process can crash, leaving the printer in a stalled state.
In this state, the processor remains active, consuming battery power rapidly, while the external interface is locked, displaying the red error light. A hard reset is required to clear the volatile memory and reboot the microcontroller.
Another often overlooked factor is the charging adapter. The Hi-Print is designed to charge via a standard 5V/1A or 5V/2A USB power supply.
Using modern USB-C Power Delivery (PD) chargers with certain cables can sometimes fail to negotiate the correct voltage, resulting in no charge being delivered despite the charging LED illuminating. Over time, this leads to a deeply discharged battery that refuses to accept a charge, appearing as a fatal error.
Step-by-Step Fix: Resolving the Red Blinking Light and Battery Drain
- Perform a Hard Reset: The first and most crucial step is to clear any volatile memory corruption. Locate the tiny reset pinhole on the back or side of the Polaroid Hi-Print (near the charging port). Use a paperclip or SIM ejector tool to press and hold the internal button for exactly 10 seconds while the device is powered on (or attempting to power on). Release the button and wait 30 seconds. This physically interrupts the power to the microcontroller, forcing a clean boot.
- Inspect and Clean the Cartridge Bay: Power off the printer. Open the cartridge door and carefully remove the all-in-one cartridge. Use a flashlight to inspect the internal cavity. Look for any torn ribbon, jammed paper, or debris. Using a can of compressed air, gently blow out any dust, focusing on the small optical sensors located near the paper feed rollers. Do not touch the thermal print head (the ceramic strip) with your bare hands, as oils can damage it.
- Check Ribbon Tension: Inspect the removed cartridge. The colored dye ribbon should be taut. If it is visibly slack or crinkled, use your finger to manually turn the take-up spool gear (the larger gear on the side of the cartridge) clockwise until the ribbon is tight. Reinsert the cartridge firmly until it clicks into place.
- Execute a Proper Charge Cycle: To address battery calibration and drain issues, you must perform a slow, controlled charge. Connect the printer to a standard, low-power USB wall adapter (like an older 5V/1A iPhone charger) using a high-quality, short USB cable. Do NOT use a fast charger or a computer's USB port. Leave the device plugged in for a full 4 hours, uninterrupted, regardless of what the LED indicators show. This allows the BMS to balance the cells and reset its capacity gauge.
- Firmware Update via the App: Once the printer has sufficient charge and boots normally (white or green LED), immediately connect it to the Polaroid Hi-Print app on your smartphone. Navigate to the settings menu and check for firmware updates. Polaroid frequently releases patches that address power management bugs and improve Bluetooth stability. Keep the printer plugged in during the update process.
- Clean the Thermal Print Head (Optional but Recommended): If the red light was accompanied by poor print quality, clean the print head. Purchase a specialized thermal printer cleaning pen (containing 99% isopropyl alcohol) and gently swipe it across the ceramic print head inside the cartridge bay. Allow it to dry completely before inserting a cartridge.
Advanced Troubleshooting: When Basic Fixes Fail
If you have completed the step-by-step guide and the Polaroid Hi-Print still exhibits the red blinking light or severe battery drain, you are likely dealing with a hardware failure that requires component-level intervention. Proceed with caution, as opening the device voids the warranty.
The most common hardware failure is a completely degraded LiPo battery cell. If you have a multimeter and are comfortable opening the chassis (secured by clips and a few small Phillips screws), you can measure the voltage across the battery terminals.
A healthy, charged cell should read around 4.2V. If the voltage is below 3.0V after a long charging session, the cell is dead and must be replaced.
Replacement cells can be sourced from electronic component suppliers; ensure the dimensions and the capacity (mAh) match the original, and that the new cell includes a built-in protection circuit module (PCM).
If the battery voltage is healthy, the issue may lie with the main logic board. Inspect the board for burnt components, specifically around the USB charging port and the power management IC.
Water damage or power surges can fry these surface-mount components. In cases of parasitic drain, a shorted capacitor on the 3.3V rail is often the culprit.
Identifying and replacing these microscopic components requires micro-soldering skills and a schematic, making it impractical for most users; at this stage, replacing the entire printer is usually the most cost-effective solution.
Another advanced diagnostic involves the motor drive circuit. If you hear a faint clicking or humming sound when the red light flashes, the stepper motor that drives the paper and ribbon may be stalled.
This can be caused by a stripped plastic gear in the transmission assembly or a failed motor driver IC on the logic board. Carefully disassembling the gear train and checking for broken teeth or applying specialized plastic-safe lithium grease can sometimes resolve mechanical binding.
FAQ
Why does my Polaroid Hi-Print die after only one or two prints?
This is a classic symptom of high internal resistance in an aging battery. Even if the battery shows 100% charge, the voltage drops drastically when the print head draws high current, causing the system to shut down to prevent damage.
Can I use any USB cable to charge my Hi-Print?
No. While standard USB micro/C cables fit, some lower-quality cables have thin power wires that cause voltage drop, preventing the printer from charging properly.
What does a solid red light mean versus a blinking red light?
A solid red light typically indicates a clear, resolvable user error, such as the cartridge being empty, the paper door being open, or the printer being completely out of battery but connected to power. A blinking red light signifies a hardware fault, motor jam, or critical system error that requires a reset or mechanical intervention.
Is it safe to leave the cartridge in the printer when not in use?
While generally safe for short periods, it is recommended to remove the cartridge and store it in a cool, dry place if you do not plan to use the printer for several weeks. The tension on the ribbon can slacken over time, and humidity can affect the paper, leading to jams and the red light error upon your next use.
