


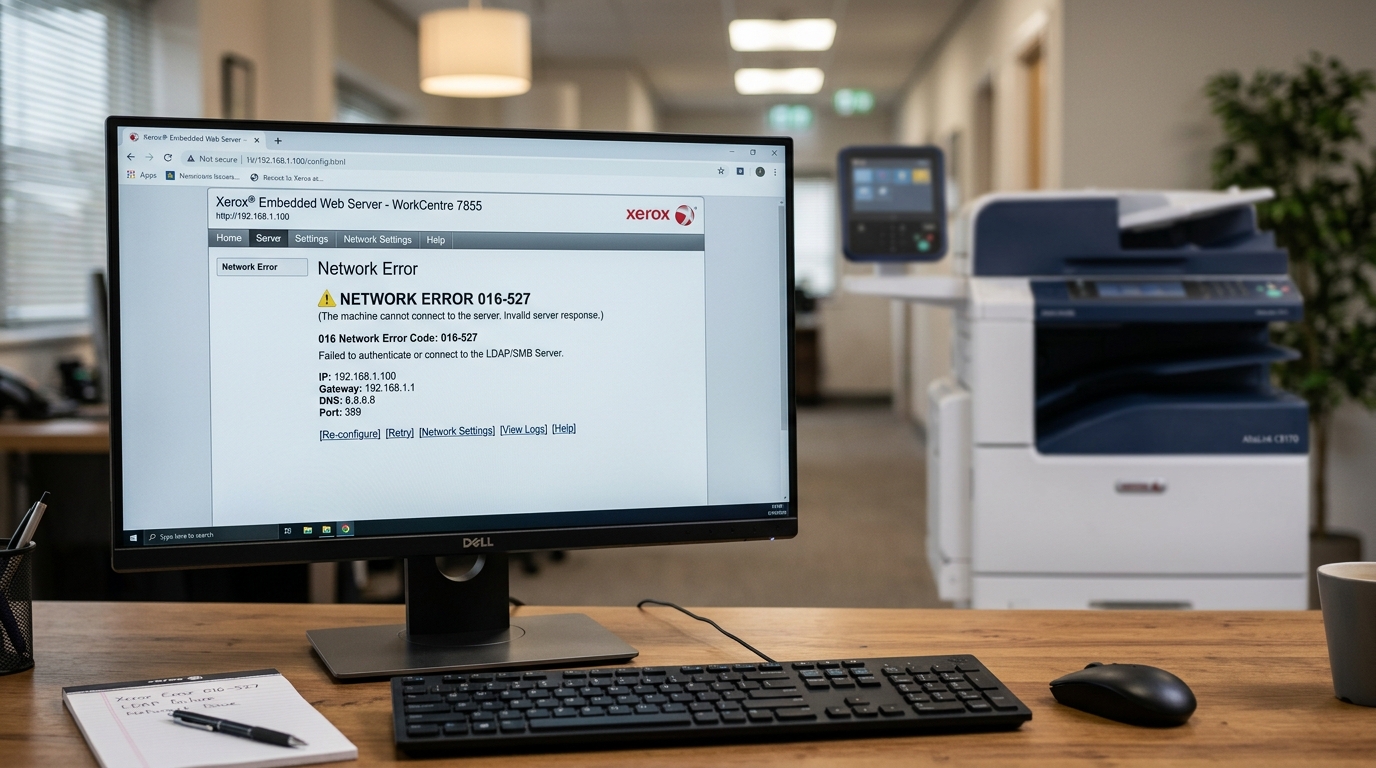
Step-by-Step Fix and Setup Guide
- Verify IP Configuration and Gateway: Print a Configuration Report from the control panel. Check the IPv4 settings. Make sure that the IP Address, Subnet Mask, and Default Gateway match your network topology. Ping the printer from a workstation on the same subnet. This verifies basic Layer 2/Layer 3 connectivity.
- Configure Reliable DNS Servers: Log into the Xerox Embedded Web Server. Use the printer's IP address. Go to Properties -> Connectivity -> Setup -> Network -> IPv4. Make sure the Primary DNS is set to your internal DNS server. Use a reliable public DNS like 8.8.8.8 if it only needs internet access.
- Synchronize the NTP Time: An incorrect system clock will instantly break SSL/TLS verification. Open the Web Interface. Go to Properties -> General Setup -> Date and Time. Set the printer to use an NTP server (e.g., pool.ntp.org). Make sure the time zone offset is exactly correct for your region.
- Update Root Certificates: Go to Properties -> Security -> Certificate Management. Look for 'Trusted Root Certificate Authorities'. Make sure the latest root certificates are installed if connecting to Office 365 or Google. You may need to download the latest root CA. Upload it manually to the printer in .CRT format.
- Force TLS 1.2 Minimum: Go to Properties -> Security -> SSL/TLS Settings. Make sure that SSLv3, TLS 1.0, and TLS 1.1 are turned off. Force the protocol to TLS 1.2 or TLS 1.3. Many cloud providers will reject connections from devices using older cipher suites.
- Test SMTP Configuration (For Scan-to-Email): Go to Properties -> Apps -> Email -> Setup. Check the SMTP server address and port. Make sure the authentication credentials are correct. Generate an "App Password" if the account uses Multi-Factor Authentication (MFA). The printer cannot process MFA prompts.
- Update Firmware (internal software): Xerox often releases System Software updates. These patch cryptographic libraries and add compatibility for new cloud APIs. Go to Properties -> General Setup -> Software Upgrade. Check the current version against the Xerox Support website. Download the .bin file if it is outdated. Do a manual upgrade during a maintenance window.
- Perform a Packet Capture: Use the printer's built-in diagnostic tools if the error persists. You can also use port mirroring on your network switch. This captures a PCAP file of the printer's traffic. Open the capture in Wireshark. Analyze the TCP handshake and SSL negotiation. This pinpoints exactly which device is dropping the connection.
Advanced Troubleshooting
You must investigate the SMB dialects if you are still receiving 016-xxx errors. This is specifically related to SMB scanning (e.g., 016-784, 016-782).
Older WorkCentre models may require a special firmware (internal software) patch to enable SMBv2 or SMBv3 support. They cannot scan to Windows Server 2019/2022 or Windows 11 shares without this patch.
As a workaround, set up an FTP server on the destination machine. Set the Xerox to scan via FTP instead of SMB.
FTP is generally immune to these specific protocol dialect mismatches. Check for duplicate IP addresses on your network.
A rogue device statically assigned the same IP as the Xerox printer will cause problems. It will cause ARP cache poisoning on the local switch.
This leads to unpredictable network drops and 016 timeout errors.
FAQ
What does error 016-404 specifically mean?
Error 016-404 usually indicates an 802.1x authentication failure. Your enterprise may use port-based network access control (NAC). The switch port is blocking the printer because it cannot provide a valid client certificate or credentials. You must upload an 802.1x machine certificate to the printer. You can also whitelist its MAC address.Why can I ping the printer, but not access the web interface?
This happens if the HTTP/HTTPS services are disabled on the printer. An internal IP filter or firewall rule might be restricting web access. You may need to access the physical control panel. Re-enable the Web Services or reset the network settings to factory defaults.Do I need a special license for Xerox cloud connectors?
Yes, many native cloud connectors require an active license. You need a subscription through the Xerox App Gallery. Trying to use the app will result in a connection error if the license expires. It may also prompt for renewal.Can a proxy server cause 016 errors?
Absolutely. Your network may route all HTTP/HTTPS traffic through a proxy server. You must set the proxy settings within the Xerox network properties. Make sure the service account credentials are saved in the printer if the proxy requires authentication.Disclaimer: Before proceeding with any hardware modifications, make sure your operating system is fully up to date. Back up any critical print spooler configurations.
Thermal and dot matrix printers interact with low-level system APIs. Modifying these parameters without a solid understanding of your network topology can lead to system instability.
It can cause unrecoverable printing queues or degraded print head lifespans. Opening the chassis or installing unsigned third-party drivers might void your support agreement.
Always consult your IT department or the official vendor documentation if you are operating within a strict compliance framework. Misconfigured network printers can expose internal subnets to unauthorized access.
Use extreme caution when handling thermal print heads or physical cutter blades. Allow the device to cool down completely for at least 15 to 30 minutes after extensive use.
Always use a grounded anti-static wrist strap when interacting with internal logic boards. This prevents electrostatic discharge from permanently damaging sensitive microcontroller units.
This guide is provided 'as is' without warranties of any kind.
