


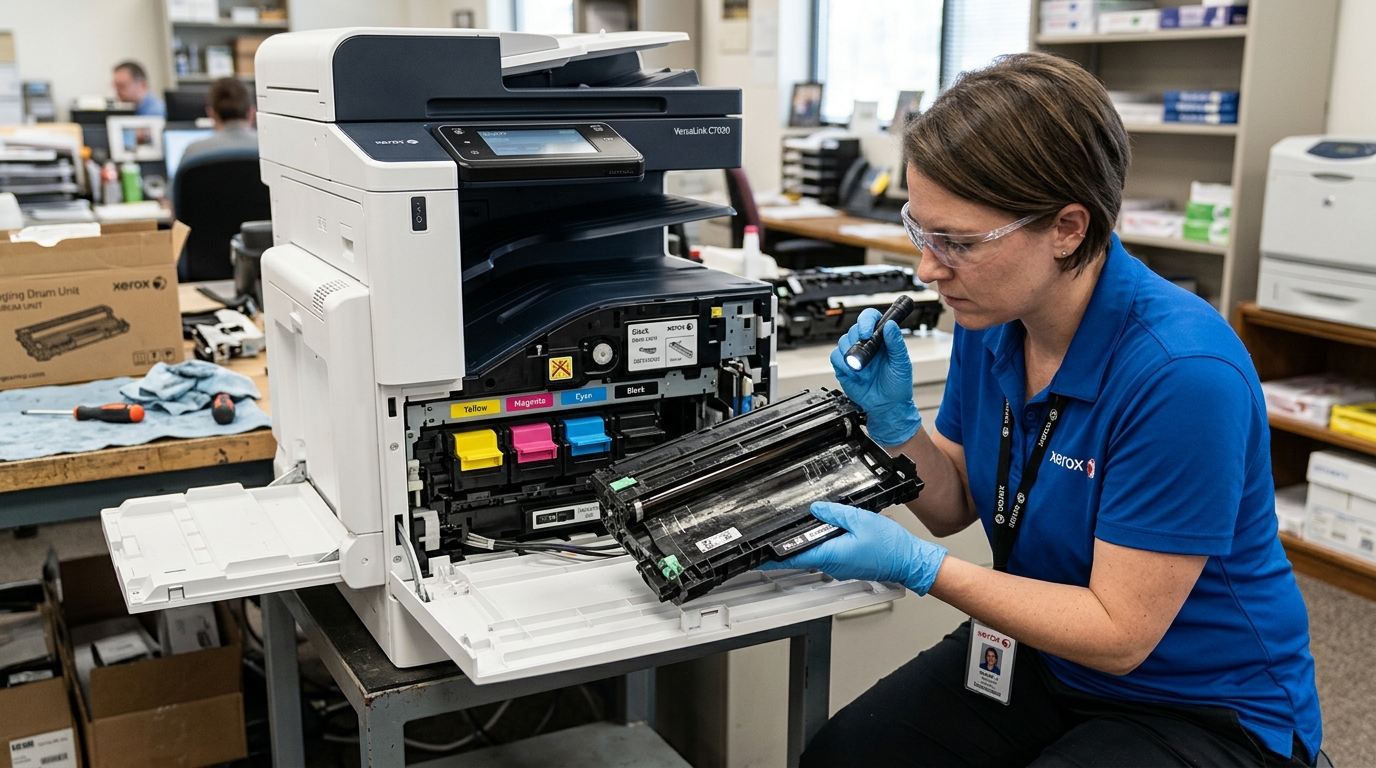
Fix Xerox Imaging Drum Codes (091, 092, 093 Errors)
Xerox laser printers produce crisp text and vibrant images using complex internal parts. The imaging drum, transfer belt, and toner supply system work together closely.
When one part fails, the printer stops and shows an error code. Xerox uses specific code families for these errors.
The 091, 092, and 093 error series point to the xerographic subsystem. These codes mean the printer cannot form or transfer the image to the paper.
This guide explains these three error families. We explain what each code means and how to fix the underlying hardware issues.
You will learn how to get your Xerox printer running again.
Why This Happens
Each error code family points to a different stage of the printing process. Error codes in the 091 range indicate a problem with the imaging drum unit.
The drum holds the electrostatic charge that attracts the toner. The printer tracks the drum's life using a smart chip and a page counter.
A 091 error often means the drum has reached its end of life and needs replacement. A 091 error on a new drum means a bad electrical connection.
The high-voltage bias charge cannot reach the drum cylinder.
Error codes in the 092 range are sensor-related. The printer lays down small patches of toner on the transfer belt during setup.
It uses optical sensors to read their density and alignment. Paper dust or stray toner can cover these sensors.
A damaged transfer belt can also cause this. The calibration process fails, and the printer throws a 092 error.
Finally, 093 errors point to a toner supply problem. The internal toner auger might be jammed.
The sub-hopper might be empty, or the waste toner auger might be clogged. High humidity makes toner clump together.
This worsens dispensing and waste removal issues, leading to 093 alerts.
Step-by-Step Fix
- Identify the Specific Faulty Component: The error code includes a three-digit number (like 091-402) that specifies the exact color drum or sensor. Check your Xerox manual to translate the code. Numbers ending in 1 relate to Cyan, 2 to Magenta, 3 to Yellow, and 4 to Black. Identifying the exact part helps you avoid replacing good parts.
- Power Cycle and Reseat the Components: Turn the printer off completely. Unplug it from the wall for two minutes. Open the front cover and remove the imaging drum cartridge related to the error. Inspect the electrical contacts on the cartridge and inside the printer. Wipe them gently with a dry, lint-free cloth. Reinstall the drum firmly until it clicks. Power the machine back on.
- Clean the Optical Density Sensors: For a 092 error, you must clean the CTD (Color Toner Density) or ADC (Automatic Density Control) sensors. These sit under the transfer belt. Some models have a built-in cleaning rod you pull in and out. For others, open a hatch and wipe the glass sensors with a dry microfiber cloth. Do not use chemical cleaners here.
- Check the Toner Dispense and Waste System: For 093 errors, remove the toner cartridge. Check the gear on the side that drives the internal auger. Make sure it spins freely. Tap the cartridge gently to loosen clumped toner. Check the waste toner bottle. The system will back up if it is full or clogged. Replace the waste bottle if needed. Vacuum loose toner with a toner-safe vacuum (never use a normal household vacuum).
- Perform a Software Reset/NVM Initialization: If cleaning fails, the error might be stuck in the printer's Non-Volatile Memory (NVM). Enter diagnostic mode (hold '0' for 5 seconds, press Start, enter passcode '6789' or '1111'). This lets you reset specific NVM values for drum faults. Be very careful. Only change the specific NVM links for your exact model. Wrong changes can break the machine.
Advanced Troubleshooting
Investigate the high-voltage power supply (HVPS) and internal drive motors if basic fixes fail. A persistent 091 error on a new drum means broken pins inside the machine.
Shine a flashlight inside and check the pins connecting to the drum's smart chip. You might need a dental pick to realign them.
If the pins are fine, the wiring harness might have a short. The HVPS board might fail to provide the needed voltage.
You must test this with a multimeter and maybe replace the board.
For stubborn 092 errors, the intermediate transfer belt (ITB) might be torn or slipping. The color patches will misalign if the belt moves at uneven speeds.
Inspect the ITB for physical damage or baked-on toner. Replacing the whole ITB assembly is often the only fix for severe 092 errors.
For persistent 093 errors, the toner auger motor might be burned out. Run a component test in diagnostic mode to check the motor.
If it fails, a certified technician must replace the main drive assembly or the motor.
FAQ
Can I bypass a 091 drum life error and keep printing?
Some older Xerox models let you bypass a drum warning in the diagnostic menu. We do not recommend this.
Why do I get a 092-310 error after installing a new toner cartridge?
Error 092-310 is a color calibration failure. A new toner cartridge can dump too much toner at first.
What should I do if my waste toner container is empty but I still get a 093 error?
If the printer reports a full waste bottle but it is empty, the sensor or chute is bad. The optical sensor might be dusty.
Are 091, 092, and 093 errors covered under the Xerox maintenance agreement?
Yes, an active Xerox full-service maintenance agreement covers these issues. The contract usually includes drums and toner.
