


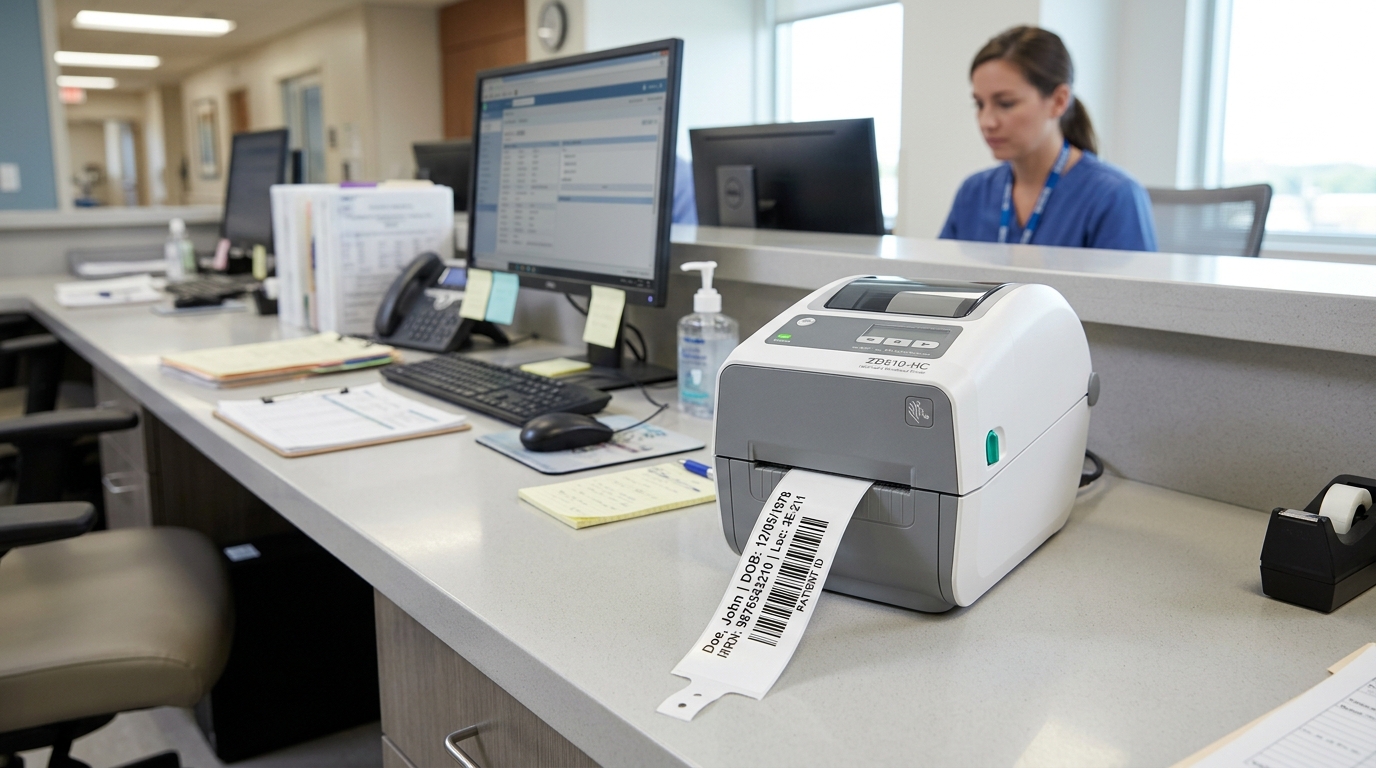
Understanding Healthcare Wristband Printing
Bixolon SLP-TX220, SLP-DX220, and XD3-40 2-inch desktop barcode printers are widely deployed in healthcare clinics, hospitals, and water parks to print patient ID wristbands.
Wristband stock features specialized synthetic polypropylene materials, thick adhesive closures, and die-cut timing notches that require precise sensor calibration to prevent feed errors.
Step 1: Align the Adjustable Notch / Black Mark Sensor
Unlike standard labels with rectangular gaps, wristbands use a small side notch or black mark to signal page breaks:
- Open printer lid: Lift the clam-shell cover to expose the media guide assembly.
- Locate media sensor slider: Find the small green or black optical sensor slider mounted on the paper guide rail.
- Align with wristband notch: Slide the optical sensor laterally until it aligns precisely with the cut-out notch or black bar on your wristband roll.
- Lock media guides: Snug the media roll guides against the wristband roll core to prevent lateral media wander.
Step 2: Switch to Direct Thermal Mode (No Ribbon)
Most healthcare patient wristbands are direct thermal media that do not require ink ribbons:
- Verify media coating: Scratch the wristband face quickly with your fingernail. If a black streak appears, the material is direct thermal.
- Remove ribbon core: If using a thermal transfer model (SLP-TX220), remove any installed ribbon rolls.
- Set driver to Direct Thermal: In printer driver properties, switch the Print Method from Thermal Transfer to Direct Thermal.
- Avoid ribbon sensor errors: Running direct thermal wristbands while the driver is set to thermal transfer triggers an instant "Ribbon Out" error.
Step 3: Execute Wristband Media Auto-Calibration
Synthetic wristband material has different light transmission characteristics than paper labels:
- Turn off power: Switch off the printer power toggle.
- Hold Pause/Feed buttons: Hold the Feed button (or Feed + Pause on XD models) and turn power on.
- Initiate sensor calibration: Release when the status LED turns orange. The printer advances two wristbands to calculate notch depth.
- Verify tear-off position: Verify the wristband stops with the perforation sitting exactly against the tear bar.
Frequently Asked Questions
Why does the printer feed 5 wristbands and flash a red error light?
The optical sensor is misaligned with the wristband notch, causing a media sensor timeout error.
Why is the patient barcode on the wristband faint and un-scannable?
Synthetic wristbands require higher thermal heat; increase the print darkness setting by +2 or +3 in driver preferences.
Can alcohol hand sanitizer damage Bixolon wristband printouts?
Standard thermal wristbands fade under alcohol; healthcare facilities must use top-coated thermal wristbands resistant to sanitizers.
