


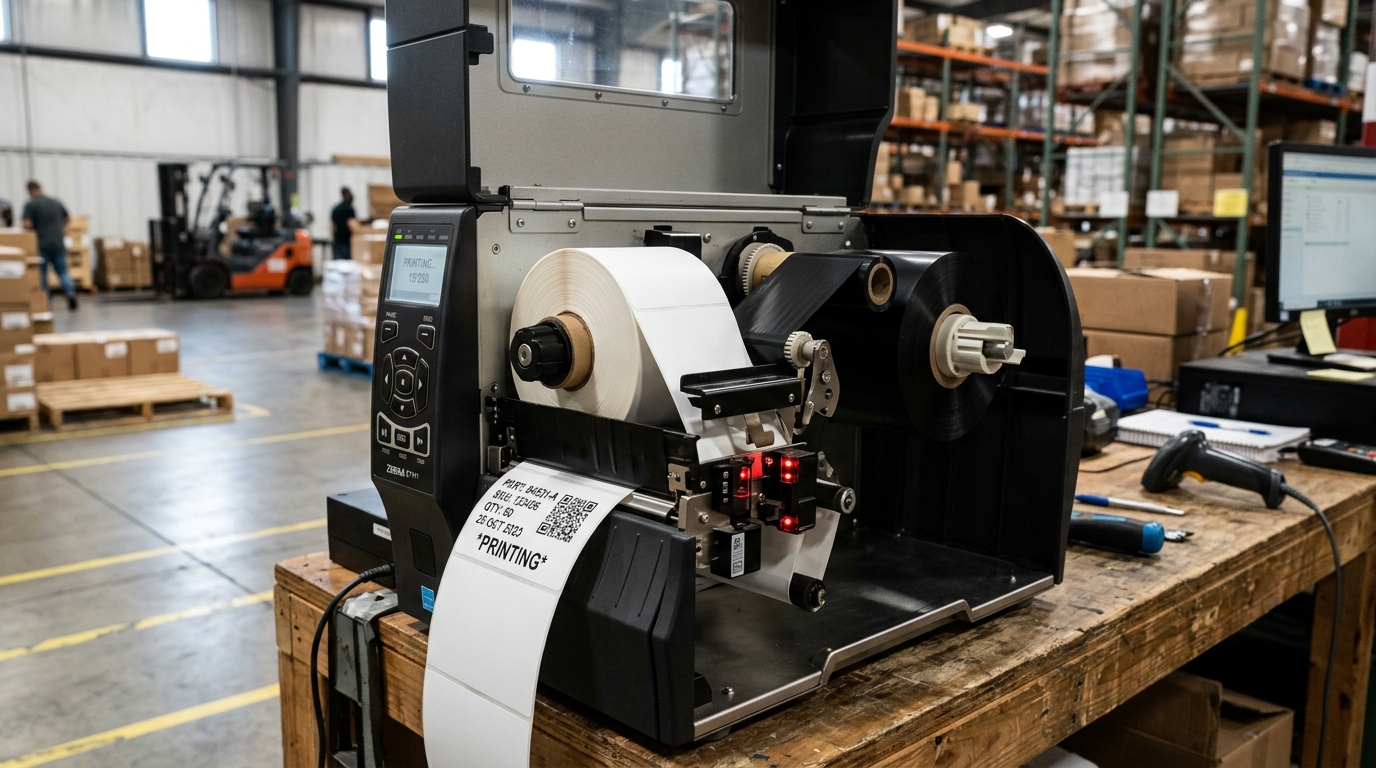
Introduction to Citizen Printer Media Detection
Citizen label printers, particularly their industrial (like the CL-S700 series). Robust desktop models (like the CL-S621), are engineered for high-performance, precision printing in demanding environments such as manufacturing, logistics, and healthcare.
A critical component of this precision is the printer's ability to accurately identify where one. Label ends and the next begins.
This ensures that text and barcodes are perfectly aligned on every label, preventing waste and ensuring scannability. This alignment is managed by the printer's media sensors.
" When this occurs, the printer might feed multiple blank labels before stopping, print across the gap between labels,. Display a red error light and refuse to print entirely. This happens because the internal sensors are failing to register the physical characteristics of the media you have loaded.
Understanding how your Citizen printer "sees" the labels is fundamental to resolving these feed errors. These printers typically utilize two types of sensors: a transmissive sensor (which shines light through the backing paper to detect the gap between labels).
A reflective sensor (which bounces light off the back of the media to detect a printed black mark or notch). When the printer software expects one type of media.
Physically receives another, or when the sensor is physically obstructed or misaligned, the calibration fails. This guide will walk you through the precise steps to diagnose, clean, align,.
Configure your Citizen printer to permanently resolve gap and reflective media detection issues.
Why This Happens: Sensor Mechanics and settings
The "Label Gap Not Detected" error primarily stems from a mismatch between physical reality and software settings. Let's examine the transmissive sensor first.
When using standard die-cut labels (labels with a small gap between them on the backing. Liner), the printer shines an infrared light from the bottom up through the media.
The liner is relatively translucent, while the label itself is opaque. The sensor detects the sudden increase in light passing through the gap, signaling the start of a new label.
If the labels you are using have a very thick liner,. If you are using clear synthetic labels, the transmissive sensor cannot detect a sufficient difference in light transmission, leading to continuous feeding errors.
Conversely, the reflective sensor is used for continuous media with pre-printed black timing marks on the back,. Media with physical notches cut into the side.
The sensor emits light and waits for it to bounce back. The black mark absorbs the light, causing a drop in reflection, which signals the label boundary.
If your driver is set to "Transmissive/Gap" but you have loaded "Reflective/Black Mark" media, the printer will fail to calibrate. Because it is looking for the wrong physical cue.
Beyond settings, physical issues are frequent culprits. Industrial environments are dusty.
Paper dust, adhesive residue, and environmental dirt can quickly coat the delicate lenses of the media sensors. A dirty sensor is a blind sensor.
Furthermore, Citizen printers feature adjustable sensor arrays. If the sensor has been accidentally slid to the far edge of the printer, it.
Might be looking at the empty space beside the label roll, completely missing the gaps or black marks located in the center of the media. Proper alignment is just as critical as software settings.
Step-by-Step Fix: Resolving Sensor and Feed Errors
- Physical Inspection and Cleaning: Turn off the printer and open the clamshell or printhead mechanism completely. Remove the label roll and any ribbon. Locate the media sensors. In most Citizen models, the bottom sensor emits the light, and the upper sensor receives it (for transmissive). Using a can of compressed air, blow away any loose dust. Then, lightly dampen a lint-free swab with 99% isopropyl alcohol. Gently wipe the clear plastic lenses of both the upper and lower sensor arrays. Ensure no adhesive residue remains.
- Align the Sensor Array:Citizen printers have a movable sensor arm. Slider, allowing you to position the sensor correctly for different media widths or irregularly placed black marks. Locate the sensor adjustment dial or lever (often blue or green). Slide the sensor so that its alignment mark is positioned directly under the gap or black mark of your labels. For standard die-cut labels, position it squarely in the middle of the label width. If your labels have a black mark on the left edge, you must slide the. Sensor to the left to intercept it.
- Configure the Windows Driver: The physical setup must match the software. On your PC, go to 'Control Panel' > 'Devices and Printers'. Right-click your Citizen printer and select 'Printing preferences'. Navigate to the 'Stock' or 'Page Setup' tab. Look for the 'Media Type' or 'Sensor Type' setting. You must select exactly what you are using: 'Labels with Gaps' (Transmissive), 'Labels with Marks' (Reflective),. 'Continuous' (No sensor used, relies on specified length). Click 'Apply' and 'OK'.
- Configure the Printer's Internal Settings (VuePrint Menu): Sometimes the printer's internal memory overrides the Windows driver. Turn the printer on. Use the LCD screen and navigation buttons to enter the VuePrint menu system. Navigate to 'Media Settings' > 'Sensor'. Ensure this is set to match your driver (Gap or ReflectMark). Save the settings and exit the menu.
- Perform an Auto-Calibration (Media Measure): This is the most crucial step. Once cleaned, aligned, and configured, you must force the printer to learn the characteristics of the installed media. Most Citizen printers have a physical 'Calibrate' or 'Measure' sequence. Often, this involves turning the printer off, holding down the 'Feed'. 'Pause' buttons simultaneously, and turning the printer back on while holding them until the printer starts feeding labels. The printer will feed several blank labels, measuring the exact voltage change between the label and the gap/mark. Once it stops, press the Feed button once; exactly one label should feed.
Advanced Troubleshooting: Diagnostic Tools and firmware (internal software)
If standard calibration fails, you need to dig deeper into the sensor's electronic response. Citizen provides a powerful diagnostic utility (usually available for download on their support site) that allows you to connect to the printer.
Monitor the raw analog voltage readings from the sensors in real-time. When you manually pull media through the printer, you should see the voltage graph spike.
Significantly when a gap passes over the sensor. 0v difference), the sensor may be failing, the LED emitter might be weak,.
The media liner is simply too thick or opaque for that specific sensor model. Adjusting the sensor sensitivity/gain via the diagnostic tool can sometimes compensate for difficult media.
firmware (internal software) bugs can also cause erratic sensor behavior. Check the Citizen website for the latest firmware (internal software) release for your specific printer model.
Updating the firmware (internal software) flushes the system. Installs the most recent operational logic, which often includes patches for media handling issues.
Be incredibly careful during a firmware (internal software) flash; ensure the printer is connected via a stable USB. Serial connection, and do not interrupt power during the process, as this can 'brick' the mainboard.
Finally, inspect the platen roller (the rubber drive roller underneath the printhead). If the platen roller is worn smooth, heavily grooved, or covered in adhesive, it may slip against the backing liner.
If the roller slips, the media doesn't move exactly when the motor turns, causing the. Sensor timing to be thrown off.
5 inches, leading to a "Gap Not Detected" error. Because the gap hasn't arrived at the sensor when the software expected it.
Replacing a worn platen roller often resolves stubborn, intermittent feeding issues.
FAQ
What is the difference between Transmissive and Reflective sensors?
A transmissive sensor shines light completely through the media. It detects the gap between labels because more light passes through the thin liner than through the thicker label.
Can my Citizen printer print on clear or transparent labels?
Printing on clear labels is notoriously difficult for standard transmissive sensors. Because the light passes identically through both the label and the gap.
Why does the printer feed exactly one blank label between every printed label?
This is almost always a settings issue regarding label length. 1 inches, the printer prints the image, then looks for the next gap.
