


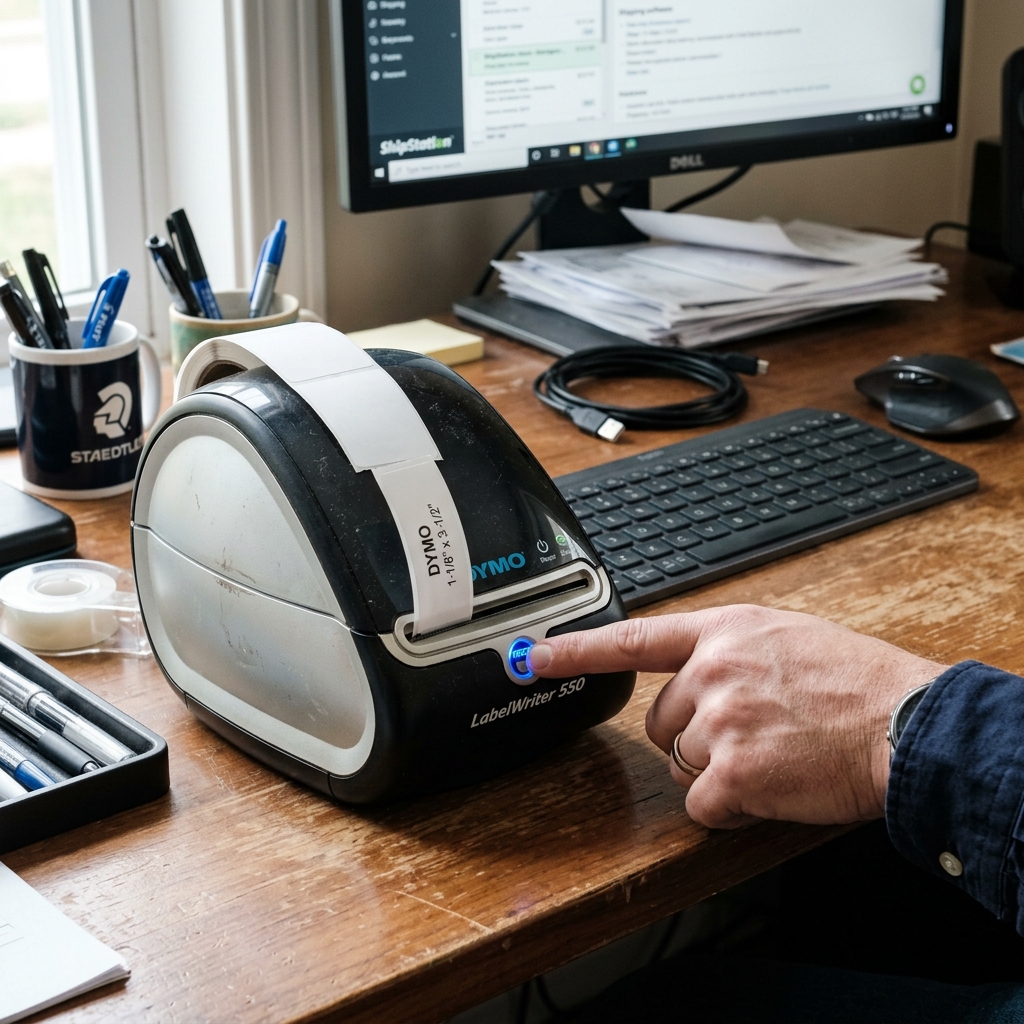
Why This Happens
Understanding the root cause of the calibration and feed size mismatch error is crucial. It prevents the error from happening in the future.
The Dymo LabelWriter uses a direct thermal printing process. It combines this with an optical sensor to track label position.
Here are the main reasons why you might see this issue:
1. Software to Hardware Size Discrepancy: The most common cause is a mismatch.
This is between the label template selected in the software and the physical labels loaded into the printer. Your software may be set to print a 4" x 6" shipping label.
If you have 1.125" x 3.5" address labels loaded, the printer will attempt to feed enough paper for the 6-inch label. This results in multiple small labels feeding through or a complete error state.
2. Dirty or Blocked Optical Sensor: The printer determines the start and end of each label.
It shines a light through the index hole between labels on the backing paper. Paper dust, adhesive residue, or debris can block this sensor.
The printer becomes "blind" and cannot calibrate the feed length. This often leads to continuous feeding of blank labels.
3. Incorrect Label Insertion: The label spool may not be pushed all the way to the right side. The labels might not be fed squarely into the feed path. The index holes may not align with the optical sensor. The labels must be snug against the left guide.
4. Third-Party Label Compatibility: Many third-party labels work fine.
Some have index holes that are too small or incorrectly positioned. The backing paper may be too opaque for the sensor to read properly.
Newer Dymo 550 and 5XL models use built-in RFID chips to verify authentic Dymo labels. The printer may refuse to feed or print correctly if the chip is missing or unreadable.
Step-by-Step Fix
Follow these detailed steps to resolve the calibration and feed size mismatch issue. This process will reset the printer's internal memory. It will also clean the hardware components.
- Verify Software Settings: Open your Dymo software. Check the label size selected in your current project. Compare this to the physical label roll installed. The label part number should match exactly. Adjust the software template if necessary.
- Remove the Label Roll: Press the reverse feed button on the front of the printer to back the labels out. Open the top cover, remove the spool, and pull any remaining labels out of the feed path.
- Clean the Optical Sensor: This is a critical step. Unplug the power and USB cables from the printer. Take a can of compressed air and blow it into the label feed path. This removes loose dust. Next, take a Dymo cleaning card and pass it through the feed mechanism a few times. Allow it to dry completely.
- Perform a Hard Reset: Hold down the feed button on the front of the printer while it is unplugged. Plug the power cable back in while continuing to hold the button. Keep holding the button for another 5-10 seconds until the blue light flashes rapidly. This clears the printer's calibration memory.
- Reload the Labels Correctly: Place the label roll on the spool. Make sure it is pushed completely to the right side with no gap. Insert the spool into the printer. Feed the first label into the slot. Make sure the left edge of the label is perfectly aligned with the left side of the feed path. The printer should automatically grab the label and feed it into the starting position.
- Run a Test Feed: Press the feed button once. Exactly one blank label should feed out. The printer should stop perfectly at the tear bar. The sensor may still be dirty or the labels are incompatible if it feeds multiple labels.
- Print a Test Page: Reconnect the USB cable. Open the Dymo software, and print a single test label. Verify that the alignment is perfect.
Advanced Troubleshooting
You may need to look deeper into the system settings if you still experience issues. This is true if you have completed the step-by-step fix.
Reinstalling Printer Drivers: Corrupted printer drivers can send incorrect page size commands to the spooler. Completely uninstall the Dymo software and drivers.
On Windows, go to Print Server Properties and remove the Dymo drivers. Restart your computer.
Download the latest version of Dymo Connect from the official website, and reinstall it. This ensures a clean registry and updated driver files.
Check the Spool Integrity: Inspect the plastic label spool itself. The label roll will wobble as it unwinds if the right-hand guide is cracked, loose, or missing.
This wobbling causes the index holes to drift left and right. They occasionally miss the optical sensor.
Replacing a damaged spool is often a cheap and instant fix.
Firmware (internal software) Update: Dymo occasionally releases firmware (internal software) updates for newer models. These improve label detection and RFID reading capabilities. Open the Dymo Connect software, go to the Help or About menu, and check for updates. Make sure the printer is connected via USB during this process.
Inspecting for Label Jams: Sometimes a label wraps around the internal platen roller. You may need to use a flashlight to look deep into the feed path.
A stuck label will block the sensor. Never use sharp metal objects to remove it.
You will scratch the print head. Use tweezers and patience.
FAQ
Why is my Dymo printer feeding blank labels continuously?
This usually happens because the printer's optical sensor is dirty. It might be blocked by a piece of a torn label.
How do I know if my labels are compatible with my Dymo printer?
Most direct thermal labels with the correct dimensions and index holes will work for a LabelWriter 450 or older. LabelWriter 550, 5XL, or 550 Turbo use "Automatic Label Recognition".
Can I bypass the label size error in Dymo software?
No, the software and printer must have matching dimensions. The printer relies on the software to tell it how many steps the stepper motor needs to turn.
What is the best way to clean the Dymo print head and sensors?
The safest and most effective method is using official Dymo cleaning cards. Use a lint-free swab lightly moistened with 99% isopropyl alcohol if you don't have those.
Does a hard reset delete my saved label templates?
No. A hard reset on the printer only clears the printer's internal hardware memory regarding the current label calibration.
