


Introduction
The Fujifilm Instax Mini Link is celebrated for its ability to flawlessly translate digital images into charming analog instant photos. However, when things go wrong with the analog development process, the results can be frustrating.
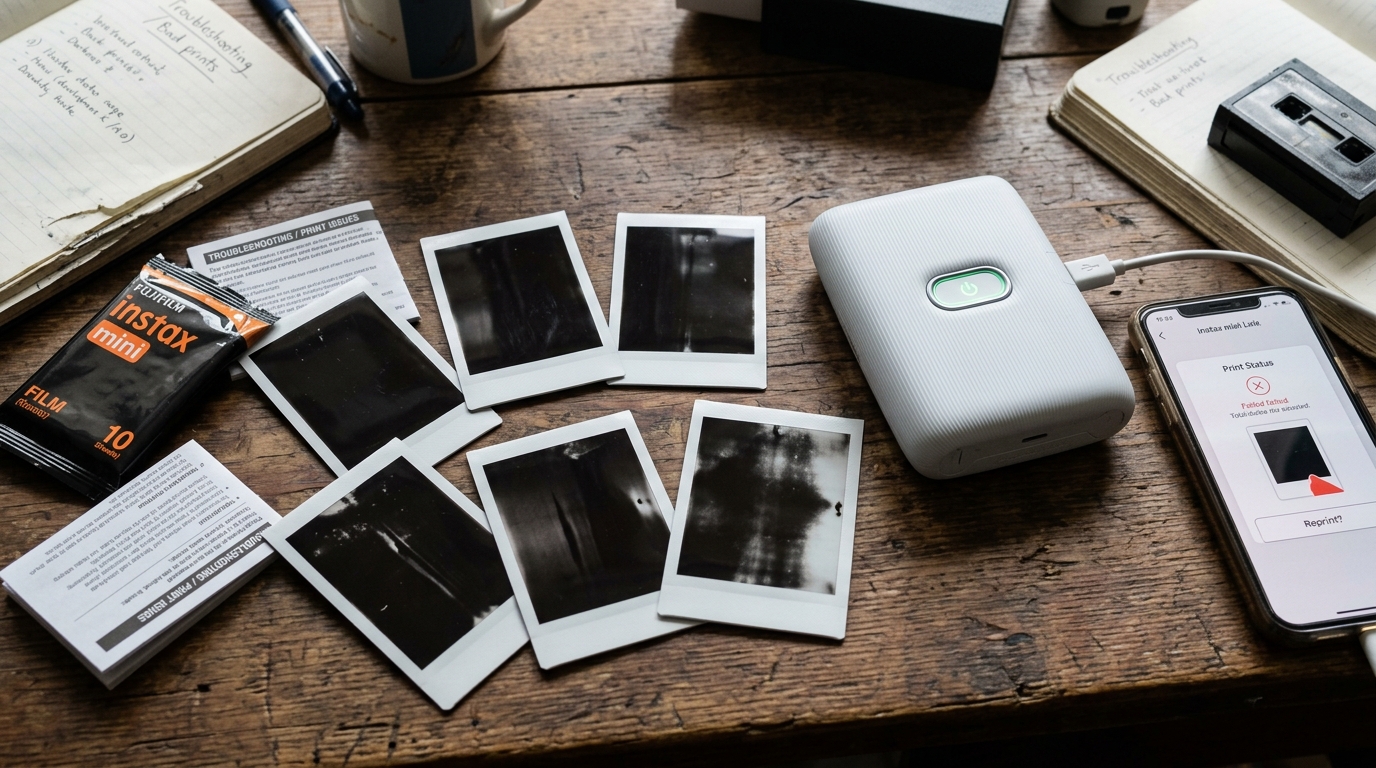
Producing photos that are entirely blank, severely overexposed (washed out. White), or excessively dark (underexposed) is a common issue that bridges the gap between digital settings and physical chemistry.
These issues are rarely caused by a broken printer; rather, they stem from improper film handling, extreme environmental conditions, or a mismatch between the digital image's lighting. The film's exposure limits.
This comprehensive guide will dissect the causes behind blank, white. Dark prints, explaining the chemical and physical reasons these errors occur.
More importantly, we will provide you with a structured, step-by-step approach to diagnosing and fixing these exposure problems. By mastering the interaction between your smartphone's screen brightness, the Instax app's editing tools.
The physical nature of instant film, you can eliminate wasted prints and ensure every photo develops exactly as you envisioned.
Why This Happens: The Chemistry of Exposure
To fix exposure issues, you must first understand how Instax film works. Instax film is an analog medium composed of multiple light-sensitive emulsion layers.
A pod of developer chemicals at the bottom of each frame. When a print is initiated, the Mini Link uses an internal OLED array to "expose" the film by flashing light onto it.
The printer then pushes the film through rollers. Crush the chemical pod and spread the developer across the image to finalize the reaction.
Blank or purely white prints (severe overexposure) happen when the film is exposed to an overwhelming amount of light before or during development. The most common cause is opening the film compartment door after the protective dark slide has been ejected.
Even a split second of ambient room light will completely saturate the film's emulsion, resulting in a stark white image.
Conversely, completely dark or black prints (severe underexposure) occur when the film receives insufficient light or when the chemical developer fails to spread. This can happen if the original digital photo was taken in extreme low light.
Lacks detail, or if the printer's internal OLED screen malfunctions. Additionally, temperature plays a massive role in development.
Instax film chemistry is optimized for room temperature (around 70°F or 21°C). If you print in freezing conditions, the chemical reaction slows down significantly, resulting in dark, murky prints with blue undertones.
If you print in extreme heat, the reaction accelerates, causing washed-out, overexposed images with orange or pink hues. Understanding these variables is key to troubleshooting print failures.
Step-by-Step Fixes for Exposure Issues
- Verify Film Handling for White Prints: If your print comes out completely white, ask yourself if the film door on the back of the printer was opened after the pack was loaded. If it was, the top 1 to 3 sheets in the cartridge are ruined. You must print through these ruined sheets (or manually extract them in total darkness) until you reach unexposed film deeper in the cartridge. Never open the door until the app indicates the pack is empty.
- Assess Digital Image Quality for Dark Prints: If your print is too dark, examine the original photo on your phone with the screen brightness turned down to 50%. Smartphone screens are backlit and incredibly bright, making dark photos look better than they actually are. Instax film has a narrow dynamic range and cannot reproduce details in deep shadows. Use the Instax app's brightness and contrast sliders to significantly lighten dark photos before printing.
- Control the Printing Environment: Ensure you are printing and developing the photos at room temperature (between 41°F and 104°F, but ideally around 70°F). If you are outside in the cold, place the developing photo in an inner coat pocket close to your body heat. If it is very hot, keep the developing photo out of direct sunlight and in a cool, shaded area.
- Avoid Pressure During Development: After the photo ejects, do not squeeze, bend, or press on the image area. Applying pressure disrupts the even spread of the developer chemicals. Can cause dark spots, uneven exposure lines, or completely blank patches where the chemicals were pushed away.
- Clean the Internal Rollers: Sometimes, dark streaks or uneven exposure are caused by dirty rollers inside the printer. If the rollers are coated in dried chemical residue from a previous jam, they will not spread the developer evenly. Use a slightly damp cotton swab to carefully clean the metal rollers just inside the film ejection slot, being careful not to drip water into the device.
- Check Expiration Dates: Look at the foil wrapper of your film pack. Expired film often exhibits severe color shifts, loss of contrast, or completely fails to develop, resulting in dark or mottled prints. Always use fresh film stored in a cool, dry place.
Advanced Troubleshooting
If you have addressed environmental factors, verified your digital images are bright enough. Ensured the film door was never opened, but you are still consistently getting completely black prints, you may have a hardware failure.
A completely black print (assuming fresh film. Normal temperatures) indicates that the internal OLED exposure array in the printer is not firing, meaning no light is hitting the film before it is ejected.
This is a critical hardware failure often caused by dropping the printer or a ribbon cable disconnecting internally.
Before concluding the hardware is dead, try a hard reset of the printer. Reinstall the Instax Mini Link app to ensure a software glitch isn't preventing the print command from executing fully.
Also, try printing a completely white image (create a white square in a photo editor). If the print comes out black, the OLED array is definitively failing.
If it comes out white, the exposure system is working. Your previous dark prints were likely due to extreme underexposure of the source image or defective film chemistry.
In the case of a failed OLED array, you will need to contact Fujifilm support for a warranty replacement or repair.
FAQ
Why did only half of my picture develop?
This is a classic sign that the chemical developer pod did not spread evenly. This usually happens if the photo was bent or squeezed.
Can X-ray machines at airports ruin my unprinted film?
Yes. Airport security X-ray machines, especially the newer CT scanners used for carry-on luggage, will severely fog or completely ruin unexposed Instax film, resulting in cloudy or washed-out prints.
Will leaving the printer in a hot car damage the film?
Absolutely. High temperatures degrade the chemical developer pods in the film cartridge.
How can I test if my film is expired?
Aside from checking the date on the box, expired film typically shows weak contrast, shifts in color (often turning purple or magenta), or fails to spread chemicals evenly. If you experience these issues across an entire pack, it's likely expired or was stored improperly.
