


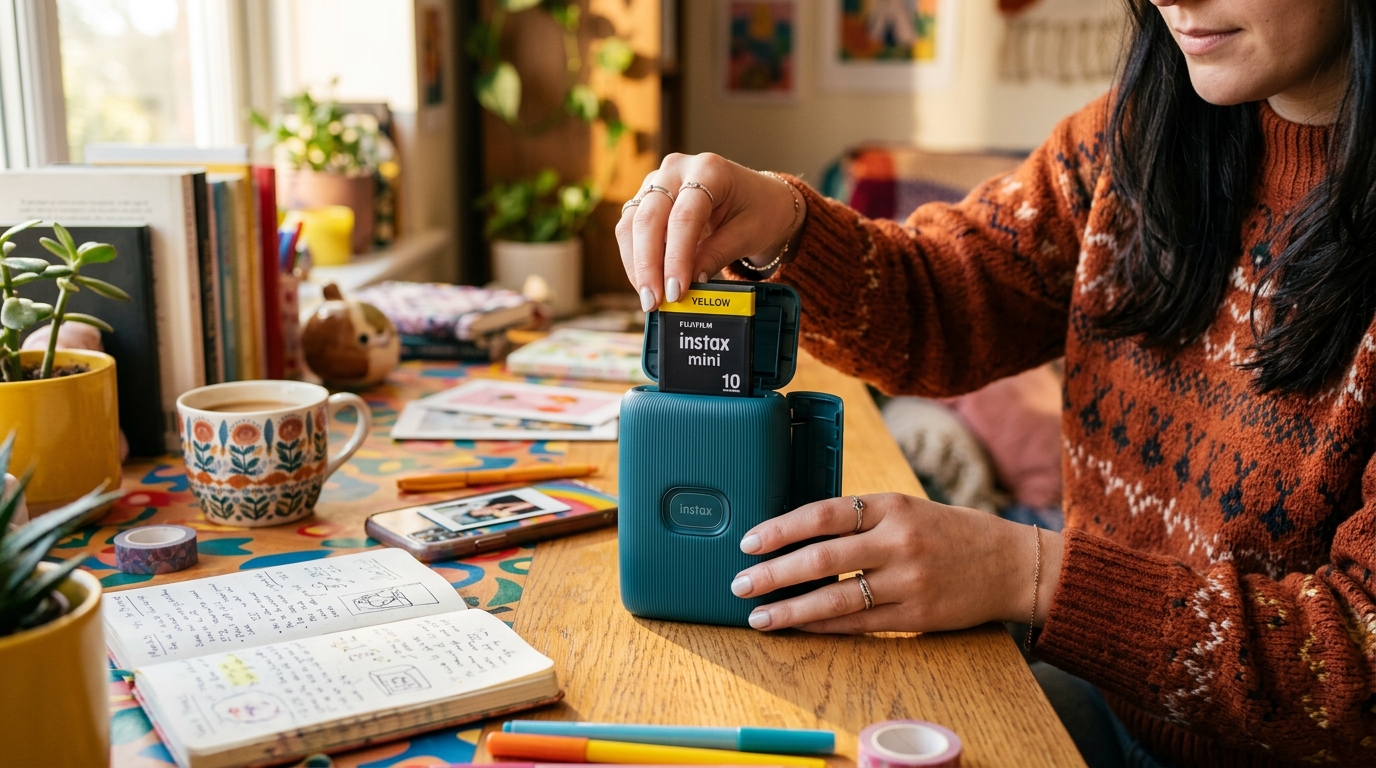
Introduction
The Fujifilm Instax Mini Link is a phenomenal bridge between the convenience of smartphone photography. The nostalgic charm of instant film.
By connecting via Bluetooth, it allows you to print any photo from your phone's camera roll directly onto classic Instax Mini film. While the hardware is designed to be sleek.
User-friendly, getting started requires a bit of care, particularly Regarding pairing the device. Loading the analog film packs.
This guide serves as your comprehensive resource for setting up the Instax Mini Link for the very first time. We will cover everything from unboxing.
Initial charging to navigating the companion app. The precise method for loading film to prevent exposure damage.
The transition from digital to physical media involves chemical development processes that are sensitive to light and handling. Understanding how to properly handle the hardware ensures that you don't waste expensive film packs on blank or jammed prints.
Read on to master your Instax Mini Link and start producing beautiful, credit-card-sized memories.
Why Proper Setup and Loading Matter
Unlike digital printers that use ink or thermal paper, the Instax Mini Link uses actual photographic film that contains complex chemical developer pods. When the printer ejects a photo, it passes the film through metal rollers that crush these pods, spreading the developer chemicals evenly across the image area.
This is a purely analog process controlled by digital signals. Because the film is highly light-sensitive before it is ejected, any improper handling during the loading process can ruin an entire pack of 10 exposures.
Opening the film door prematurely exposes the top layers of film to ambient light, completely burning them out. Resulting in pure white prints.
Furthermore, the physical alignment of the film pack inside the printer is crucial. The printer uses a small mechanical arm (the pick arm) to push a single sheet of film up into the roller assembly.
If the film pack is loaded at an angle or forced into the compartment, this arm can jam, or multiple sheets can be pushed simultaneously, leading to catastrophic jams that can break the printer's internal gearing. On the digital side, proper setup via the Instax Mini Link app is necessary to calibrate print settings.
The app controls exposure times. Color saturation, effectively translating your backlit phone screen's image into the specific color profile required by the Instax film chemistry.
A smooth setup ensures seamless communication between the app's digital processing and the printer's analog output.
Step-by-Step Setup and Film Loading
- Charge the Printer: Before doing anything else, plug the included USB cable into the printer and connect it to a power adapter. The Instax button on the front will light up to indicate charging. Wait until the light turns solid or turns off, indicating a full charge. A low battery can cause the motor to fail mid-ejection, ruining a print.
- Download and Install the App: Go to your smartphone's app store and search for the "Instax Mini Link" app. There are several Instax apps; ensure you download the one specifically for the "Link" to guarantee compatibility.
- Turn on the Printer: Press and hold the large Instax button on the center of the device for about one second until the LED illuminates.
- Pair the Device: Open the app, grant any necessary Bluetooth and location permissions (required for Bluetooth Low Energy on some operating systems), and follow the on-screen prompts to pair the printer. The LED on the printer will change color to confirm a successful connection.
- Prepare the Film Pack: Open your new pack of Instax Mini film. You will find a plastic cartridge inside a foil wrapper. Carefully tear open the foil. Do not press on the center of the cartridge, as this can damage the film inside. Always handle the cartridge by its edges.
- Open the Film Compartment: Slide the latch on the back of the printer to open the film door.
- Align the Yellow Marks: Look for the yellow marker on the top right corner of the film cartridge and the corresponding yellow marker inside the printer's film compartment. Align these two markers.
- Insert and Close: Drop the cartridge into the compartment. It should sit perfectly flat without any force. Close the film door securely until you hear a click.
- Eject the Dark Slide: As soon as the door is closed, the printer will automatically make a motorized noise and eject the black plastic protective cover (the dark slide). Do not pull on it; let the printer push it out completely, then remove and discard it. Your printer is now loaded and ready.
Advanced Troubleshooting
Occasionally, you might run into connectivity or mechanical issues. If your phone cannot find the printer via Bluetooth, first ensure no other devices are currently connected to it, as it only supports one active connection at a time.
If it still fails, perform a reset. Unpair the printer from your phone's Bluetooth settings menu.
Then, with the printer turned on, quickly press the power button 5 times in a row. This will reset the Bluetooth module, often resolving pairing glitches.
If you experience a paper jam where a photo gets stuck halfway out, do not pull the photo forcefully. Pulling can strip the delicate plastic gears inside the roller assembly.
Instead, turn the printer off and then back on. The startup cycle often triggers the motor to complete its ejection sequence.
If the printer is completely unresponsive and the photo is stuck, ensure the battery is charged. If it still won't budge, gently opening the film door in a pitch-black room (to save the remaining film).
Carefully removing the cartridge. The jammed film is the only recourse.
This should be an absolute last resort as it risks further damage. Light leaks.
FAQ
Can I open the film door to check how many prints are left?
No! Never open the film door once a pack is loaded and the dark slide has been ejected.
Why did my printer not eject the dark slide?
This usually happens if the battery is critically low or if the cartridge was not loaded correctly. Ensure the printer is fully charged.
What film does the Instax Mini Link use?
It exclusively uses Fujifilm Instax Mini film. It is not compatible with Instax Square or Instax Wide film formats, nor does it use ZINK paper or traditional ink cartridges.
Do I need to shake the photo after it prints?
No. Shaking the photo is a myth left over from older instant film formats.
