


Fix Phomemo Won't Turn On or Charge
Phomemo thermal printers are great portable devices. They run on internal lithium-ion batteries.
But sometimes the device refuses to turn on or hold a charge. This turns a fun gadget into a heavy paperweight.
Users often report the printer is plugged in, but no lights turn on. Sometimes the device appears to charge but dies when unplugged.
You cannot bypass the battery with an external power brick. You must resolve the power delivery issue directly.
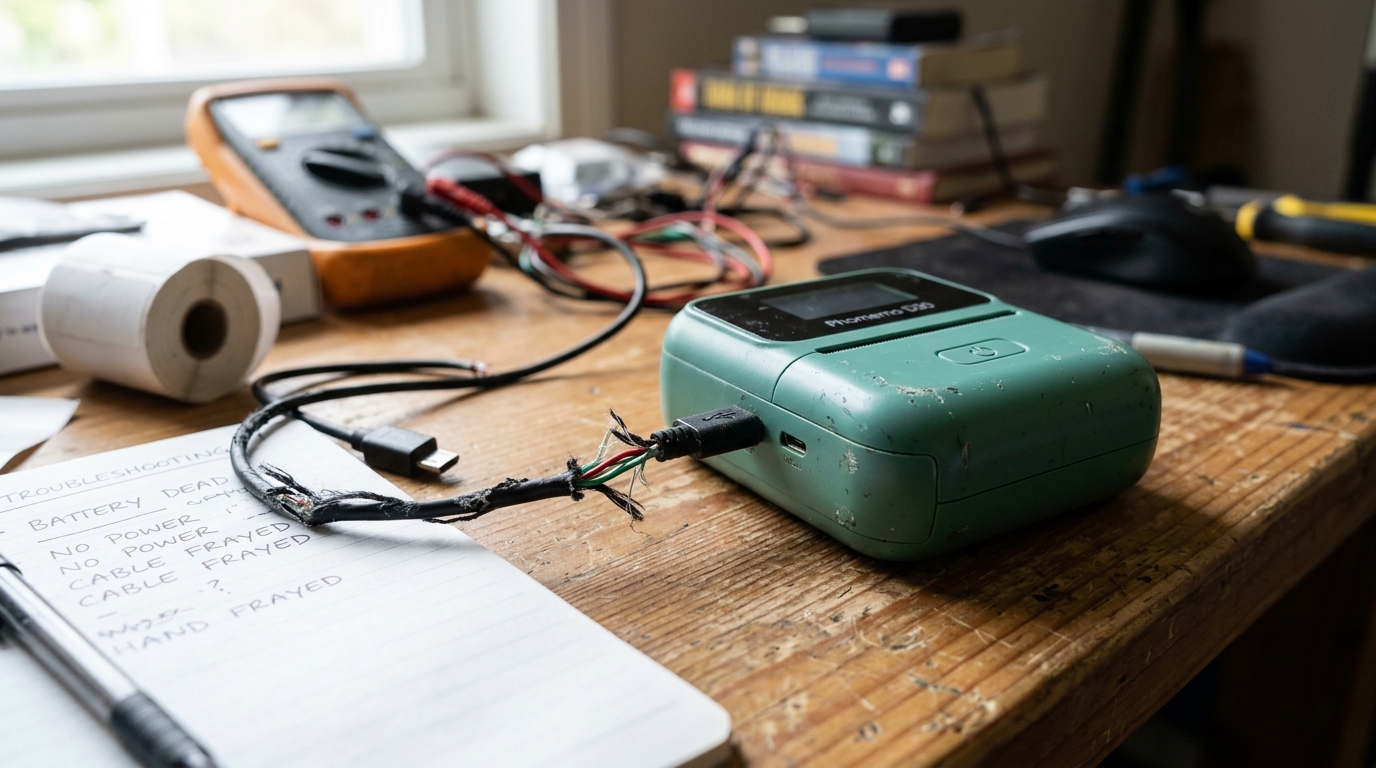
The problem usually involves a degraded battery, a bad charging cable, or physical damage to the USB port. The charging port is vulnerable to wear, dust, and bending.
This guide will help you diagnose why your Phomemo is dead. We provide practical solutions to restore power.
Why This Happens
Power failures in portable electronics often start at the charging port. Plugging and unplugging the cable bends or breaks the small metal pins inside.
The pins must make solid contact with the charging cable to let electricity flow. Lint, dust, and dirt can compact inside the port.
This dirt acts as an insulator and blocks the connection.
Charging accessories also fail often. USB cables contain fragile wires that fray internally. Using a cheap, low-quality power adapter might not supply enough power. A weak adapter cannot charge the internal battery properly. This leads to slow charging or no charging at all.
The internal lithium-ion battery has a limited lifespan. Lithium-ion chemistry breaks down over time.
If you leave the printer fully discharged for months, the battery voltage drops. The internal battery management system (BMS) steps in.
It stops the battery from accepting a charge to keep you safe. Extreme heat can also ruin the battery chemistry.
This reduces its capacity or causes complete failure.
Step-by-Step Fix
- Inspect the charging port visually: Shine a flashlight into the charging port of the Phomemo printer. Look for pocket lint, dust, or debris. Check the small central tongue inside the port. Make sure it is not bent or broken.
- Clean the charging port: Turn the device off if it has any power left. Use a wooden or plastic toothpick to gently scrape out dirt. Never use a metal pin. A metal pin can cause a short circuit. Be very careful not to bend the delicate internal pins.
- Use a known-working cable and adapter: Change your charging setup. Use a high-quality USB cable that works with another device. Connect it to a strong USB wall adapter. Avoid low-power USB ports on laptops or cheap hubs.
- Perform the "wiggle test": Plug the cable in and gently wiggle the connector. Does the charging light flicker? The charging port is likely loose or damaged. This requires a deeper hardware repair.
- Leave it on charge for an extended period: A deeply discharged battery needs time to recover. The BMS trickles power to raise the voltage safely. Plug the printer into a strong charger and leave it alone for 4 to 6 hours. The LED might take hours to illuminate.
- Perform a hard reset: Look for a tiny reset pinhole on the printer. Use a paperclip to press and hold the hidden button for 10 seconds. This resets the internal computer. Do this while the printer is plugged in.
- Attempt to power on while plugged in: Let the printer charge for a few hours. Try pressing the power button for 3-5 seconds while it remains connected. Does it turn on but die instantly when unplugged? The battery has failed and needs replacement.
- Check the ambient temperature: Keep the printer at room temperature. The BMS blocks charging in extreme cold or heat to prevent fires. Let it reach a normal indoor temperature before charging.
Advanced Troubleshooting
You might face a hardware failure if standard steps do not work. Ensure your charger and cable function correctly first.
The most common hardware issue is a broken charging port. Repeated stress cracks the tiny solder joints inside.
You must open the printer and use a micro-soldering iron to fix this. You can reflow the solder joints or replace the port entirely.
This is a delicate job that needs technical skill.
If the port looks fine, the internal battery might be dead. Replacing the battery means prying open the plastic casing.
Disconnect the old battery from the mainboard. Splice in a compatible replacement battery of the same voltage and size.
Finding exact replacement batteries for Phomemo printers can be hard. You might need to buy a generic battery and solder the wires manually.
Warning: Opening the device voids your warranty. Lithium-ion batteries are dangerous if punctured. If you lack electronics repair skills, contact Phomemo support. You can also take it to a local electronics repair shop.
FAQ
My printer's light blinks red when plugged in, what does that mean?
A blinking red light usually means a charging error. The charger might be too weak.
Can I just replace the battery easily like in an old digital camera?
No, the Phomemo does not have an easy battery door. The battery is sealed inside to keep the device small.
Is it safe to leave the printer plugged in overnight?
Yes. Modern electronics stop charging when the battery reaches 100%.
The port looks completely broken inside. Is the printer trash?
Not necessarily. A broken port prevents charging, but a repair shop can fix it.
