


Introduction
Setting up your Polaroid Hi-Print for the first time is a gateway to transforming your. Digital memories into tangible, vibrant stickers.
This pocket-sized printer utilizes dye-sublimation technology,. Which transfers heat onto specialized paper to produce high-quality, water-resistant prints that are sealed with a protective overcoat.
While the initial setup process is generally straightforward, properly loading the all-in-one cartridge. Maintaining the printer through regular cleaning are critical for ensuring optimal print quality and extending the device's lifespan.
In this comprehensive guide, we will walk you through the entire first-time setup process, provide. Detailed instructions on loading the cartridge to prevent paper jams, and explain how to keep your Polaroid Hi-Print clean and functioning flawlessly.
Many users encounter initial difficulties simply because they overlook the nuances of the setup steps. Fail to recognize the importance of maintaining the printer's delicate internal mechanisms, specifically the rollers and the thermal print head.
By following this guide, you will be well-equipped to handle any minor hiccups and enjoy a seamless, high-fidelity printing experience.
Why Setup and Cleaning Are Critical
The Polaroid Hi-Print operates on a delicate balance of heat and precisely timed roller movements. Dye-sublimation printers use a ribbon of solid colors (cyan, magenta,.
Yellow, plus a clear protective layer) that are vaporized and absorbed into the paper. This process requires absolute precision.
If the cartridge is not seated perfectly, the ribbon can easily snap. Misalign, leading to errors, half-printed images, or complete hardware jams.
Furthermore, dust and debris are the natural enemies of dye-sublimation technology. Because the paper passes back and forth through the printer four separate times (once for each color layer), even a microscopic speck of dust on the print head.
The rollers can cause continuous horizontal lines, white spots, or color banding across your photos.
Understanding these mechanics highlights why the first-time setup isn't just about turning the device on—it's. About creating a pristine environment for the printing process.
Proper cartridge loading ensures the ribbon tension is correct and the gears engage smoothly. Meanwhile, a proactive cleaning regimen prevents the accumulation of adhesive residue (since the prints have sticky backs) and environmental dust.
When you notice print quality degrading, it's rarely a software issue; it's almost always related to physical obstructions in the paper path. A dirty thermal print head blocking the even application of heat.
By addressing these factors proactively, you safeguard the printer's intricate thermal and mechanical systems.
Step-by-Step Setup and Cleaning
- Unbox and Charge the Printer:Before attempting to print, connect the Polaroid Hi-Print to a power source using the included micro-USB. USB-C cable (depending on your hardware revision). Allow it to charge fully. The LED indicator will turn solid green or stop blinking when the battery reaches 100%. A full charge is crucial. Because the dye-sublimation process draws significant power; a low battery can cause mid-print failures or thermal inconsistencies.
- Download the Mobile App: Navigate to the App Store (iOS) or Google Play Store (Android) and download the official Polaroid Hi-Print app. This app is required to send images to the printer, apply filters, and manage the device's firmware (internal software) updates.
- Pair via Bluetooth: Turn on the printer by holding the power button. Open your phone's Bluetooth settings and locate the device (usually named "Polaroid Hi-Print" followed by a serial string). Tap to connect. Open the app to verify the connection status and check for any pending firmware (internal software) updates.
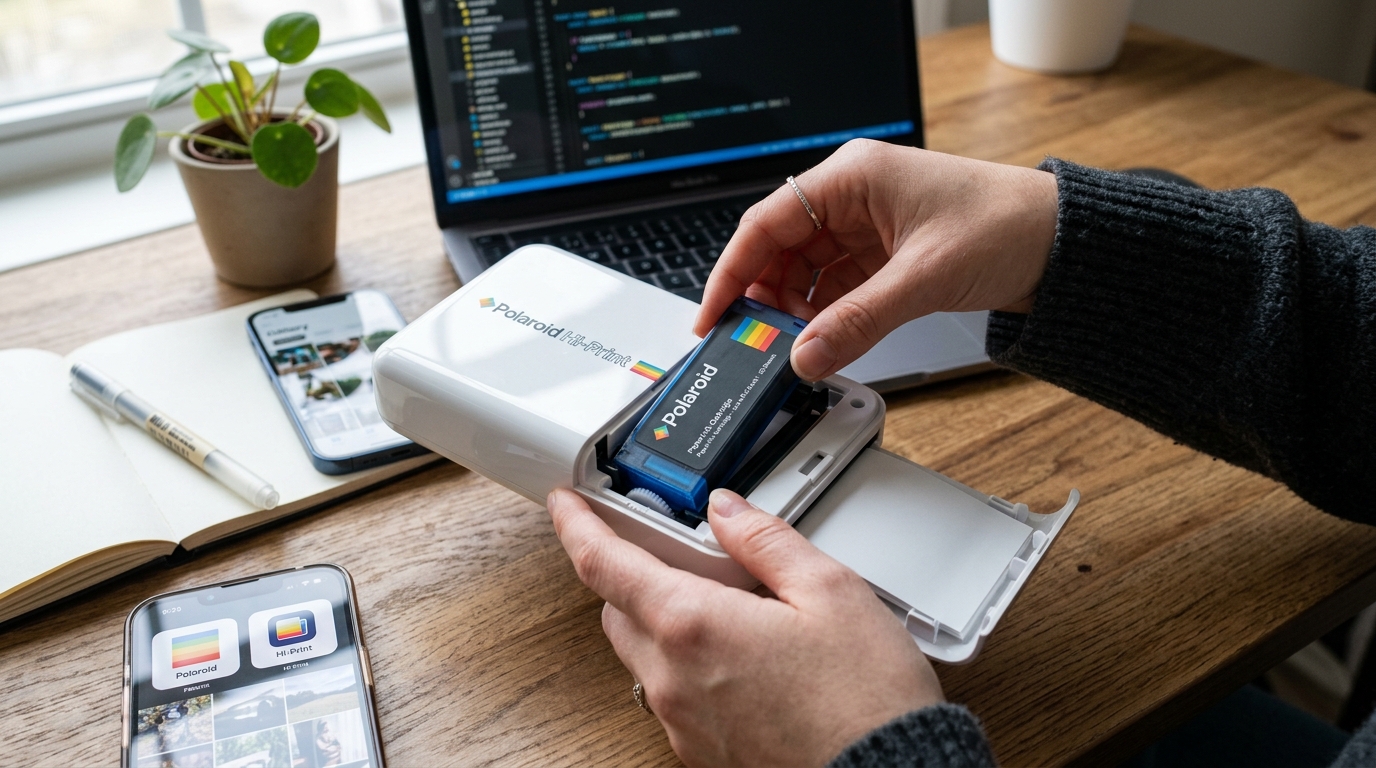
- Prepare the Cartridge: Unpack the all-in-one cartridge. Avoid touching the glossy surface of the paper. The exposed ribbon, as oils from your fingers can ruin the dye transfer process. Ensure the ribbon is taut; if it looks slack, gently turn the internal gear clockwise to tighten it.
- Load the Cartridge: Open the cartridge door on the side of the printer. Slide the cartridge in until you hear a distinct click. The cartridge should sit flush with the internal housing. If you encounter resistance, do not force it. Remove it, check for obstructions, and try again. Close the door securely.
- Perform a Test Print: Select an image in the app and initiate a print. Observe the printer as it pulls the paper in and out four times. Do not touch or pull the paper while it is printing, as this will misalign the color layers.
- Cleaning the Print Head: If you notice lines on your prints, turn off the printer and remove the cartridge. Lightly dampen a lint-free swab with 99% isopropyl alcohol. Gently wipe the metallic thermal print head located inside the cartridge bay. Let it air dry completely before reinserting the cartridge.
- Cleaning the Rollers: Use a dry microfiber cloth or a slightly damp swab to gently clean the rubber rollers. This removes paper dust and prevents the paper from slipping during the multi-pass printing process.
Advanced Troubleshooting
If you have followed the setup. Cleaning instructions but still face issues, you may need to explore more advanced troubleshooting.
A common issue is a "Cartridge Not Recognized" error. This usually indicates that the electrical contacts inside the printer or on the cartridge itself are dirty or obstructed.
Remove the cartridge and inspect the gold contact pins. Use a dry microfiber cloth to gently wipe them.
If the printer still fails to recognize the cartridge, try resetting the device. Look for a small pinhole reset button near the charging port.
Use a paperclip to gently press and hold the button for 5 seconds while the printer is powered on. This clears the printer's volatile memory.
Forces a recalibration of the optical sensors that detect the cartridge's presence and ribbon position.
Another advanced issue is ribbon snapping. If the dye ribbon breaks mid-print, do not attempt to tape it back together.
Remove the cartridge, gently pull out the broken ribbon, and carefully turn the take-up spool. Gear manually until the torn section is wrapped around the spool and a fresh section of ribbon is exposed over the paper.
This salvages the remaining paper in the cartridge, though you will lose one print. To prevent this in the future, ensure the printer is used in a stable environment,.
As excessive vibrations during printing can cause the ribbon to catch and snap.
FAQ
Why is my Polaroid Hi-Print flashing red?
A flashing red light typically indicates a hardware error, such as a paper jam, an. Empty cartridge, or a low battery.
Can I use ZINK paper in the Polaroid Hi-Print?
No. The Polaroid Hi-Print is a dye-sublimation printer and strictly requires the built-in Polaroid Hi-Print all-in-one paper/ribbon cartridges.
How often should I clean my printer?
It is recommended to clean the print head. Rollers every time you change the cartridge, or approximately after every 20 prints.
Why did my print stop halfway through?
This is usually caused by the printer's battery dying mid-print, a Bluetooth connection drop, or a mechanical jam. Always ensure your printer has at least a 50% charge before starting a print, keep your phone close to the printer,.
