


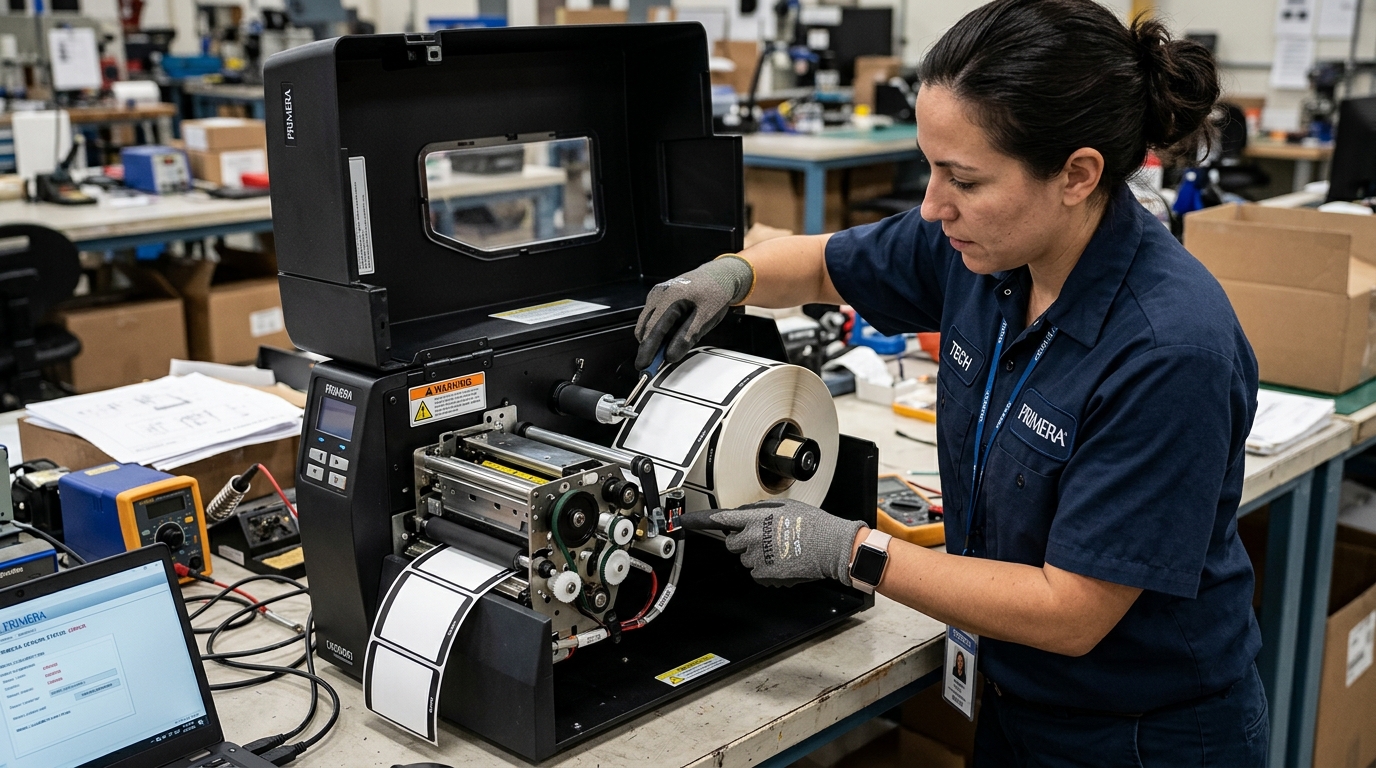
Why the Printer Won't Feed (Or Feeds Non-Stop)
If you load a fresh roll of labels, press the feed button, and the printer either refuses to pull the stock in, or it spins wildly pulling 10 feet of blank labels onto the floor, the optical media sensor has failed to establish a baseline.
Fix 1: Clearing Media Sensor Dust
Primera printers generate high-speed friction against paper backing, creating microscopic paper dust. Over time, this dust accumulates on the clear plastic lens of the optical sensor.
- Power off the printer and remove the label roll.
- Locate the media sensor array (usually a small sliding tab located under the paper feed path).
- Use a can of compressed air (keep it perfectly upright so it doesn't spray liquid freezing propellant) to blow out the sensor channel.
- If the dust is caked on, dampen a cotton swab with a tiny drop of rubbing alcohol and gently wipe the sensor eye.
Fix 2: Die-Cut (Transmissive) vs. Black Mark (Reflective)
The Primera driver gives you a choice of how the sensor looks for the next label. Selecting the wrong one guarantees a feed error.
Die-Cut (Transmissive / Gap)
- How it works: The printer shines a light through the paper. It knows a label has ended when the light hits the 1/8-inch gap (which is just thin backing paper) and suddenly gets brighter.
- Use for: Standard opaque paper, gloss, or matte labels.
- Fails on: Clear/transparent labels (the light shines straight through the label and the gap equally).
Black Mark (Reflective)
- How it works: The printer shines a light and waits for it to bounce back. It looks for a solid black timing mark printed on the back of the label liner to absorb the light.
- Use for: Clear/transparent labels, foil labels, or heavily pre-printed custom stocks. Note: Your label supplier must specifically manufacture the roll with black timing marks on the back.
Die-Cut Gap vs. Reflective Black Mark Sensing in Primera Label Printers
Primera color label printers (LX500, LX600, LX900, LX2000, LX3000) support multiple label stock formats. To detect the exact start and stop boundaries of each physical label, the printer utilizes two distinct optical sensing modes: Die-Cut (Gap) Sensing and Reflective (Black Mark) Sensing.
Configuring the wrong sensor mode causes labels to stop halfway, skip labels, or feed continuously without stopping.
Engineering Comparison of Media Sensing Modes
| Sensor Mode | Physical Label Media Type | Optical Mechanism |
|---|---|---|
| Die-Cut (Gap) Sensing | Standard peel-off labels on a semi-transparent silicone backing liner | Transmissive: Light shines through the backing liner; sensor detects the opacity shift when the label gap passes. |
| Reflective (Black Mark) Sensing | Clear transparent labels or tag stock with solid black timing bars printed on the back | Reflective: Infrared light bounces off the white backing; sensor detects the loss of reflection when the black mark passes. |
| Continuous Media | Uncut continuous rolls of paper or synthetic banner stock | Sensor is disabled; printer advances paper purely based on digital page length calculations. |
Cleaning Media Sensor Dust & Sensor Position Adjustment
- Adjusting the Movable Optical Sensor Bracket:
On LX900 and LX2000 models, the optical sensor sits on a sliding mechanical track. If you are printing round or irregular custom die-cut labels, slide the sensor pointer so it passes over the widest part of the label gap, not the curved edge.
- Blow Compressed Air Through the Sensor Channel:
Label backing dust and paper fibers accumulate inside the optical sensor slot over thousands of cuts. Use clean compressed air to blow out both the upper emitter and lower receiver lenses.
- Configure Sensor Mode in the Primera Driver:
Open Printer Preferences > Stock / Media tab. Ensure the Sensor Type dropdown is explicitly set to
Die-Cut,Reflective, orContinuousto match your roll.
Frequently Asked Questions
Why does the printer feed 5 blank labels before stopping?
This happens when the driver is set to "Die-Cut" but you have loaded continuous roll media. The printer searches for a gap that does not exist, feeds 5 labels, and halts with a "Media Out" error.
Can I print on clear transparent labels?
Yes, but clear labels MUST have a black timing mark printed on the back of the liner, and the driver must be set to Reflective Sensor Mode.
