


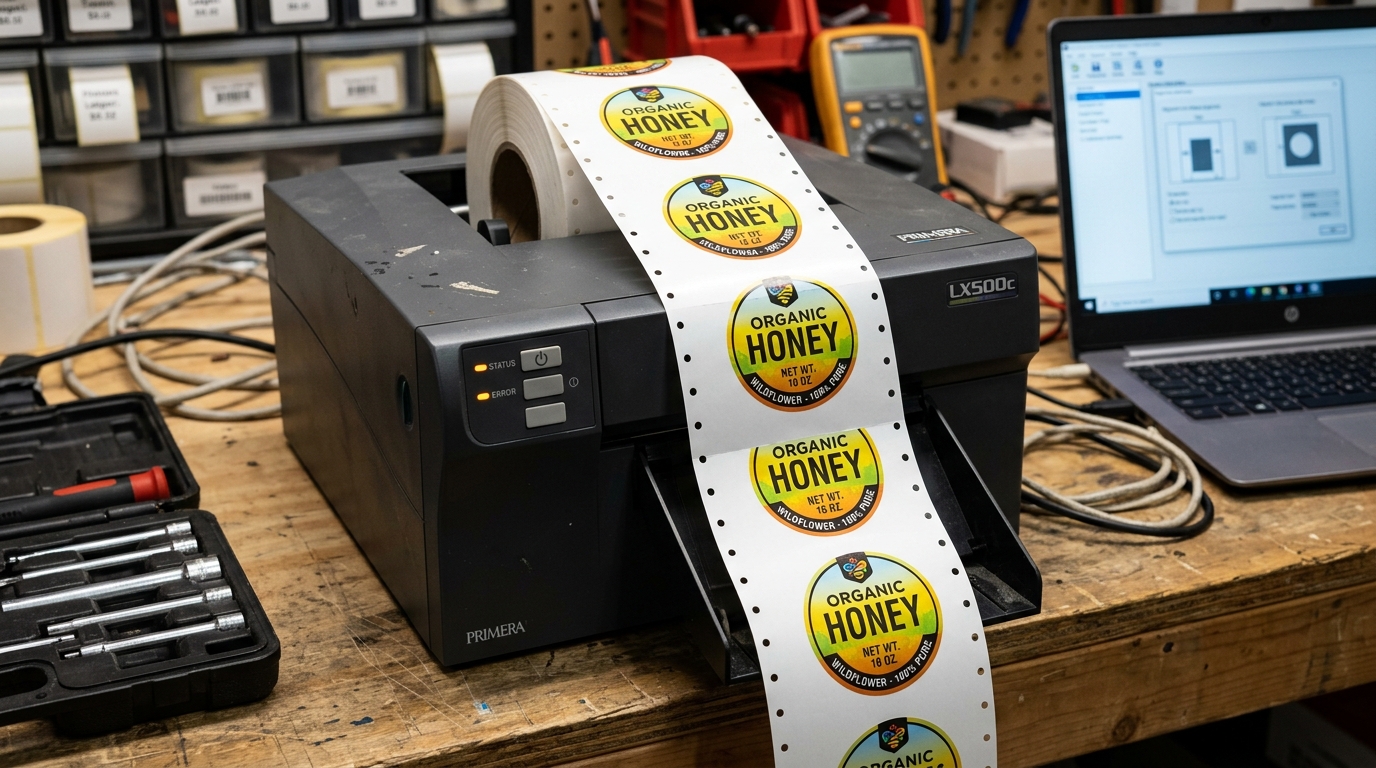
Understanding Top-Of-Form (TOF) Calibration
Unlike continuous receipt printers, Primera LX color label printers print on pre-cut (die-cut) sticker rolls. The printer must precisely detect the 1/8-inch gap between each label. When this fails, the printer will either print halfway off the label (vertical offset) or panic and spit out multiple blank labels (skipping).
Fix 1: The Triple Size Match Rule
If you get a "Label Size Not Recognized" error, it means the printer's optical sensor measured a physical label of 4 inches, but the Windows Spooler sent a document of 6 inches. The software refuses to print to prevent spraying ink onto the bare rubber roller.
- The Design Software: Check your artboard in Adobe Illustrator, BarTender, or NiceLabel. It must be set exactly to the label dimensions (e.g., W: 3", H: 4").
- The Windows Driver: Go to Control Panel > Devices and Printers > right-click the Primera > Printing Preferences. Ensure the paper size here is also set to 3x4.
- The Physical Media: Use a ruler. If your label is 3.125" instead of 3", you must input the exact decimal into the custom driver settings.
Fix 2: Adjusting Vertical Offset
If the label size is correct, but the entire image is shifted uniformly 1/4-inch too high or too low:
- Open PTStatus.
- Navigate to the Printer Settings or Advanced tab.
- Locate the Top of Form (TOF) Offset or Vertical Offset setting.
- Enter a positive value (e.g.,
+10) to move the print down, or a negative value (e.g.,-10) to move the print up. Print a single test label, adjust again, and save the settings.
Fix 3: Sliding the Moveable Media Sensor
If you are printing on circular labels, oval labels, or labels with a notch, the default sensor position might be looking at the side of the circle rather than the top gap. Open the printer cover.
Look under the paper path for a small sliding tab (often blue or black). Slide this sensor so it aligns exactly with the deepest part of the die-cut gap.
Fixing Vertical Offset, Label Skipping, and Unrecognized Media Size
When your Primera label printer prints graphics 1 inch below where they should be, skips every other label, or displays "Label Size Not Recognized", the issue is a dimensional mismatch between your label design software and the optical gap sensor calibration.
Step-by-Step Label Registration & Offset Calibration
- Verify Exact Label Dimensions (Width & Height):
Measure your physical label stock with a digital caliper or ruler. In your software (BarTender UltraLite, NiceLabel, Adobe Illustrator), enter the exact label height (excluding the backing gap). In the Primera driver preferences, verify the custom page size matches down to the millimeter.
- Calibrate the Media Sensor Gap Threshold:
- Open PTStatus > Alignment tab.
- Click Calibrate Media Sensor.
- The printer feeds 2-3 labels through the gap sensor to measure the optical opacity difference between the backing liner and the label face stock.
- Adjust Top of Form / Vertical Offset:
In Printer Preferences > Alignment tab, adjust the Top Margin Offset (Vertical Offset) in 0.1mm increments. Entering a negative value moves the graphic upward toward the leading edge; a positive value moves it downward.
- Verify Sensor Mode is Correctly Configured:
Ensure the driver is set to Die-Cut for gapped labels, Reflective for black marks, or Continuous for non-die-cut rolls.
Frequently Asked Questions
Why does the printer stop printing halfway through a roll?
If the roll core is slipping on the feed hub or if roll tension is too tight, the stepper motor loses rotational steps. Ensure the roll moves freely on the rear spindle.
What is the standard gap size between Primera labels?
Standard die-cut label rolls feature a 0.125-inch (3.175 mm) gap between labels.
