


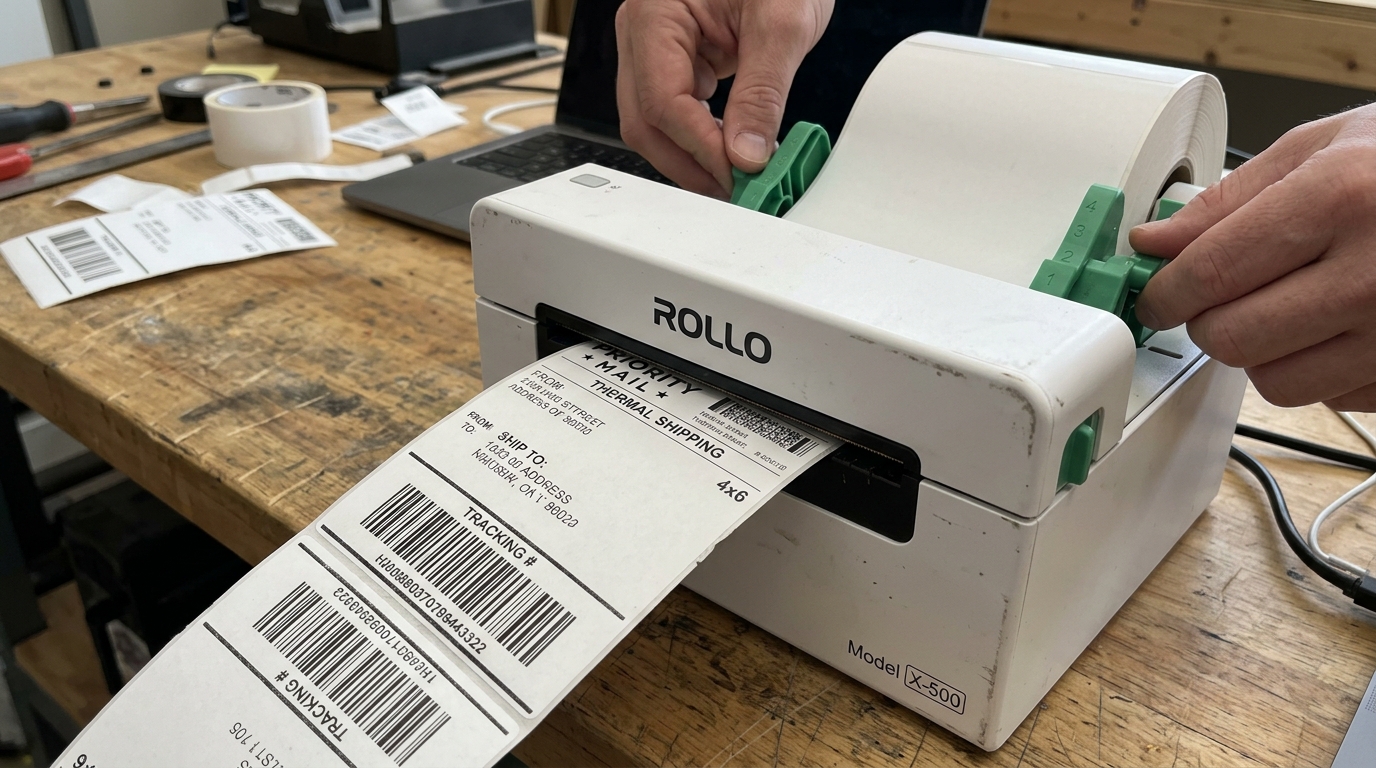
Setting up a Rollo printer is generally straightforward. However, One of the most common issues users face involves labels printing skewed, skipping labels entirely, or printing the wrong size.
Maintaining any professional printing equipment needs a comprehensive understanding of both the hardware limitations. The software environment it operates within.
Small businesses, e-commerce shippers, and office environments alike rely heavily on the consistent output of these devices to maintain operational efficiency. When a disruption occurs, the ripple effects can be surprisingly severe, leading to missed shipping deadlines, dissatisfied customers, and wasted physical resources.
A methodical approach to diagnosing and resolving these technical anomalies is absolutely essential. We often find that users rush to replace hardware when the actual issue is a minor settings mismatch or a neglected routine maintenance task.
By taking the time to systematically rule out variables—starting with the simplest. Moving toward the more complex—you can often restore full functionality without incurring significant costs or downtime.
It is also vital to recognize the role that environmental factors play in hardware performance. Dust, humidity, extreme temperatures, and poor power quality can all introduce subtle, intermittent problems that are notoriously difficult to track down.
Establish a clean, stable workspace for your printer, ensure it is plugged directly into a reliable power source rather than a heavily loaded surge protector. Invest in high-quality consumable materials (like labels, ribbons, or film) to minimize the risk of hardware stress.
Regularly reviewing official manufacturer documentation and keeping your drivers up to date can preempt many software-related conflicts before they manifest as physical printing errors. Understanding the communication bridge between your computer's operating system, the specific application sending the print job.
The printer's internal firmware (internal software) is key to mastering its operation.
Why This Happens
The root causes of calibration and label sizing issues with thermal printers like the Rollo usually stem from a mismatch between the physical labels inserted into the device. The digital settings configured within your operating system or printing software.
Thermal printers rely on optical sensors to detect the gaps or marks between individual labels. If the printer hasn't been properly introduced to the specific label roll you are using, its sensor won't know where one label ends and the next begins.
This leads to skipped labels, printing across the perforations, or text shrinking to fit what the printer mistakenly believes is a much smaller label. Also, proactive maintenance is much more cost-effective than reactive troubleshooting.
Implementing a simple weekly or monthly cleaning schedule can dramatically extend the lifespan of critical components like thermal print heads, platen rollers, and motor assemblies. Many printer failures are cumulative; a tiny speck of adhesive or dust might not cause an immediate jam.
However, Over time, it attracts more debris, eventually forming a solid mass that physically impedes operation or blinds optical sensors. The tools required for this routine maintenance are usually inexpensive.
Readily available: isopropyl alcohol, lint-free cloths, compressed air (used cautiously), and sometimes a soft-bristled brush. Documenting your specific settings settings—including paper sizes, density levels, speed adjustments.
Margin offsets—can also save hours of frustration if a system update or accidental reset wipes your preferences. If multiple users have access to the printer, ensure everyone is trained on the correct procedures for loading media, clearing jams.
Recognizing the early warning signs of hardware fatigue. A shared understanding of the equipment prevents user-induced errors, such as forcefully pulling a jammed label or adjusting mechanical guides too aggressively.
Finally, when you encounter an issue that defies standard troubleshooting, do not hesitate to leverage the diagnostic tools often built into the printer's driver software, or to consult specialized online communities. Support forums where experienced technicians share their specific, undocumented fixes for persistent problems.
Always prioritize safety when interacting with internal components, especially those that generate high heat or involve moving gears. Understanding the intricate dance between mechanical force, thermal transfer, and digital instruction sets is critical.
Whether the root cause lies in physical friction, software misconfiguration, or consumable degradation, identifying the specific failure point allows for a targeted, permanent fix rather than a temporary workaround.
Step-by-Step Fix
- Prepare the Printer and Labels: Ensure the printer is turned on and connected to your computer. Open the printer cover and confirm that the labels are loaded correctly. The labels should be fed from the back or bottom, passing smoothly over the platen roller. \n
- Perform a Hard Hardware Calibration: Press and hold the circular feed button on the top of the Rollo printer until you hear exactly one beep, then immediately release the button. The printer will feed a few blank labels back and forth. \n
- Verify Operating System Settings (Windows): Navigate to Printers & Scanners in your system settings. Select your Rollo printer and click Manage, then Printing preferences. In the Page Setup or Paper tab, ensure the paper size is explicitly set to 4 x 6 (or your specific label size). \n
- Verify Operating System Settings (Mac): Open a document you wish to print. In the print dialog box, ensure the Paper Size is set correctly. You may need to select Manage Custom Sizes to create a dedicated 4x6 profile. \n
- Check Shipping Platform settings: If you are printing directly from a platform like Shopify, Etsy, or eBay, verify the print settings within that platform. Most platforms have a specific setting for Thermal Printer (4x6). \n
- Print a Test Page: After completing the hardware calibration and verifying all software settings, print a sample label. If it prints perfectly, your calibration was successful. \n
- Perform a Factory Reset (If Necessary): If the single-beep calibration fails, try a factory reset. Turn off the printer. Press and hold the feed button while turning the printer back on. Continue holding until the light flashes red, then release.
Advanced Troubleshooting
If you have followed the standard calibration steps. Are still experiencing skewed prints, skipped labels, or incorrect sizing, it is time to perform some advanced troubleshooting.
The most common hidden culprit is a dirty label sensor. The optical sensor, usually located near the feed path, can become obscured by paper dust, microscopic label debris, or even sticky adhesive residue over time.
If all these measures fail, consider the possibility of a deep firmware (internal software) corruption. In some rare instances, the internal memory of the printer becomes scrambled due to power fluctuations during a print job.
Attempting a 'hard' factory reset, often requiring a specific sequence of button presses while powering the unit on, can clear this corrupt data. Restore the device to its baseline factory state, ready to be cleanly configured once more.
FAQ
Why is my Rollo printer printing tiny labels in the corner?
This is almost always a software issue where the computer is trying to print an 8.5x11 inch document onto a 4x6 label. Ensure your paper size is set to 4x6 in both the printer preferences and your application.
I held the button for one beep, but the printer just keeps feeding blank labels. What do I do?
This indicates the printer cannot detect the gaps between labels. Clean the optical sensor with isopropyl alcohol.
Why are my labels printing skewed or crooked?
Skewed labels are usually caused by physical misalignment. Ensure the adjustable label guides inside the printer are pushed snugly against the sides of the label roll.
Does calibration fix faded or light prints?
No, calibration only resolves alignment, skipping, and sizing issues. If your prints are faint or light, you need to adjust the print density.
