


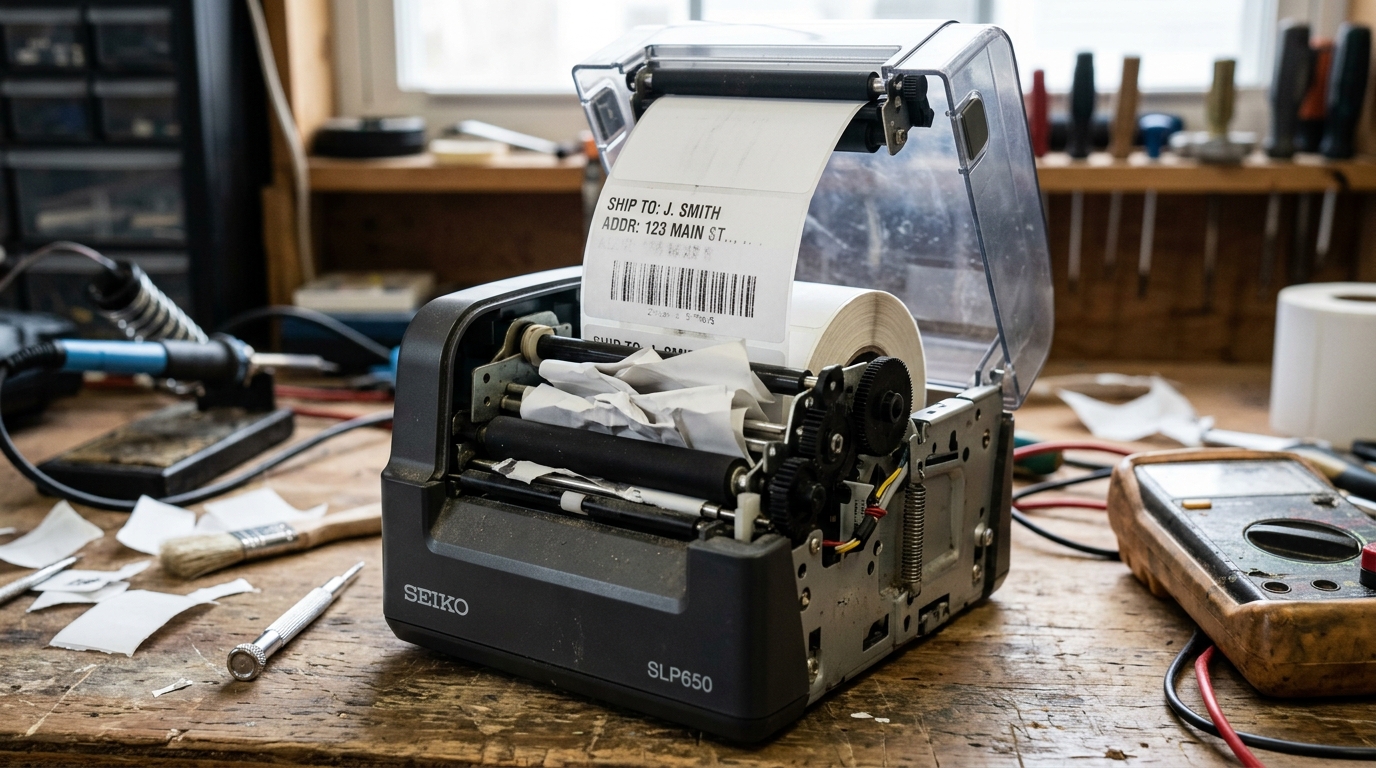
Introduction
Seiko Instruments (SII) label printers, such as the popular Smart Label Printer (SLP) series, are favored in officeenvironments. Healthcare, and small businesses for their compact footprint, ease of use, and reliable performance.
Designed primarily for address labels, file folders, and barcode generation, these devices streamline daily organizational tasks. However, like any electromechanical device, Seiko printers are susceptible to operational hiccups.
Users frequently encounter frustrating feed errors, where the printer continuously feeds blank labels or stops halfway; faded. Degraded print quality that renders barcodes unreadable; and stubborn loading jams that halt productivity.
Troubleshooting these issues requires a systematic approach, understanding the interplay between the thermal papermedia. The printer's optical sensors, and the software driver communicating from the host PC.
In this detailed diagnostic guide, we will break down the mechanics of Seiko labelprinters. Identify the common culprits behind these failures, and provide a comprehensive, step-by-step resolution path to restore crisp, jam-free printing.
Why This Happens
To effectively troubleshoot Seiko label printers, one must understand their media handling system. The SLP series relies on direct thermal technology and specific die-cut label rolls.
These rolls have a small black registration mark on the backing paper or a physical gap between each label. The printer utilizes an optical sensor located within the paper path to detect these marks or gaps.
This sensor tells the printer exactly where one label ends. The next begins, ensuring perfect alignment for text and graphics.
Feed errors—where the printer spits out multiple blank labels before stopping,. Prints across the gap—are almost exclusively caused by a failure in this sensing process.
Dust, paper lint, or adhesive residue from the labels can accumulate on the tiny optical sensor lens, blinding it. When the sensor cannot see the registration mark, the printer's logic board assumes continuous media isloaded.
And it will keep feeding paper in a desperate attempt to find the top-of-form index. Furthermore, using off-brand or incompatible labels that lack the correct registration marks.
Possess an excessively thick backing can also defeat the optical sensor, leading to erratic feeding behavior.
Faded print quality in Seiko printers is typically a consequence of two main factors: thermal printhead contamination and incorrect driver settings. As the thermal paper passes over the printhead, microscopic particles of the chemical coating and paper dust are left behind.
Over time, this builds up into a hard, insulating layer on the heating elements. Because direct thermal printing requires direct physical contact and rapid heattransfer.
This insulating layer prevents the heat from fully reacting with the label, resulting in faint, broken, or uneven text. Alternatively, if the print density setting within the Seiko Smart Label software or Windows driver is set too low for the specific type of media beingused.
The printhead will simply not generate enough heat, regardless of how clean it is.
Loading jams are usually mechanical. The paper path in compact printers is tight.
If a label is inserted at a slight angle, or if the edge of the label roll is damaged. Curled, it will catch on the internal guides.
More severely, if a previous label peeled off its backing during printing and adhered itself to the platen roller. The internal paper guides, it creates a sticky roadblock that will inevitably cause subsequent labels to jam violently.
Step-by-Step Fix
- Clear the Paper Path and Inspect for Adhesive: If you are experiencing jams, turn off the printer and gently pull the label roll backward to remove it. Do not forcefully yank the paper forward through the output slot. Use a flashlight to inspect the internal paper path. Look for any labels that may have peeled off and stuck to the internal plastics or the rubber platen roller. If you find adhesive residue, use a pair of tweezers. A cotton swab dampened with isopropyl alcohol to meticulously remove it.
- Clean the Optical Sensor: This is the primary fix for feed errors. The optical sensor is usually a small indentation or clear plastic window located in the center. Slightly offset within the paper feed slot. Unplug the printer. Use a can of compressed air to blast away any loose dust. Then, use a dry cotton swab (or one very lightly dampened with alcohol) to clean the sensor lens. Ensure it is completely dry before proceeding.
- Clean the Thermal Printhead: To resolve faded prints, locate the thermal printhead. It is a straight, thin ceramic bar that spans the width of the paper path. Using a specialized thermal cleaning pen or a swab soaked in 99% isopropylalcohol. Wipe firmly back and forth across the entire length of the printhead. You will likely see dark grey residue on the swab. Repeat with clean swabs until no more residue comes off.
- Verify Media Compatibility and Loading:Ensure you are using genuine Seiko labels or high-quality equivalents specifically designed for the SLPseries. Complete with the correct registration marks. When loading the roll, ensure the labels feed from the bottom of the roll, directly into the feed slot. Make sure the adjustable paper guides are snug against the sides of theroll. But not so tight that they cause the paper to buckle. A crooked feed will immediately cause a jam or sensor error.
- Calibrate the Printer (Form Feed): After cleaning and reloading, power the printer on. Press the form feed button (usually a small button on the front or top of the unit) once. The printer should feed exactly one blank label and stop with the tear-off edge perfectly aligned. If it feeds multiple labels, the sensor is stilldirty. The labels are incompatible, or the printer requires a factory reset.
- Adjust Software Density Settings:If the printer feeds correctly but the text is still slightly faded (and the printhead isclean). Open the Seiko Smart Label software or navigate to the printer properties in your operating system. Look for settings related to "Print Density," "Darkness," or "Heat Setting." Increase this value incrementally and run test prints until the desired darkness is achieved. Do not set it to maximum immediately, as this shortens the printhead lifespan.
- Update Drivers and firmware (internal software): Feed errors and software communication glitches can sometimes be resolved by ensuring you are running the latest software. Visit the Seiko Instruments support website, download the newest driver package for your specific SLP model. Operating system, and follow the installation instructions to overwrite the old drivers.
Advanced Troubleshooting
If you have rigorously cleaned the optical sensor and verified that your label media is perfectly compatible, yet the printer consistently feeds blank labels. Reports a "Paper Out" error when a roll is loaded, you may be dealing with a hardware failure of the sensor array itself.
The infrared LED within the sensor can burn out over time, or the phototransistor can fail. This prevents the printer from detecting the registration marks regardless of how clean the lens is.
Diagnosing this requires technical expertise and often necessitates replacing the sensor assembly. The entire main logic board, which is rarely cost-effective for desktop label printers.
Another advanced issue involves USB communication failures causing incomplete prints or driver hangs. Seiko printers rely on a stable USB connection.
If connected through an unpowered USB hub or a damagedcable. The data packets containing the print format can be corrupted or dropped.
The printer might print half a label and then freeze. Always connect the printer directly to a high-speed USB port on the motherboard of thecomputer.
Bypassing hubs or monitor pass-throughs, and replace the USB cable to rule out physical cord damage.
Finally, if the rubber platen roller is visibly shiny, hard, or cracked, it has lost its durometer (grip). A degraded platen roller cannot pull the label backing with consistent force.
The paper slips slightly as it prints, causing the optical sensor to lose its timing on thegaps. Which manifests as erratic feeding and compressed, squished printing.
The only resolution for a degraded platen roller is hardware replacement.
FAQ
Can I use continuous receipt paper in a Seiko Smart Label Printer?
No. The SLP series is explicitly designed for die-cut labels with registration marks or gaps.
Why is my barcode printing, but scanners can't read it?
Unreadable barcodes are usually caused by incorrect print density or a dirty printhead. If the density is too low, the contrast isn't high enough.
The printer pulls the label to one side and jams. How do I fix this?
This is a loading issue. The adjustable paper guides inside the printer are not set correctly.
Do I need to clean the printer if I only use it occasionally?
Yes. Even with infrequent use, dust accumulates on the optical sensor and the platen roller.
