


Introduction
Zebra thermal printers are the backbone of modern logistics. Manufacturing, and retail operations, relying on a specialized programming language known as ZPL (Zebra Programming Language) to dictate formatting, barcoding, and hardware configurations.
Among the myriad of ZPL commands available. ~SD (Set Darkness) and ^MF (Media Feed) stand out as fundamental instructions that directly impact the physical output and operational efficiency of the printer. Mastering these commands is essential for anyone responsible for designing labels or managing fleets of Zebra printers.
Incorrect darkness settings can lead to unreadable barcodes and rejected shipments. While improper media feed configurations can result in misaligned prints, wasted labels, and continuous printer errors.
In this comprehensive technical guide, we will dissect the ~SD and ^MF commands, explaining their syntax, underlying mechanics. Practical applications to ensure you can optimize your Zebra printing processes for flawless, high-quality output.
Why This Happens
The necessity for the ~SD and ^MF commands stems from the diverse range of thermal media and environmental conditions under which Zebra printers operate. Thermal printing, particularly direct thermal, is a chemical process dependent on the precise application of heat.
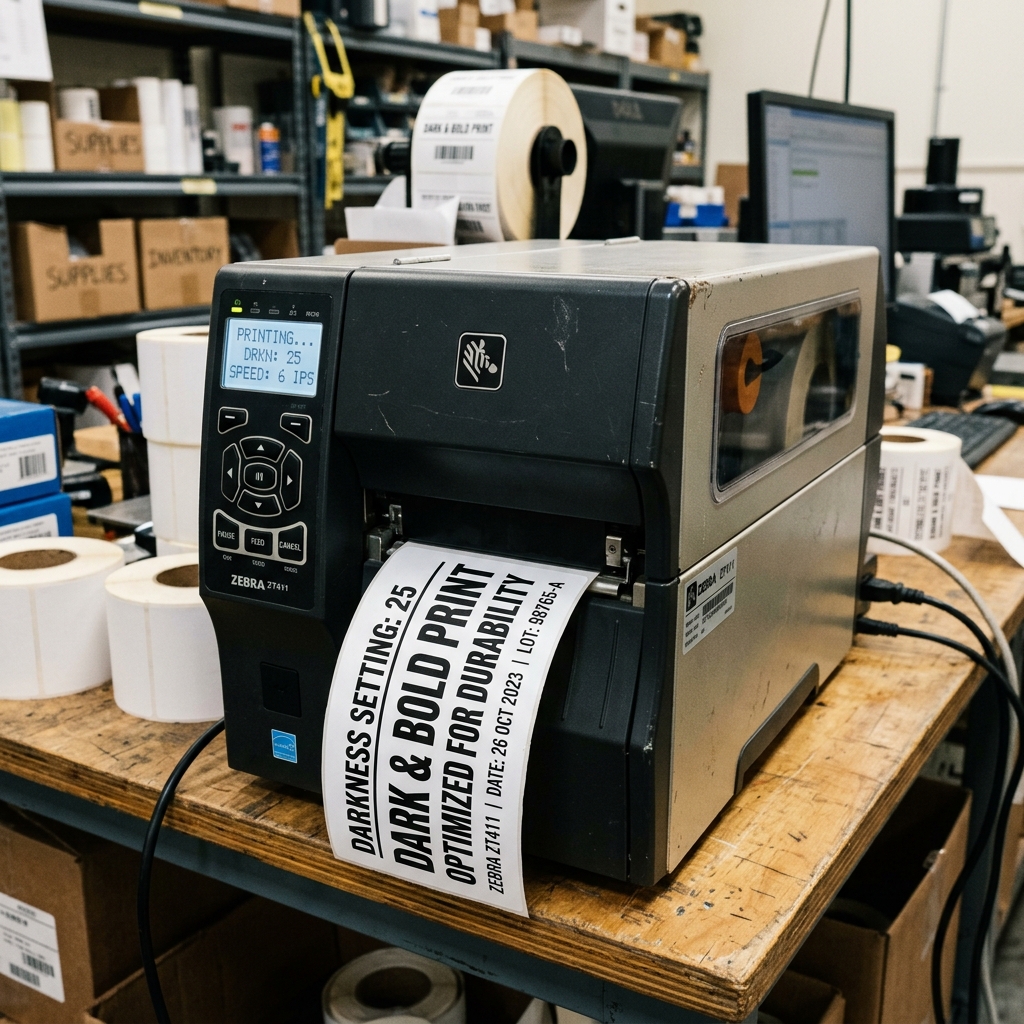
The ~SD (Set Darkness) command controls the amount of energy delivered to the printhead's heating elements. Different label materials (paper vs. synthetic).
Topcoats, and even the ambient temperature of the warehouse require varying levels of heat to produce a crisp, black image. If the darkness is set too low, the print will appear faded.
Barcodes will lack the contrast needed for scanners to read them. Conversely, setting the darkness too high can cause the printhead to "bleed" heat into surrounding areas, blurring text.
Thickening barcode lines out of specification. Excessive darkness also dramatically reduces the lifespan of the printhead, leading to premature failure and costly replacements.
The ^MF (Media Feed) command. Alongside related label length commands like ^LL, addresses the mechanical challenge of accurately advancing different types of media.
Zebra printers handle continuous rolls, die-cut labels with gaps, and media with black marks. The printer needs to know exactly how far to advance the media after printing to ensure the tear-off point or the peel-bar aligns perfectly with the end of the label.
If the media feed or length is improperly configured, the printer will gradually lose registration. The first label might print perfectly.
Subsequent labels will slowly drift, eventually printing across the gap or off the edge of the label entirely. This drift occurs because the printer is advancing the media based on an incorrect assumption of the label's physical dimensions.
Rather than relying on its sensors or the correct ZPL instructions.
Furthermore, dynamic environments often require these settings to be adjusted on the fly. A single printer might switch between printing high-durability synthetic asset tags (requiring high darkness).
Standard paper shipping labels (requiring lower darkness) throughout the day. Hardcoding these values into the printer's physical menu settings is inefficient; embedding the ~SD. ^MF commands directly within the ZPL data stream allows for seamless, automated adjustments tailored to each specific print job.
Step-by-Step Fix
- Understanding the ~SD Command Syntax: The Set Darkness command is formatted as ~SDxx, where 'xx' represents a numeric value between 00 and 30. For example, ~SD15 sets the darkness to a medium level. This command is typically placed at the very beginning of the ZPL code. Before the ^XA (Start Format) command, as it applies globally to the printer until changed by another ~SD command or a physical menu adjustment.
- Determining the Optimal Darkness: Do not guess the darkness value. Start with a baseline value of 15. Print a test label containing complex barcodes and fine text. Use a barcode verifier or a high-quality scanner to check the print. If the print is too light, increase the value by increments of 2 (e. g. , ~SD17). If the barcode lines are too thick and bleeding together, decrease the value (e. g. , ~SD13). The goal is the lowest possible darkness setting that still produces a Grade A barcode.
- Implementing the ~SD Command: Insert the chosen ~SD command at the top of your ZPL script. Ensure there are no spaces between the tilde, the letters, and the numeric value.
   ~SD15
   ^XA
   ^FO50,50^A0N,50,50^FDTest Label^FS
   ^XZ
- Understanding the ^MF Command Syntax: The Media Feed command dictates what action the printer takes upon power-up and after closing the printhead. The format is ^MFp,c. The 'p' parameter defines the power-up action, and 'c' defines the head-close action. Valid parameters include C (Calibrate), F (Feed), L (Length), N (No Motion), and S (Short Calibrate).
- Configuring the Media Feed for Your Application: If you are using die-cut labels. Want the printer to automatically measure the label length when you close the printhead, you would use ^MFF,C. This tells the printer to Feed on power-up and Calibrate on head-close. Insert this command within the ^XA and ^XZ format block.
   ^XA
   ^MFF,C
   ^FO50,50^A0N,50,50^FDFeed settings^FS
   ^XZ
- Integrating the ^LL (Label Length) Command: While ^MF handles the mechanical action, the ^LLy command specifies the absolute Y-axis length of the label in dots. This is crucial for continuous media where there are no gaps for the printer to sense. For a 4-inch long label printed at 203 dpi (812 dots), the command is ^LL812. Place this command near the beginning of your format block to define the canvas size.
- Testing the settings: Send your complete ZPL code to the printer. Observe the printer's behavior. It should print with the specified darkness. Upon completion, the tear-off point should align perfectly with the edge of the label. If the alignment drifts over multiple prints. Revisit your ^LL calculations and ensure your media sensors are clean and properly calibrated.
- Saving Settings to Flash Memory: If you want your ~SD. ^MF settings to persist through power cycles, ensure your ZPL code includes the ^JUS (Save Settings) command at the end of the format. This writes the current settings to the printer's non-volatile memory.
Advanced Troubleshooting
When mastering ZPL, you may encounter situations where the ~SD and ^MF commands do not appear to behave as expected. One common issue is command conflict.
If the printer receives a ZPL stream with a ~SD command. The printer's physical LCD menu is locked or configured to override software commands, the ZPL instruction will be ignored.
To resolve this, navigate to the printer's advanced menu. Ensure the "Command Override" setting is disabled, allowing software commands to take precedence.
Another complex scenario involves varying printhead resolutions. ZPL is coordinate-based.
A command like ^LL812 represents 4 inches on a 203 dpi printer, but only 2. 7 inches on a 300 dpi printer.
If you are deploying the same ZPL script across a mixed fleet of printers, your label length. Positioning will be drastically incorrect on the higher-resolution models.
You must dynamically adjust your ZPL coordinates based on the target printer's resolution or use the ^MU (Set Units of Measurement) command to define coordinates in inches or millimeters rather than absolute dots.
Finally, if media feed issues persist despite correct ^MF and ^LL commands, the problem is likely hardware-related. Inspect the platen roller for excessive wear, slick spots, or debris buildup.
A degraded platen roller cannot maintain traction on the media backing. Causing slipping that ruins the precise feed registration dictated by your ZPL code.
Replace the platen roller and clean the media sensors before spending further time debugging the ZPL syntax.
FAQ
Why does the ~SD command use a tilde (~) instead of a caret (^)?
In ZPL. Commands starting with a caret (^) are format instructions that are processed when the ^XZ (End Format) command is received.
Can I set different darkness levels for different parts of the same label?
No, the thermal printhead operates globally based on the overall darkness setting. You cannot set the top half of the label to darkness 10.
What is the difference between Calibrate (C) and Feed (F) in the ^MF command?
Feed (F) simply advances the media to the next top-of-form position based on the printer's current sensor readings. Calibrate (C) forces the printer to slowly advance several labels, actively measuring the label length, gap size.
My printer ignores the ^LL command and prints too long. Why?
If you are using gap or black mark media, the printer's hardware sensors take precedence over the ^LL command. The ^LL command is primarily used for continuous media.
