


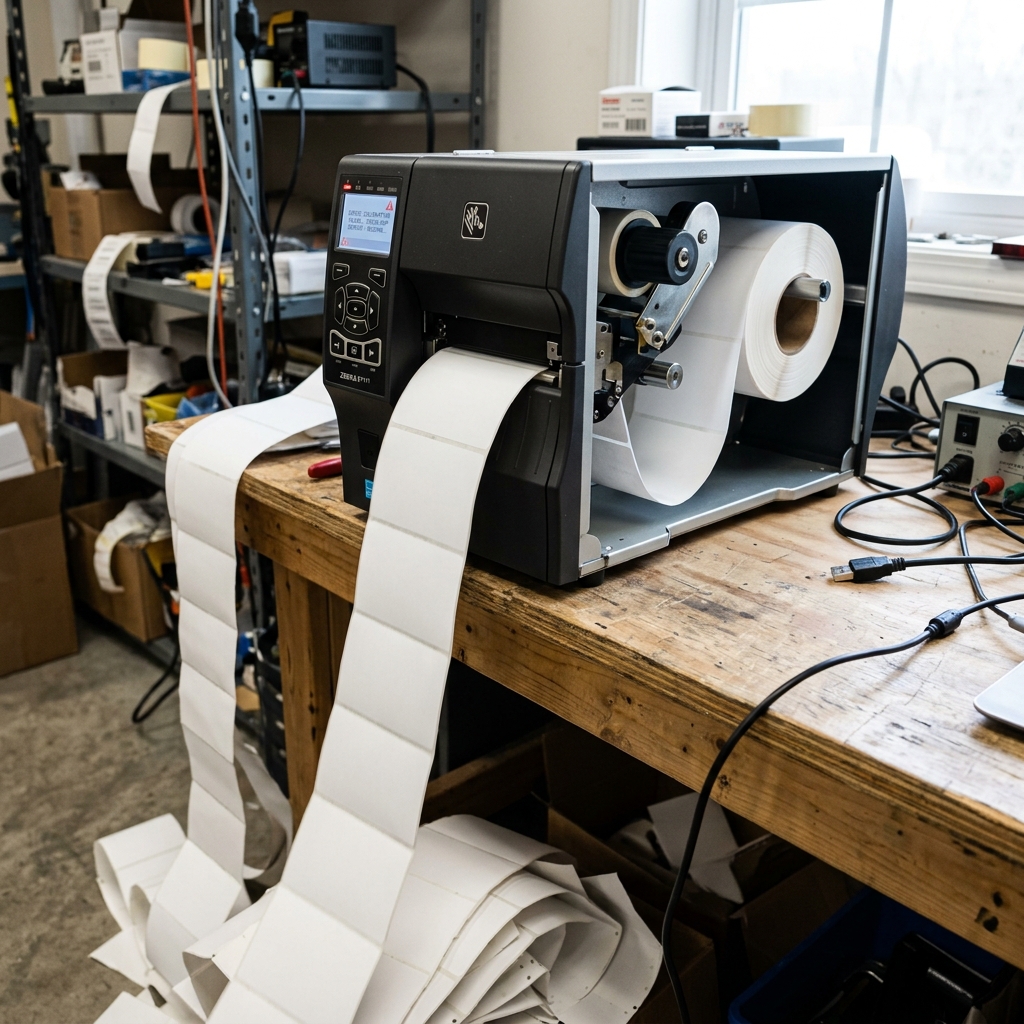
Dealing with a Zebra printer that won't calibrate properly can be one of the most frustrating experiences in a warehouse or retail environment. The "gap not detected" error is exceptionally common, particularly when switching between different types ofmedia.
Such as direct thermal labels to thermal transfer labels, or changing the roll size. This issue halts operations and leads to wasted labels as the printer continuously feeds blankmedia.
Attempting in vain to find the physical gap between each label. Understanding the intricacies of Zebra's media sensing mechanisms is crucial to permanently resolving this issue.
Ensuring smooth, uninterrupted printing workflows. In this comprehensive guide, we'll dive deep into the technical reasons behind the calibration failure, provide a detailed step-by-stepresolution.
Explore advanced troubleshooting steps for persistent issues, and answer frequently asked questions about Zebra printer media calibration.
Why This Happens
The core of the issue lies in how a Zebra printer understands the media it is printing on. The printer relies on specialized sensors—specifically the transmissive sensor (often referred to as the gap sensor).
The reflective sensor (used for black marks). When you load a standard roll of die-cutlabels.
There is a small gap of liner material (usually about 3mm or 1/8 inch) between each label. The transmissive sensor shines a light through the media.
The light passes easily through the thin backing (liner) in thegap. But is blocked or diminished by the label itself.
By measuring this difference in light intensity, the printer identifies the start and end of a label.
The "gap not detected" error occurs when the printer fails to register this transition. This can happen for several technical reasons.
Firstly, the sensor might simply be physically misaligned. If the sensor is pointing at the edge of the label.
Outside the media path, it won't see the gap. Secondly, dust, adhesive residue, or paper lint can accumulate on the sensor's optical eye, blinding it.
Thirdly, the printer's internal calibration values might be corrupted or incorrectly set for the current media thickness. If the printer expects a very opaque label but is fed a slightly translucentone.
Its threshold for detecting the gap will be wrong. Finally, using incompatible media—such as continuous media without a gap or black mark,.
The printer is configured for "Web" or "Gap" sensing—will inherently trigger this error. It is vital to align the physical media characteristics with the printer's software settings.
Step-by-Step Fix
- Perform a Visual Inspection and Cleaning: Turn off the printer and open the printhead. Locate the transmissive (gap) sensor. In most desktop models like the GK420 or ZD420, it's a small sliding mechanism. A fixed light near the media guide. Using a lint-free swab dipped in 99% isopropyl alcohol, gently clean the upper and lower sensor components. This removes any adhesive buildup or dust that might be obstructing the optical path. Let it dry completely.
- Align the Media Sensor:If your printer model has an adjustable transmissive sensor (common in industrial models like the ZT411 or ZM400), manually slide the sensor. That its indicator mark aligns perfectly with the center of the labels, ensuring it will pass directly over the gap and not over the edge of the label or a pre-printed area.
- Load the Media Correctly: Thread the labels through the media guides, ensuring they are snug but not tight. The media must sit perfectly flat as it passes over the platen roller and under the printhead. Incorrectly loaded media can buckle, causing the sensor to misread the light transmission.
- Initiate a Manual Media Calibration: Do not rely on the auto-calibration feature initially. Access the printer's menu via the front panel (if available) or through the Zebra Setup Utilities software. Navigate to the "Tools" or "Sensors" section and select "Media and Ribbon Calibration."
- Execute the Calibration Sequence:The printer will prompt you to remove the ribbon (if using thermal transfer). Pull the labels out so that only the empty backing liner is positioned under the sensor. Press Pause or Next. The printer measures the baseline transparency of the liner. Then, it will prompt you to reload the labels and ribbon. Press Pause again. The printer will feed a few labels to measure the difference between the label. The liner, setting the correct threshold values.
- Verify settings Settings: Open your printing preferences in Windows or within your labeling software (like ZebraDesigner or BarTender). Ensure the "Media Type" is set to "Labels with Gaps" or"Web". And the "Print Method" matches your physical setup (Direct Thermal vs. Thermal Transfer). Incorrect software settings will override the physical calibration.
- Test Print a settings Label: Hold the feed button until it flashes once, or use the menu to print a settings label. This tests if the printer stops precisely at the tear-off line after printing, confirming a successful calibration.
Advanced Troubleshooting
If the standard calibration process fails to resolve the "gap not detected"issue. The problem might be rooted deeper within the printer's firmware (internal software) or hardware.
First, consider the media itself. Some labels, particularly synthetic ones (like polyester or polypropylene) or those with heavily dyed backingliners.
Have unique light transmission properties that confuse standard transmissive sensors. In these cases, you may need to use the reflective sensor (if the labels have a black mark on the back).
Adjust the sensor sensitivity manually via ZPL commands. The ZPL command ~JG can be sent to print a sensor profile graph, which visualizes exactly what the sensor is "seeing." By analyzing the peaks and valleys on thisgraph.
You can determine if the sensor is defective or if the media is simply too opaque.
Another advanced step is checking the firmware (internal software). Outdated firmware (internal software) can contain bugs related to media sensing algorithms.
Visit the Zebra support website, download the latest firmware (internal software) for your specific printermodel. And flash it using the Zebra Setup Utilities.
Be extremely careful during this process to avoid bricking the device. If the sensor profile is completely flat regardless of the media present,.
If firmware (internal software) updates do not help, the physical sensor hardware may have failed. The transmissive sensor array is a delicate electronic component.
A power surge, physical impact, or simple wear and tear over years of use can cause it to burn out. In this scenario, replacing the sensor assembly.
The entire main logic board (depending on the printer model's architecture) is the only viable solution. This usually requires a certified technician.
Lastly, ensure that no conflicting ZPL scripts are being sent from your host application. Some legacy ERP systems append hardcoded calibration commands (like ~JC) before every print job, which can force the printer into a continuous recalibrationloop.
Mimicking a "gap not detected" error. Monitor the raw data stream being sent to the printer to identify and eliminate these rogue commands.
FAQ
What is the difference between Transmissive and Reflective sensors?
The transmissive sensor shines light completely through the media. Measures how much light makes it to the receiver on the other side.
Why does the printer feed multiple blank labels when I press the feed button?
This is the classic symptom of a printer that has lost its calibration. When you press feed, the printer expects to find a gap to know when to stop.
Can I calibrate the printer using ZPL commands instead of the buttons?
Yes, absolutely. You can send the ~JC (Set Media Sensor Calibration) command to force an auto-calibration, or use the ^JG command to print a sensor profile.
I cleaned the sensor, but it still won't calibrate. What next?
If cleaning doesn't work, verify that the media is actually compatible (it has a visible gap and isn't too thick). Check the sensor alignment.
Does switching from Direct Thermal to Thermal Transfer affect calibration?
Yes. The presence of the thermal transfer ribbon adds an extra layer of material that the sensor's light must penetrate.
