


Introduction
Zebra thermal printers are the industrial workhorses of logistics, warehousing, and healthcare, renowned for their durability and high-volume output. A critical component of their reliable operation is the media sensor system, which allows the printer to detect where one label ends.
The next begins. Without accurate sensor data, the printer will suffer from constant media out errors.
Skip labels, or print across the gaps, severely disrupting operational efficiency. At the heart of troubleshooting these issues is understanding the "Sensor Profile"—a diagnostic printout that graphs exactly what the printer's sensors are seeing.
This comprehensive guide will explain the Zebra Sensor Profile, explain how to interpret its graphical data,. Provide detailed instructions on how to properly clean the sensors and perform a manual calibration.
Whether you are dealing with standard gap labels, black mark media, or continuous rolls, mastering the sensor profile. Calibration process is essential for maintaining the uptime and accuracy of your Zebra printing fleet.
Why This Happens: Understanding Transmissive and Reflective Sensors
Zebra printers utilize two primary types of sensors to track media: Transmissive and Reflective. The Transmissive sensor (also known as the web or gap sensor) shines a light through the backing paper to detect the physical gap between labels.
The Reflective sensor (or black mark sensor) bounces light off the back of the media to detect pre-printed black lines. When a printer fails to track labels correctly.
It means the sensor is either reading the data incorrectly or is physically obstructed. The Sensor Profile is a physical label printed by the device that visually graphs the analog values detected by these sensors.
It essentially shows a wave pattern: the peaks represent the dense label material,. The valleys represent the thinner backing paper (the gap) or a black mark.
Tracking errors usually occur for three reasons. First, dust, adhesive residue, or paper lint can accumulate over the physical sensor eyes.
This blocks the light, causing the printer to see a continuous flat line instead of the peaks. Valleys, leading to "Media Out" errors.
Second, the sensor might not be physically aligned with the gap or mark on the paper. Many Zebra models have an adjustable sensor; if it is positioned over a solid part of the label instead of the notch or gap, it cannot detect the edge.
Finally, changes in media type—such as switching from thick paper labels to thin synthetic labels with a different backing liner opacity—require the printer to learn the new threshold values. If the printer is still using the threshold values for the old, thick labels.
It won't recognize the subtle differences in light transmission of the new labels, necessitating a manual calibration.
Step-by-Step: Cleaning and Manual Calibration
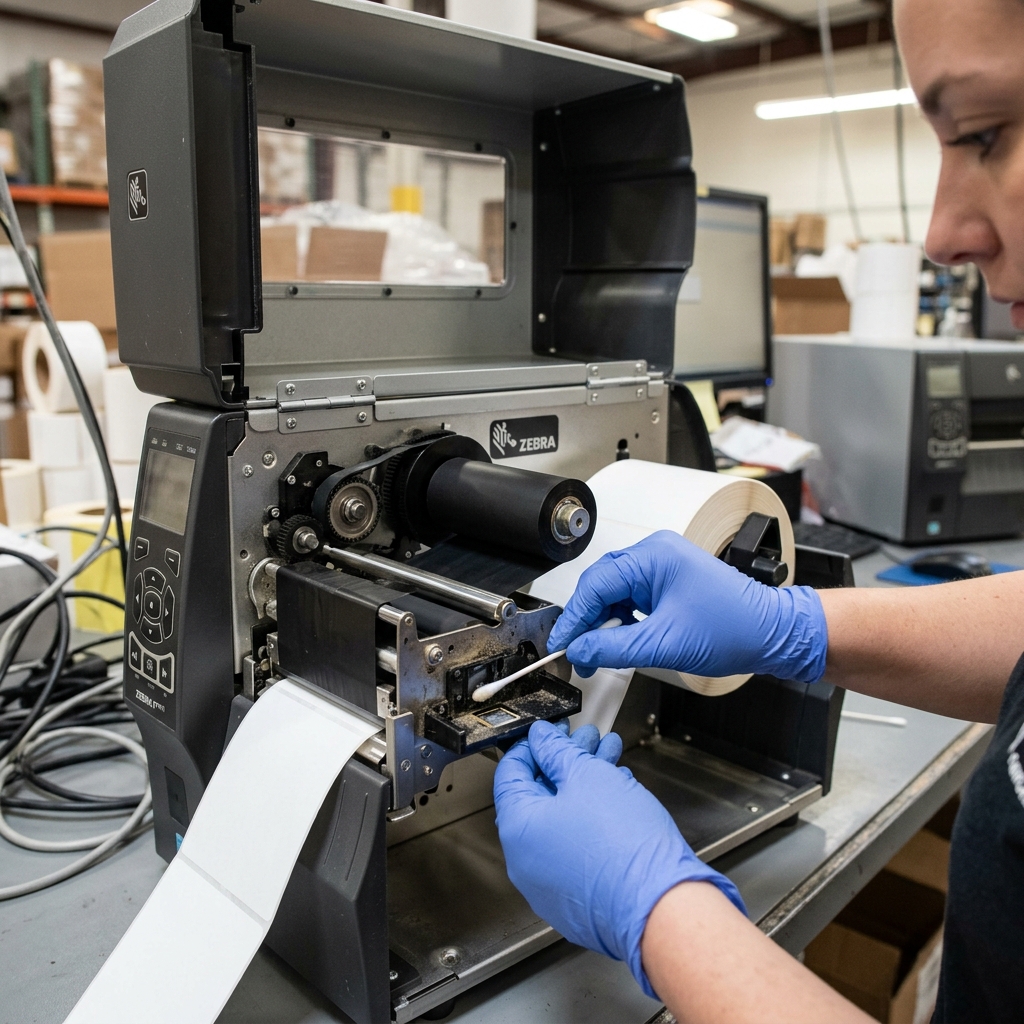
- Locate and Clean the Sensors: Turn off the printer and open the printhead mechanism. Locate the media sensors; they are usually small, clear plastic domes or recessed slots in the media path. Using a can of compressed air, blow away any loose paper dust. Then, lightly dampen a lint-free swab with 99% isopropyl alcohol. Gently clean the sensor surfaces to remove any built-up adhesive. Allow it to air dry.
- Align the Sensor:If your Zebra printer has an adjustable sensor (often indicated by a movable dial or sliding mechanism in the media path). Ensure it is correctly positioned. For gap labels, slide the sensor so the light passes through the gap between the labels. For black mark media, ensure the sensor is aligned directly over the path where the black marks will pass.
- Initiate Manual Calibration: The method varies by model. For printers with an LCD screen, navigate to the "Tools" or "Settings" menu and select "Media/Ribbon Calibrate". Follow the on-screen prompts. For models without a screen (like the GK or ZD series), press and hold the feed button. The status light will flash in sequences (one flash, then two, then three, etc. ). Release the button after a specific sequence (usually the two-flash sequence for standard calibration,. Refer to your specific model's manual).
- The Calibration Process: The printer will feed several blank labels. During this time, it is measuring the light transmission through the label. The backing paper to establish new threshold values. It will then retract the media and stop at the tear line.
- Print a Sensor Profile: To verify the calibration was successful, print a Sensor Profile. On LCD models, select "Print Sensor Profile" from the menu. On button-only models, enter the appropriate flash sequence (often the three-flash sequence). The printer will output a graph.
- Interpret the Sensor Profile: Examine the printed graph. You should see a clear, distinct wave pattern. The line should drop significantly when it encounters a gap (or peak for a black mark). Level out flat across the body of the label. The word "MEDIA" should be printed indicating the threshold line. The peaks must be clearly above the threshold, and the valleys clearly below it.
- Adjust if Necessary: If the graph is flat, or if the peaks and valleys do not cross the threshold line, the calibration failed. Re-clean the sensors, verify sensor alignment, ensure the media is loaded correctly, and repeat the manual calibration process.
Advanced Troubleshooting: Sensor Profile Anomalies
Interpreting a problematic Sensor Profile requires a sharp eye. If the profile shows a wave,.
There is excessive "noise" or jagged spikes at the top of the peaks or in the valleys, it indicates that the media is fluttering or bouncing as it passes the sensor. This is usually caused by insufficient tension on the media supply spindle or a broken media guide.
Ensure the media guides are snug against the sides of the label roll to prevent lateral movement and bouncing.
Another advanced issue is dealing with pre-printed media. If your labels have heavy graphics or dark pre-printed sections on the back.
The transmissive sensor might confuse these dark areas for gaps or black marks, leading to erratic feeding. In this scenario, you must carefully align the adjustable sensor so it reads a "quiet zone"—a path along the label that has no pre-printed graphics.
If the entire label is heavily printed, you may need to switch to a reflective black mark media setup. Configure the printer to ignore the transmissive gap readings entirely via the printer's web interface or Zebra Setup Utilities software.
FAQ
What is the difference between Auto Calibration and Manual Calibration?
Auto Calibration runs automatically when you close the printhead and feeds a few labels to quickly check settings. Manual Calibration is a deeper diagnostic routine that forces the printer to relearn the exact optical density of the backing paper.
Why does the printer feed 5 blank labels every time I turn it on?
This means the printer is set to "Calibrate on Power Up" in its settings,. It is failing to save the calibration values.
How do I know if my sensor is broken versus just dirty?
If you thoroughly clean the sensor with alcohol. Perform a manual calibration, but the printed Sensor Profile is still a completely flat line with zero variation, the sensor diode is likely dead or the wiring harness is disconnected, requiring hardware repair.
Can I use black mark settings for gap labels?
No. The printer uses different algorithms and physically different light wavelengths/sensors for transmissive (gap) versus reflective (black mark) media.
