


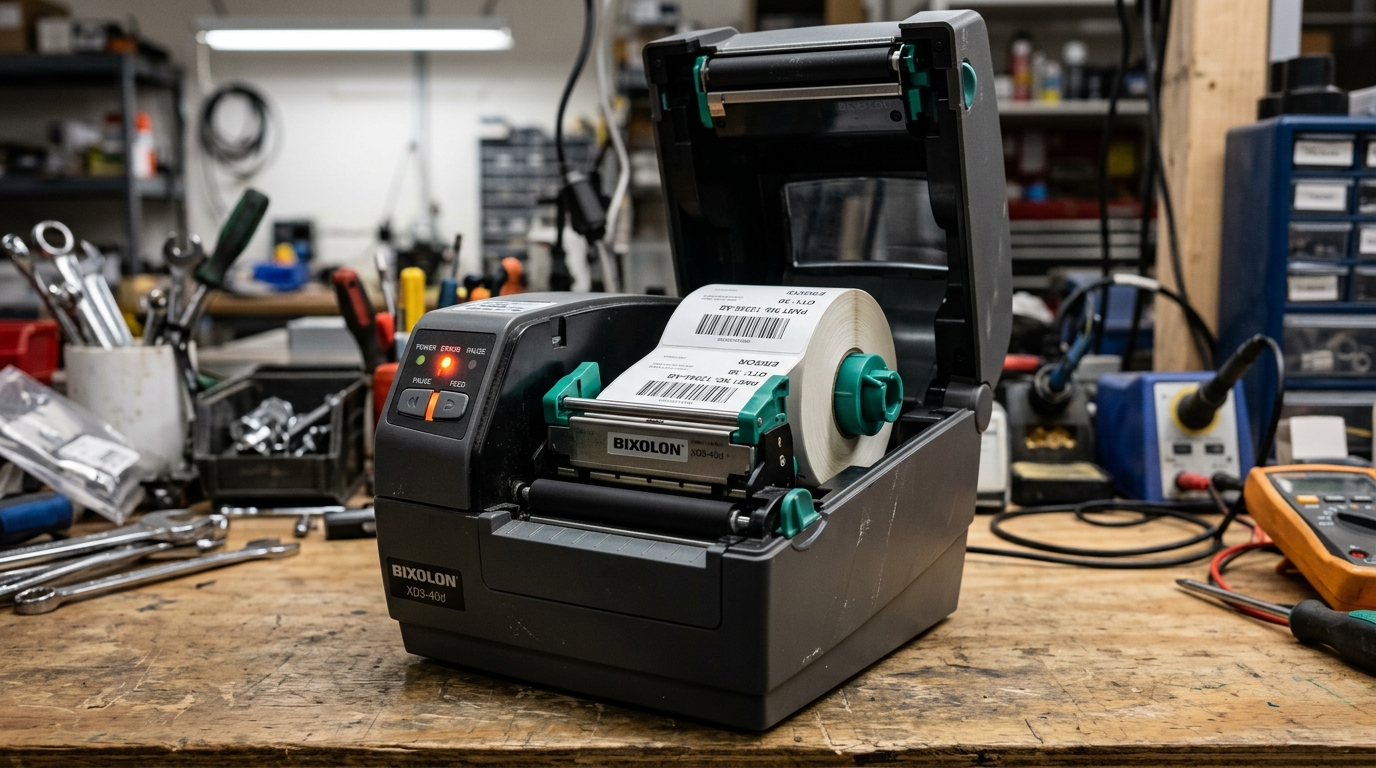
The Quick Answer
Experiencing calibration, ribbon, or loading errors on your Bixolon XD3-40 label printer? This complete troubleshooting guide explains the fixes for XD3-40d and XD3-40t.
The Bixolon XD3-40 comes in two distinct variants that troubleshoot differently —. Knowing which one you have determines where Start:
- XD3-40d — direct thermal only, no ribbon involved
- XD3-40t — thermal transfer, which requires a ribbon cassette in addition to label media
An error on the XD3-40d is almost always a media or sensor issue. On the XD3-40t, the same visible symptom could just as easily be a ribbon-related problem. Working out which variant you have — the "d" or "t" — is the first. Branching decision in any XD3-40 troubleshooting flow.
Which Variant Do You Have?
Check the label on the back of the printer, or look at the media compartment:
- XD3-40d has a single label media path with no ribbon assembly.
- XD3-40t has both a media path and a separate ribbon assembly with a ribbon knob adjustment.
The rest of this guide flags variant-specific steps clearly wherever they apply.
The Pause/Resume Function (Not an Error, But Looks Like One)
Before assuming the printer has faulted, check whether it's actually just paused.
- Pressing the Feed button once during a print job pauses the printer.blinking.
- Pressing Feed again resumes the queue from where it left off.
If your printer's green LED is blinking and jobs seem stuck, this may be all that's happening — press Feed once to check.
Media (Label) Loading Issues
Regardless of variant, most errors trace back to media loading:
- Open the media cover by pushing the cover button on both sides.
- Spread the media holder to create space for the label roll.
- Insert the roll aligned properly with the print path.
- On the XD3-40t only, pull the ribbon assembly lever on both sides to open it and confirm the ribbon is correctly seated before closing.
- Close the media cover securely — off-center closure is a common cause of feed misalignment.
Two important cautions from the manual: never open the print cover while the printer is actively running a job (this can damage the printer, not just cancel the print),. Only replace media when the printer is not actively receiving data, to prevent partial data loss.
Ribbon Issues (XD3-40t Only)
The XD3-40t's ribbon assembly adds a variant-specific layer of potential errors that don't exist on the "d" model at all:
Knob adjustment matches ribbon type. The ribbon assembly has an adjustment knob that must match the ribbon you're using:
- PUSH-UP (knob inward) — factory default; use with standard 300m one-inch core ribbons
- PULL-DOWN (knob outward) — required for ribbons narrower than 2 inches, or approximately 74m half-inch core ribbons
Using the wrong knob position produces poor print qualityor feed issues that look like errors — this is worth checking specifically if a. New roll of ribbon suddenly produces bad output while nothing else has changed.
Narrow ribbon centering. When using ribbons 110mm wide or lower. Install them in a centered position on the ribbon holder — off-center loading causes uneven print pressure across the label.
Ribbon empty or torn. A worn-out ribbon produces gradually fading print rather than a hard error. Cut the ribbon, open the ribbon assembly, push the core from left to right to remove, detach the holder,. Install a fresh ribbon.
Gap Sensor and Black Mark Calibration
The XD3-40's most useful diagnostic feature is the sensor auto-calibration mode. Which resolves most cases where the printer skips labels, prints in the wrong position, or fails to detect where each label starts and ends.
- Gap sensor auto-calibration (for standard label rolls with gaps between labels): Enter stand-alone settings mode and select sequence number 2.
- Black mark sensor auto-calibration (for continuous media with printed black marks): Enter stand-alone settings mode and select sequence number 3.
Make sure the rollers are properly installed and media is loaded before starting either calibration routine. If auto-calibration completes. The label position is still wrong, the media itself may have inconsistent gaps or marks — try a fresh roll before assuming a hardware fault.
Paper Jam / Media Jam
Jams on this model are typically caused by:
- Media loaded off-center or curled at the leading edge
- Adhesive residue building up on the roller from prolonged use
- Foreign debris in the media path
Fix:
- Turn off the printer completely.
- Open the media cover and remove any visible stuck media by hand — don't force anything.
- Check the roller and sensors="/epson/ink-toner-issues/epson-ecotank-ink-tank-not-detected" title="Fix Epson EcoTank 'Ink Tank Not Detected' Error">sensors for adhesive residue; wipe with a lint-free cloth and isopropyl alcohol if needed.
- Reload the media roll cleanly with a straight leading edge.
- Close the cover and power the printer back on.
Static Electricity Protection
Buried in the manual but worth noting: the XD3-40 is more sensitive to static electricity damage than many printers. Always turn the printer off before connecting or disconnecting any interface cable at the rear.stopped working after I swapped cables" support tickets.
Cleaning the Print Head and Sensors
If the printer runs without an error light but output quality is degrading:
- Turn the printer off before cleaning anything.
- Open the media cover and remove the media roll.
- Clean the print head with a rror-codes-alerts/dascom-printer-skipping-characters-grinding" title="Fix Dascom Skipping Characters & Grinding Noises (Print Head Error)">print head with a lint-free cloth soaked in isopropyl alcohol (never abrasive material).
- Clean the media sensors="/epson/ink-toner-issues/epson-ecotank-ink-tank-not-detected" title="Fix Epson EcoTank 'Ink Tank Not Detected' Error">sensors— a small amount of paper dust on a sensor can cause false "media out". Or gap-detection errors even when media is loaded.
- Clean the roller and media rdware-maintenance/dymo-labelwriter-label-jam-removal-clean-sensor" title="Fix DYMO Label Jam (Reverse Feed Button & Sensor Clean)">roller and media path of any adhesive residue.
Regular cleaning every few weeks (or after a few thousand labels in heavy use) prevents most gradual quality issues.
Print Cover Safety
The manual is explicit about one physical hazard: never wear loose clothing, necklaces, rings, or ID badges near the printer when the media cover is open. The printer is powered on — moving parts inside can catch on these.
If something does contact the drive, immediately disconnect power or hit the power switch on the back.
For everyday operation this rarely matters, but it's worth knowing when doing initial media loading in a busy setting.
Frequently Asked Questions
How do I tell the XD3-40d and XD3-40t apart? The "t" variant has a ribbon assembly with an adjustment knob; the "d" variant has none. The rear-panel model label will also state the specific model.
Why does my green LED keep blinking? Most likely the printer is paused, not errored — press the Feed button once to resume printing.
Why is the printer feeding blank labels? On the XD3-40d, check that the media is loaded thermal-side-out. On the XD3-40t. Check the ribbon: it may be missing, worn out, or the knob may be in the wrong position for the ribbon type installed.
What's the best fix for label positioning being off? Run the gap sensor auto-calibration (sequence 2 in stand-alone settings mode) or black mark auto-calibration (sequence 3) depending on your media type.
Quick Checklist
- Confirmed which variant you have — XD3-40d (direct thermal) or XD3-40t (thermal transfer with ribbon)
- Green LED blink checked — is the printer paused rather than errored?
- Media loaded correctly with cover closed evenly
- Ribbon knob position matches ribbon type (XD3-40t only)
- Ribbon centered if using widths under 110mm (XD3-40t only)
- Gap sensor or black mark auto-calibration run for the correct media type
- Print head, sensors, and roller cleaned
- Printer powered off before any cable was swapped
The XD3-40's error behavior isn't complicated once you separate the "d" from the "t" —. Most issues break down cleanly into media,calibration, ribbon (t-model only), or a cleaning need. Work through the variant-appropriate checklist and the vast majority resolve in under ten minutes.
