


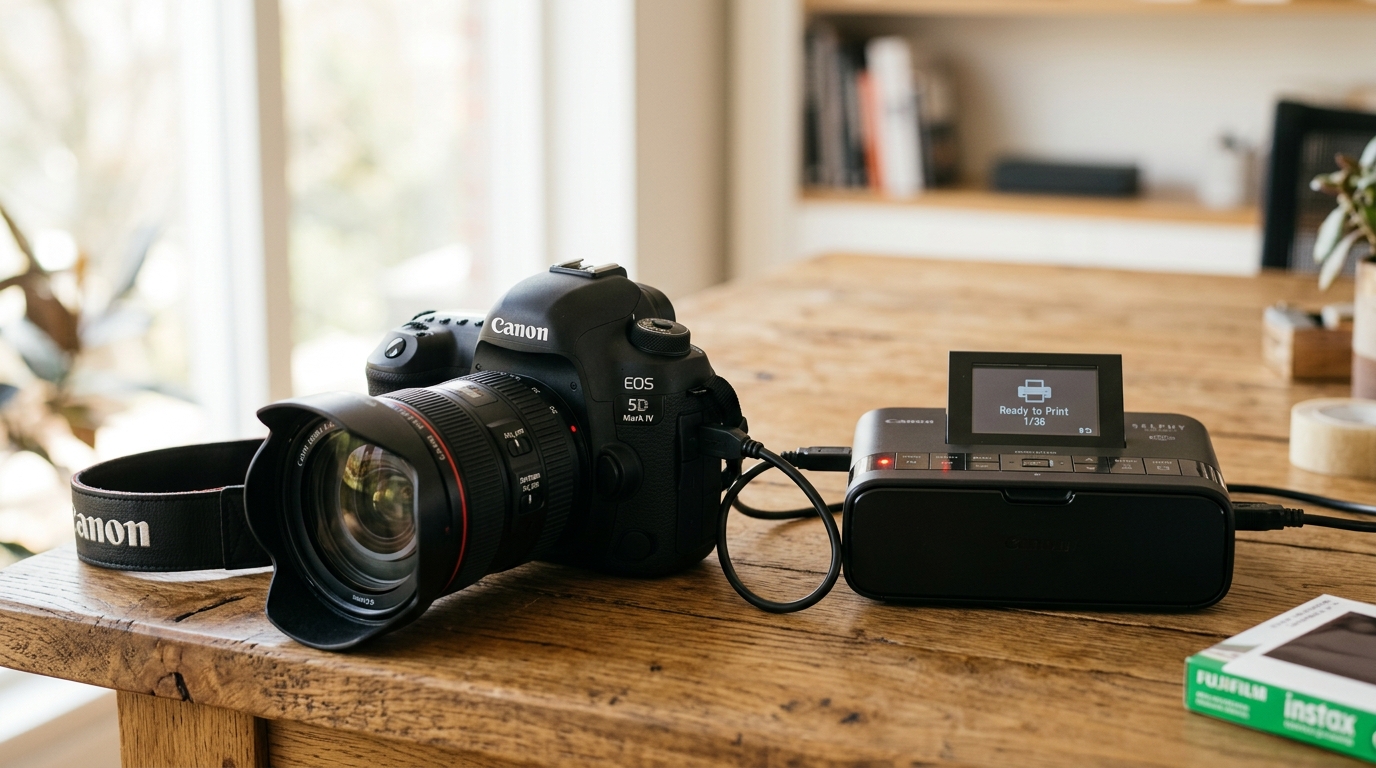
Understanding Canon PictBridge Communication
PictBridge allows Canon digital cameras (EOS DSLR, Mirrorless, and PowerShot) to print directly to compatible PIXMA and SELPHY photo printers without a PC.
When the camera displays "Cannot connect to printer" or the direct print icon fails to illuminate, the fault is almost always camera USB mode configuration or conflicting wireless radios.
Step 1: Switch Camera USB Mode to PTP / PictBridge
By default, modern Canon cameras configure their USB port for computer file transfer or webcam streaming:
- Open Camera Menu: Turn on your Canon camera and press the Menu button.
- Navigate to Set-Up (Wrench) Menu: Scroll to the Set-Up tab (yellow wrench icon).
- Select USB Connection App: Find Choose USB connection app or Communication Method.
- Switch from PC/Mac to Print (PTP): Change the setting from "Photo Import/Remote" to Print/PTP or PictBridge.
- Reconnect the cable: Unplug the USB cable and reconnect it to re-initialize the PictBridge handshake.
Step 2: Disable Camera Wi-Fi and Bluetooth Radios
Canon EOS cameras automatically disable their physical USB data ports while wireless functions are active:
- Open Wireless Settings: In the camera menu, navigate to Wi-Fi/Bluetooth settings.
- Disable Wi-Fi: Set Wi-Fi to Disable. The camera's physical USB port cannot transmit print data while searching for smartphones.
- Turn off Airplane Mode toggles: Ensure communication channels are clear of background smartphone sync attempts.
Step 3: Use a Dedicated USB Data Cable (Not Charge-Only)
Generic charging cables lack the internal data lines needed for PTP print commands:
- Verify cable pins: Use the original Canon IFC cable or a certified 4-wire USB data cable (USB-A to USB Mini-B or USB-C).
- Connect to dedicated PictBridge port: On PIXMA and SELPHY printers, plug the camera directly into the front USB port with the camera icon, not the square rear PC port.
- Avoid USB hubs: Never connect the camera through USB extension cables or unpowered desktop hubs.
Step 4: Troubleshoot Wireless PictBridge (DPS over IP)
If connecting your camera to the printer wirelessly over local Wi-Fi:
- Connect to the same 2.4 GHz network: Ensure both camera and printer are on the same 2.4 GHz Wi-Fi SSID.
- Disable AP Isolation on router: Wireless Client Isolation on guest networks prevents the camera from discovering the printer's IP address.
- Use Direct Ad-Hoc Connection: If router discovery fails, set the printer to Direct Connection mode and join the camera to the printer's direct Wi-Fi network.
Frequently Asked Questions
Why does the printer say "No paper" when paper is loaded in PictBridge mode?
The paper size selected on the camera menu must match the paper cassette loaded in the printer. If the camera requests 4x6 but Letter paper is loaded, the job halts.
Can I print RAW camera files via PictBridge?
Most Canon printers only accept JPEG images. If shooting in RAW (.CR2/.CR3), use the camera's internal RAW Processing menu to export a JPEG before printing.
What does the blue direct print button on older Canon cameras do?
The blue button lights up when a PictBridge printer is detected. Pressing it immediately sends the currently viewed photo to the printer with default settings.
