


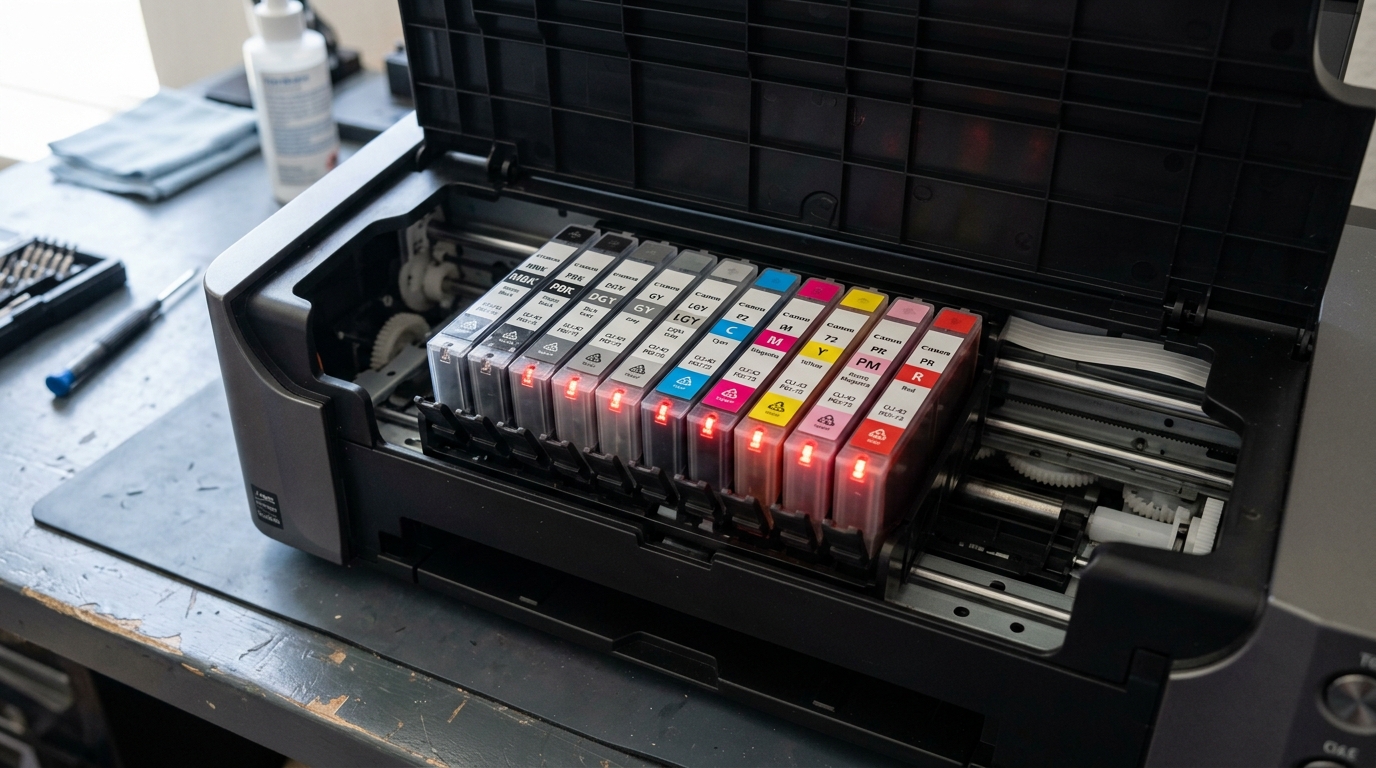
Understanding PIXMA PRO-300 PGI-300 Ink Recognition
The Canon PIXMA PRO-300 uses 10 individual PGI-300 LUCIA PRO pigment ink tanks. Each tank features a smart microchip and an integrated red LED optical indicator.
When the printer displays "The following ink tank cannot be recognized" or error 1660, the electronic contact between the cartridge chip and the printhead carriage board has failed.
Step 1: Check the Red LED Status Indicator
The cartridge LED provides immediate diagnostic feedback for each slot:
- Solid Red: The cartridge is correctly installed, authenticated, and ready to print.
- Slow Flashing Red: Ink level is low (approximately 15% remaining).
- Fast Flashing Red: Ink tank is completely empty and must be replaced.
- Completely Unlit: The printer cannot communicate with the cartridge chip or the tank is not seated deeply enough.
Step 2: Correct the Two-Step Insertion Angle
PGI-300 tanks require a specific insertion technique to align the contact pins:
- Open the top cover: Wait for the printhead carriage to move to the center replacement position.
- Remove the unrecognized tank: Press the release tab at the front of the cartridge and lift it straight up.
- Insert front hook first: Angle the front nose of the cartridge downward into the socket slot first.
- Press down firmly on the rear tab: Push down on the top surface until the rear tab clicks audibly into place.
- Confirm LED lights up: Verify that the red indicator LED turns on solid red immediately.
Step 3: Clean Gold Chip Contacts and Carriage Pins
Pigment ink dust or finger oils on the contact pads prevent signal transmission:
- Remove the cartridge: Take the unlit tank out of the carriage socket.
- Locate the gold contact pad: Find the gold contact pads on the bottom rear face of the tank.
- Clean with isopropyl alcohol: Lightly wipe the pads with a lint-free cotton swab dampened with 99% isopropyl alcohol.
- Inspect carriage spring pins: Look down into the carriage bay. Ensure the delicate gold spring wire pins are straight and clean.
Step 4: Verify the Orange Cap and Vent Tape Removal
Improper unboxing will cause pressure faults in the ink chamber:
- Check the orange shipping clip: Ensure the orange protective lever base was fully twisted off before insertion.
- Check the air vent groove: Verify no plastic film or adhesive residue covers the microscopic air vent groove on the cartridge top.
- Do not shake aggressively: While pigment tanks require gentle rocking before installation, aggressive shaking introduces air bubbles into the exit port.
Frequently Asked Questions
What does error code 1660 mean on Canon PRO-300?
Error 1660 directly indicates that one of the PGI-300 ink tanks is not installed or its microchip cannot communicate with the carriage controller.
Can I print if the Chroma Optimizer (CO) tank is empty?
No. The PRO-300 requires all 10 ink tanks to have ink, including the Chroma Optimizer, even when printing pure text or black-and-white images.
Can I bypass the ink recognition error on PRO-300?
Press and hold the Stop/Resume button for 7 seconds to bypass low-ink warnings. However, an unlit chip (hardware connection failure) cannot be bypassed.
