


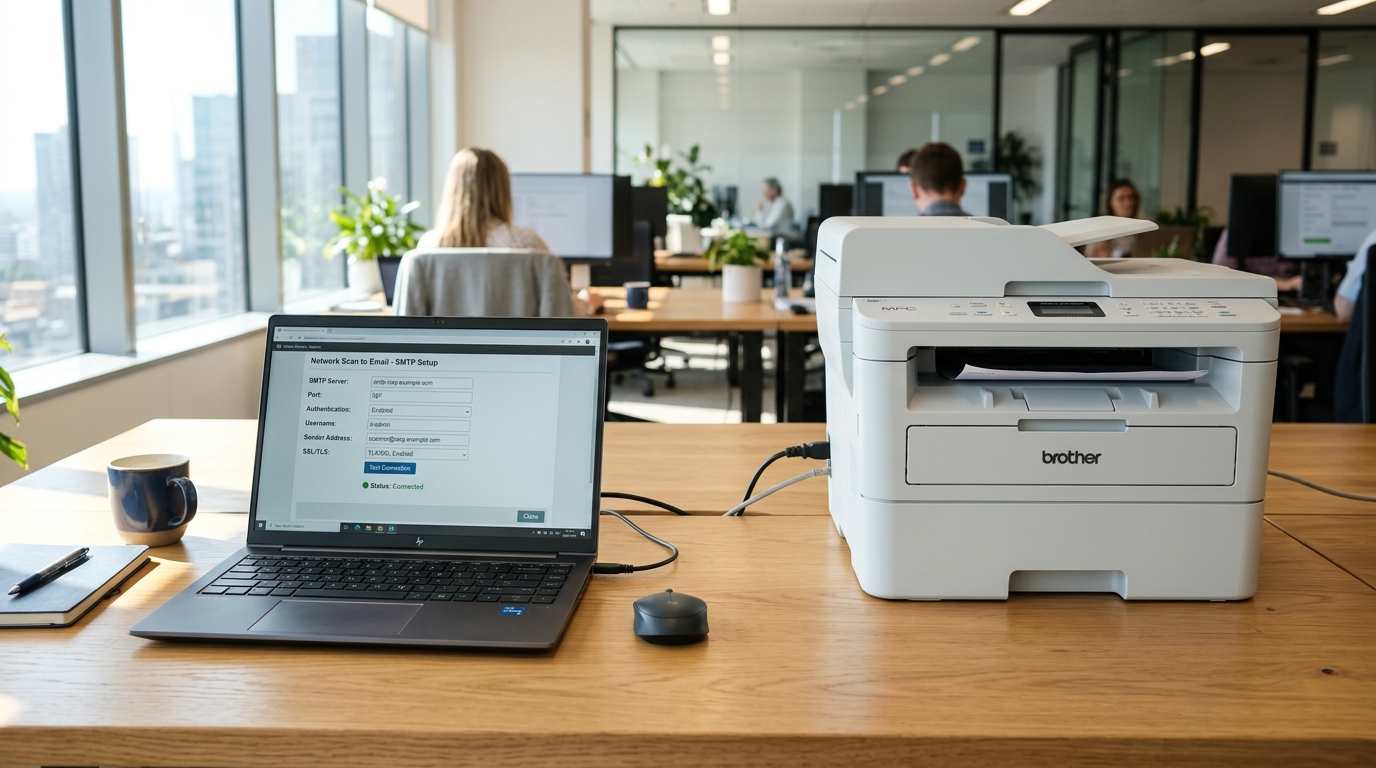
Understanding Canon imageCLASS Scan to Email
Canon imageCLASS multi-function laser printers can dispatch scanned PDF documents directly to recipient email addresses without a computer.
Because the printer acts as its own email client, you must configure SMTP server credentials, SSL/TLS encryption, and authentication tokens via the Canon Remote UI web portal.
Step 1: Access the Canon Remote UI Web Portal
Log into your printer's embedded web server using a computer on the same local network:
- Find your printer's IP address: On the imageCLASS touchscreen, tap Status Monitor > Network Information > IPv4.
- Open Remote UI in your browser: Type
http://<printer-ip>into Chrome, Firefox, or Safari. - Log in as System Manager: Select System Manager Mode. The factory default System Manager ID and PIN are both
7654321. - Navigate to Email Settings: Click Settings/Registration > Network Settings > E-Mail/I-Fax Settings.
Step 2: Configure SMTP Server and Gmail App Passwords
Standard email passwords are rejected by Gmail and Microsoft due to mandatory multi-factor authentication (MFA):
- Generate an App Password: For Gmail, go to Google Account Security > 2-Step Verification > App Passwords. Generate a 16-character token for "Canon Printer".
- Enter SMTP Server Name: Type
smtp.gmail.com(orsmtp.office365.comfor Microsoft 365). - Set the SMTP Port: Enter 587 (with STARTTLS) or 465 (with SSL/TLS).
- Enable SMTP Authentication: Check Use SMTP Authentication (SMTP AUTH). Enter your full email address and the 16-character App Password.
- Set Default Sender Address: Enter your full email in the E-Mail Address box so receiving servers do not flag scans as spam.
Step 3: Configure DNS and Gateway Addresses
The printer must resolve domain names over the internet to connect to Google's mail servers:
- Open TCP/IP Settings: In Remote UI, go to Network Settings > TCP/IP Settings > DNS Settings.
- Set Primary DNS Server: Enter
8.8.8.8(Google Public DNS) or1.1.1.1(Cloudflare). - Set Secondary DNS Server: Enter
8.8.4.4. - Reboot the printer: Click OK and power cycle the printer so the new network routes take effect.
Frequently Asked Questions
Why do I get error #801 or #806 during scan to email?
Error #801 indicates incorrect SMTP authentication credentials. Error #806 indicates the recipient email address is blocked by the destination server or typed incorrectly.
Can I save frequent email recipients directly on the printer?
Yes. Go to Address Book in Remote UI or on the touchscreen to register one-touch speed dial buttons for frequent email contacts.
What causes error #753 when scanning to email?
Error #753 indicates the printer cannot reach the SMTP server. Verify your primary DNS address is set to 8.8.8.8 and your gateway IP address is correct.
