


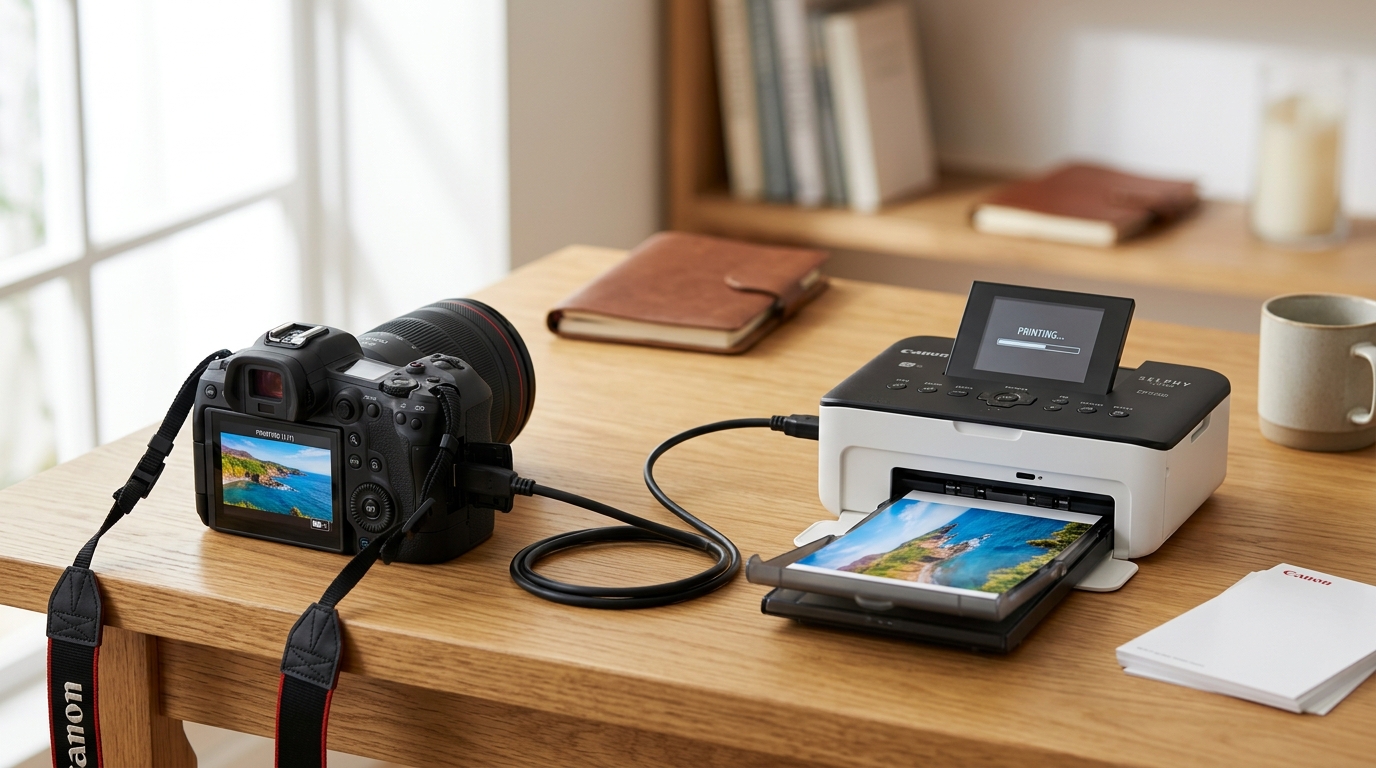
Overview: Direct Camera-to-Printer Printing
Canon digital cameras allow photographers to print high-resolution photos straight from camera playback mode to PIXMA and SELPHY printers without a computer or phone.
You can connect using a standard USB interface cable or over wireless Wi-Fi (Wireless PictBridge), adjusting cropping, borders, and color profiles directly on the camera LCD.
Method 1: Print Directly via USB Cable
The fastest and most reliable direct printing method requires only a USB cable:
- Power on both devices: Turn on your Canon printer and ensure paper and ink are loaded.
- Connect USB cable: Connect your camera to the printer's front USB PictBridge port using the appropriate Canon interface cable.
- Turn on the camera in Playback mode: Press the Playback button (triangle icon) to view your photos.
- Look for the Print icon: A small printer icon will appear on the top-left of the camera screen, confirming a successful link.
- Press the Set button: Press SET or tap the print icon to open the Print Settings menu.
- Adjust print options: Select Paper Size (e.g. 4x6" or Letter), Bordered/Borderless, and Date Stamp.
- Select Print: Highlight Print and press SET. The photo prints immediately.
Method 2: Print Wirelessly (Wi-Fi Camera Direct)
Print without wires by pairing your Wi-Fi enabled EOS camera to the printer:
- Set printer to Direct Connection mode: On the printer, open Wi-Fi Settings and select Direct Connection. Note the SSID and password.
- Open Camera Wireless Menu: In the camera menu, go to Wi-Fi function > Print from Wi-Fi printer.
- Select the printer network: Choose the printer's SSID from the list of detected networks and enter the password.
- Select photos in playback: View the image you wish to print and press SET.
- Confirm print parameters: Choose your paper layout and press Print.
In-Camera Image Cropping and Adjustments
Canon cameras allow basic adjustments before sending the print payload:
- Cropping Tool: Press the zoom button while in the print settings screen to frame the exact portion of the image to print.
- Paper Layout: Choose between Borderless, Bordered, or Multi-Image index prints (2-up, 4-up, 8-up on a single sheet).
- Paper Type: Match the setting to your paper (e.g., Photo, Fast Photo, or Semi-Gloss) to ensure correct ink density.
Frequently Asked Questions
Can I print unedited RAW files directly from my Canon camera?
Direct printing requires JPEG data. If you shoot RAW only, use the camera's built-in "RAW image processing" feature to convert the file to JPEG before printing.
Why does the printer crop off the top and bottom of my photo?
Most Canon DSLR and mirrorless sensors shoot at a 3:2 aspect ratio. If printing on standard Letter (8.5x11) paper (which is roughly 4:3), the edges will be cropped unless you choose "Bordered" layout.
Can I print photos from an SD card inserted directly into the printer?
Yes. If your Canon PIXMA or SELPHY printer has a built-in SD card slot, insert the memory card directly and select photos using the printer touchscreen.
