


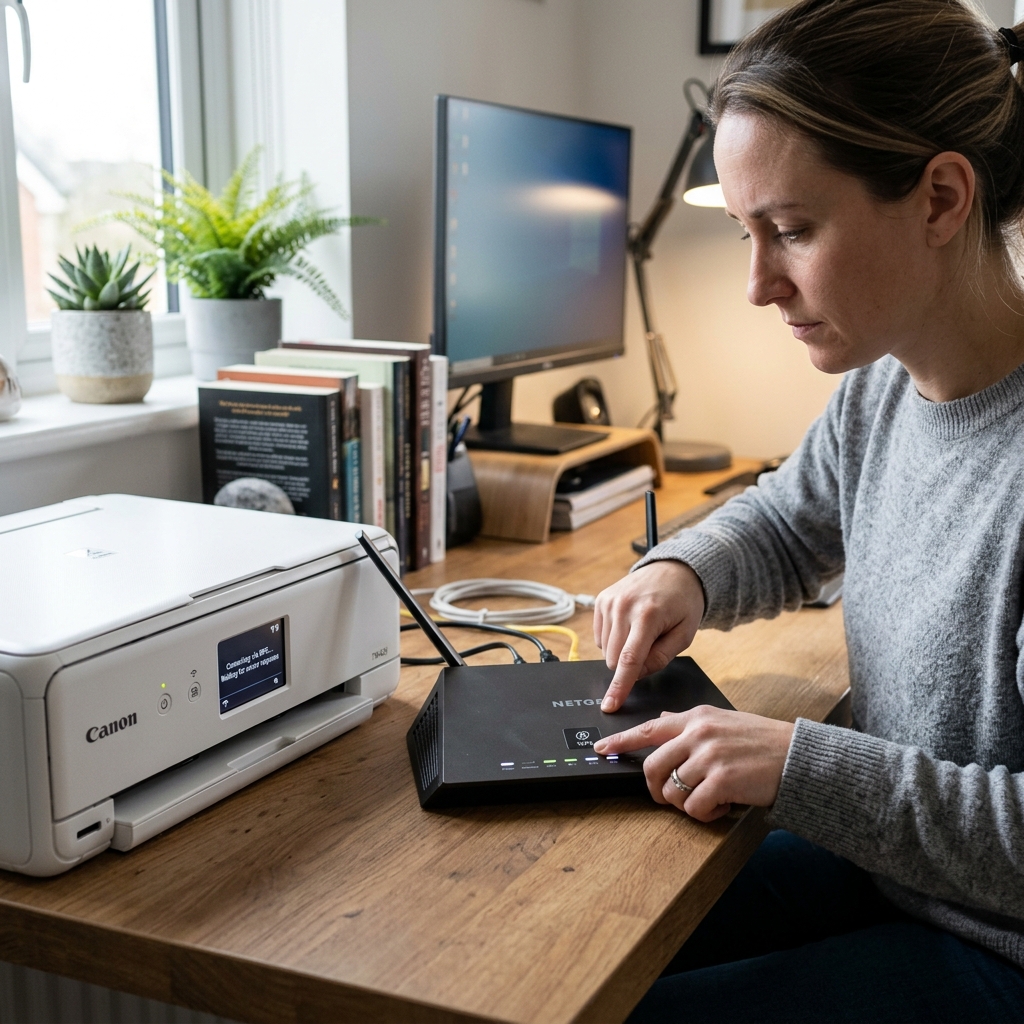
What is WPS?
WPS (Wi-Fi Protected Setup) is a network security standard that allows you to connect a device to your router without typing in a password. When you press the WPS button on your router, it temporarily drops its security firewall for exactly 2 minutes and broadcasts an invitation to any device looking to connect.
If your Canon printer is listening for that invitation at the same time, they pair up instantly like Bluetooth devices. It is the fastest way to get a printer online.
Step 1: Check Your Router
Before you begin, ensure your router actually has a physical WPS button. It is usually located on the back panel, near the ethernet ports.
It might be a tiny button labeled "WPS", or it might just be an icon featuring two circular arrows. (Note: Some modern mesh routers, like Eero, have removed physical WPS buttons for security reasons).
Step 2: Start the Printer's WPS Mode
The method to start WPS on the printer depends on whether it has a screen.
If your Canon printer has an LCD Screen:
- Press the Setup button (pliers icon) or the Home button.
- Navigate to Wireless LAN Setup or Wi-Fi Setup.
- Select WPSrong>WPS (Push button method).
- The screen will instruct you to press the button on the router.
If your Canon printer has NO Screen (Buttons only):
- Turn the printer on.
- Press and hold the Wi-Fi button until the green Power (ON) lamp flashes once.
- Press the Black Start button g> Start button.
- Press the Wi-Fi button againong> button again. The blue Wi-Fi indicator will start flashing quickly.
Step 3: Press the Router Button
You now have exactly 2 minutes to complete the connection.
- Walk over to your router.
- Press and hold the WPS button for about 3 to 5 seconds. The light on the router should start flashing, indicating it is in pairing mode.
- Walk back to the printer. The blue Wi-Fi light will continue to flash as the two devices negotiate security keys.
- When the blue Wi-Fi light on the printer turns solid (and the screen says "Connected"), the setup is complete.
How to Connect Any Canon Printer to Wi-Fi Using WPS (Push Button & PIN)
Wi-Fi Protected Setup (WPS) allows you to pair your Canon PIXMA or MAXIFY printer to your home wireless router without manually typing long encryption keys. Canon printers support both WPS Push Button (PBC) and WPS PIN Code methods.
Method 1: WPS Push Button Setup (With Physical Buttons)
- Ensure your wireless router is powered on and has an accessible WPS button (marked with two circular rotating arrows or labeled "WPS").
- On the Canon printer: Press and hold the physical Wi-Fi button on the control panel until the Power lamp flashes once, then release.
- Verify that the blue Wi-Fi lamp flashes rapidly.
- Within 2 minutes, walk to your router and press and hold the WPS button for 3 to 5 seconds until its WPS light begins blinking.
- The blue Wi-Fi light and green Power light on the Canon printer will flash while negotiating keys, then settle on a solid blue Wi-Fi LED, confirming successful connection.
Method 2: WPS Setup on LCD Touchscreen Models (TS & MAXIFY Series)
- On the printer touchscreen, tap the Gear (Setup) icon > Device settings > LAN settings > Wi-Fi > Wi-Fi setup.
- Select WPSrong>WPS (Push button method). Press OK.
- Press the WPS button on your router within 2 minutes. Tap OK on the printer screen when "Connected" appears.
Frequently Asked Questions
Why does the Canon Wi-Fi light flash orange during WPS?
An orange flashing error during WPS indicates a session timeout (more than 2 minutes elapsed between pressing the router and printer buttons) or a security collision. Power-cycle the router and retry.
Does WPS work on 5GHz Wi-Fi networks?
Most Canon consumer printers support 2.4GHz Wi-Fi only. Ensure your router's WPS feature pairs the printer to the 2.4GHz radio band.
