


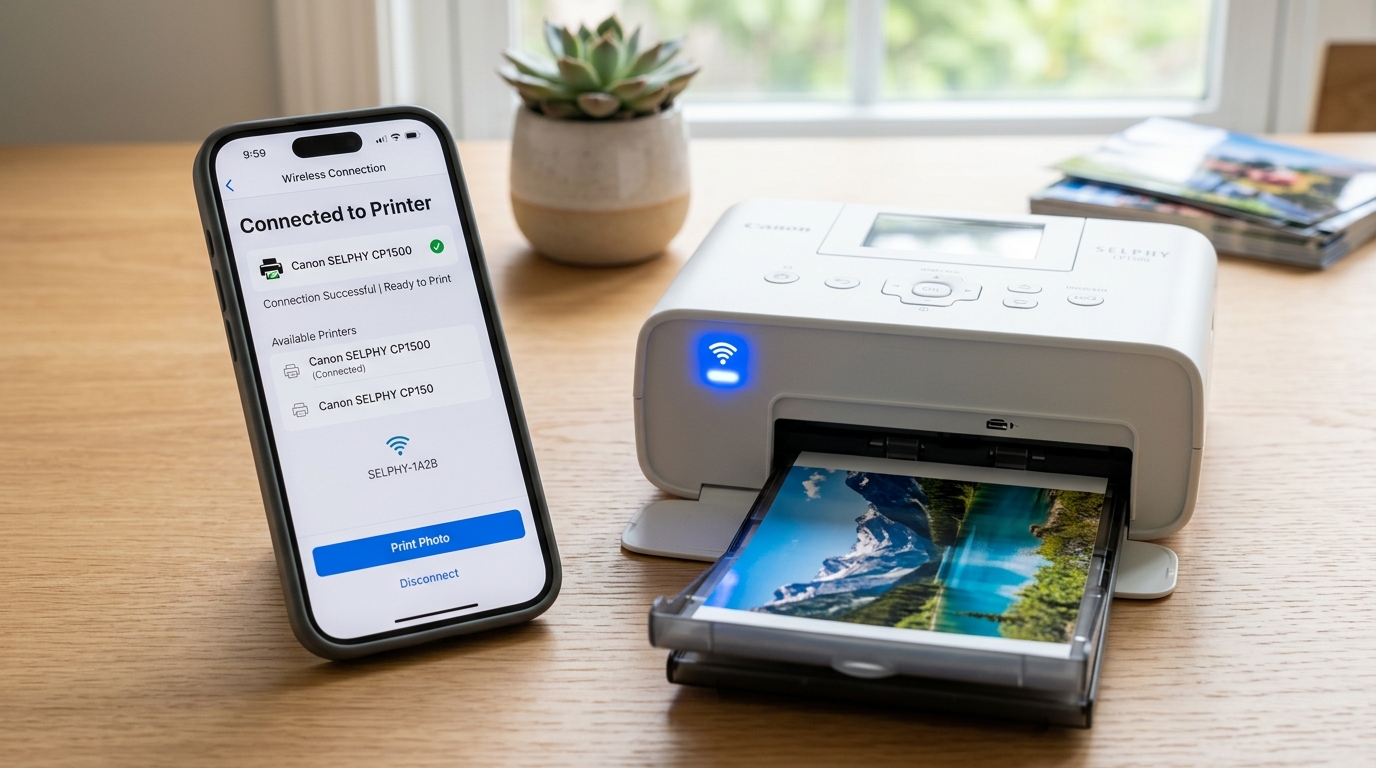
Understanding Canon SELPHY Wireless Modes
Canon SELPHY printers support two wireless operating modes: **Direct Connection** (the printer broadcasts its own Wi-Fi network) and **Via Wi-Fi Network** (the printer joins your home router).
Direct Connection is ideal for parties and outdoor events where no router is available. Connecting via home Wi-Fi lets multiple phones and PCs print without switching networks.
Method 1: Direct Connection (No Router Required)
Use Direct Connection when printing on the go or away from home:
- Open Wi-Fi Settings on printer: On the SELPHY screen, navigate to Wi-Fi Settings > Connection Settings.
- Select Direct Connection: Choose Direct Connection. The printer screen will display an SSID (printer network name) and Wi-Fi password.
- Connect your smartphone: Open Wi-Fi settings on your phone and tap the SELPHY network. Enter the password shown on the printer LCD.
- Open the SELPHY app: Launch the Canon SELPHY Photo Layout app. The printer will connect immediately for printing.
Method 2: Connect to Your Home Wi-Fi Router (Infrastructure Mode)
Connect the SELPHY to your home network so any device on your Wi-Fi can print:
- Select Network Mode: Tap Wi-Fi Settings > Connection Settings > Via Wi-Fi Network.
- Search for your network: Choose Search for an access point. The printer scans for local networks.
- Select 2.4 GHz network: Select your home Wi-Fi SSID. Note that Canon SELPHY only supports 2.4 GHz networks (it does not connect to 5 GHz).
- Enter router password: Use the arrow buttons on the printer panel to enter your Wi-Fi password and press OK.
- Verify connection: The Wi-Fi antenna icon in the top-left corner of the screen will show solid signal bars.
Method 3: Quick Pairing via QR Code (CP1500 Only)
The CP1500 offers streamlined pairing using your phone's camera:
- Display QR Code: Press the Wi-Fi button on the CP1500 panel. Select QR Code Connection.
- Open SELPHY Photo Layout app: On your smartphone, open the app and tap Connect Printer > Scan QR Code.
- Scan the screen: Point your camera at the LCD screen. Accept the prompt to join the Wi-Fi network automatically.
Frequently Asked Questions
Why can't my Canon SELPHY find my home 5 GHz Wi-Fi network?
Canon SELPHY hardware only has a 2.4 GHz Wi-Fi radio. If your router uses separate 2.4 GHz and 5 GHz networks, ensure your printer connects to the 2.4 GHz band.
Can I print from an iPhone without downloading the app?
Yes. Canon SELPHY supports Apple AirPrint natively. Connect to the printer's Wi-Fi network, open any photo in Apple Photos, tap Share, and select Print.
Why does the Wi-Fi icon on my SELPHY flash continuously?
A flashing Wi-Fi icon indicates the printer is searching for its access point or negotiating an IP address. Check that your router is powered on and within range.
