


Introduction to Citizen Printer Power Issues
Encountering a situation where your Citizen thermal or label printer refuses to turn on can be highly stressful, especially in a fast-paced retail or industrial environment where these devices are critical for daily operations. Citizen printers are renowned for their durability and robust engineering, designed to withstand rigorous use.
However, like any electronic equipment, they are susceptible to power failures, internal circuitry issues, or software lockups that can render them unresponsive. When you press the power button and nothing happens—no lights, no sounds, no initialization sequence—it is essential to approach the problem systematically to isolate the root cause.
Power failures can stem from a variety of sources, ranging from a simple loose cable to a more complex internal power supply malfunction. Sometimes, a printer might appear dead due to a firmware crash that prevents it from responding to power inputs.
In such cases, performing a factory reset or a hard power cycle is often the most effective way to revive the machine. This comprehensive guide is designed to walk you through the diagnostic process, helping you identify why your Citizen printer won't turn on and providing detailed instructions on how to perform a factory reset to restore normal functionality.
By following these steps, you can minimize downtime and avoid unnecessary service calls.
Why This Happens
The most frequent reason a Citizen printer fails to power on is an interruption in the power supply chain. This could be as simple as a power cord that has been accidentally unplugged from the wall outlet or the back of the printer.
Even a slightly loose connection can prevent sufficient voltage from reaching the internal components. Furthermore, the power adapter itself (the "brick" part of the cord, if applicable) can fail over time due to power surges, overheating, or internal component degradation.
If the adapter is faulty, it will not convert AC wall power to the correct DC voltage required by the printer.
Another common culprit is a tripped internal fuse or a triggered overcurrent protection circuit. Many industrial printers have built-in safeguards to protect their delicate mainboards from electrical spikes.
If there is a sudden surge in your local power grid, the printer's internal protection mechanism may activate, cutting off power to prevent damage. In some cases, this requires a manual reset or, in worst-case scenarios, replacing a blown fuse on the power supply board.
Environmental factors, such as extreme heat or humidity, can also exacerbate electrical issues, causing components to fail prematurely.
Software and firmware lockups can also mimic a dead printer. If the printer's internal operating system encounters a critical error during boot-up or operation, it may freeze entirely, refusing to respond to the physical power switch.
This is often referred to as a "soft brick" state. The printer is technically receiving power, but its brain is stuck in an unresponsive loop.
This is where a factory reset or a hard initialization sequence becomes crucial, as it forces the printer to clear its memory and reload its base configuration, bypassing the software glitch that caused the lockup.
Finally, physical damage to the power switch itself or the internal wiring cannot be ruled out. If the printer has been dropped, subjected to heavy vibration, or exposed to liquid spills, the physical connection between the external button and the internal power relay might be severed.
Diagnosing physical damage usually requires opening the printer casing, which should be done with caution and ideally by a qualified technician.
Step-by-Step Fix
- Verify the Power Source: The first and most crucial step is to ensure the wall outlet is providing power. Plug another known working device (like a lamp or a phone charger) into the same outlet to confirm it is active. If the outlet is dead, check your circuit breakers.
- Inspect the Power Cable and Adapter: Examine the entire length of the power cable for any signs of damage, such as fraying, cuts, or exposed wires. If your printer uses an external power adapter, check the LED indicator on the brick (if it has one). If the LED is off while plugged in, the adapter is likely dead and needs replacement.
- Reseat the Connections: Unplug the power cable from both the wall outlet and the back of the printer. Wait for about 30 seconds to allow any residual charge to dissipate. Then, firmly reconnect the cable to the printer, ensuring it is seated completely into the port. Plug the other end back into the confirmed working wall outlet.
- Perform a Hard Power Cycle: With the printer plugged in, press and hold the power button for at least 15 to 20 seconds. This can sometimes force the printer to bypass a soft lockup state. Release the button and then press it normally to see if the printer initializes.
- Prepare for a Factory Reset: If the printer still won't turn on normally, you may need to force a factory reset during the boot process. Note that this will erase all custom settings, including network configurations and sensor calibrations. Ensure the printer is powered off (even if it appears unresponsive, ensure the switch is in the OFF position).
- Execute the Factory Reset Combination: For most Citizen printers (like the CL-S series), the factory reset involves holding down specific buttons while powering the machine on. Locate the 'Pause' and 'Feed' buttons on the front panel. Press and hold BOTH of these buttons simultaneously.
- Power On While Holding Buttons: While keeping the 'Pause' and 'Feed' buttons pressed, flip the power switch to the ON position. Continue holding the buttons until you see the indicator lights flash rapidly or hear a series of beeps, which signifies that the factory reset process has begun.
- Complete the Reset: Release the buttons once the reset sequence is confirmed by the lights or sounds. The printer will take a few moments to initialize its default settings. It should then feed a blank label or print a self-test page, indicating it has successfully rebooted. You will now need to reconfigure your specific settings.
Advanced Troubleshooting
If you have confirmed that the power cable, adapter, and wall outlet are all functioning correctly, and the factory reset procedure yields no response, you are likely dealing with a more serious internal hardware failure. The most probable cause is a failed internal power supply board.
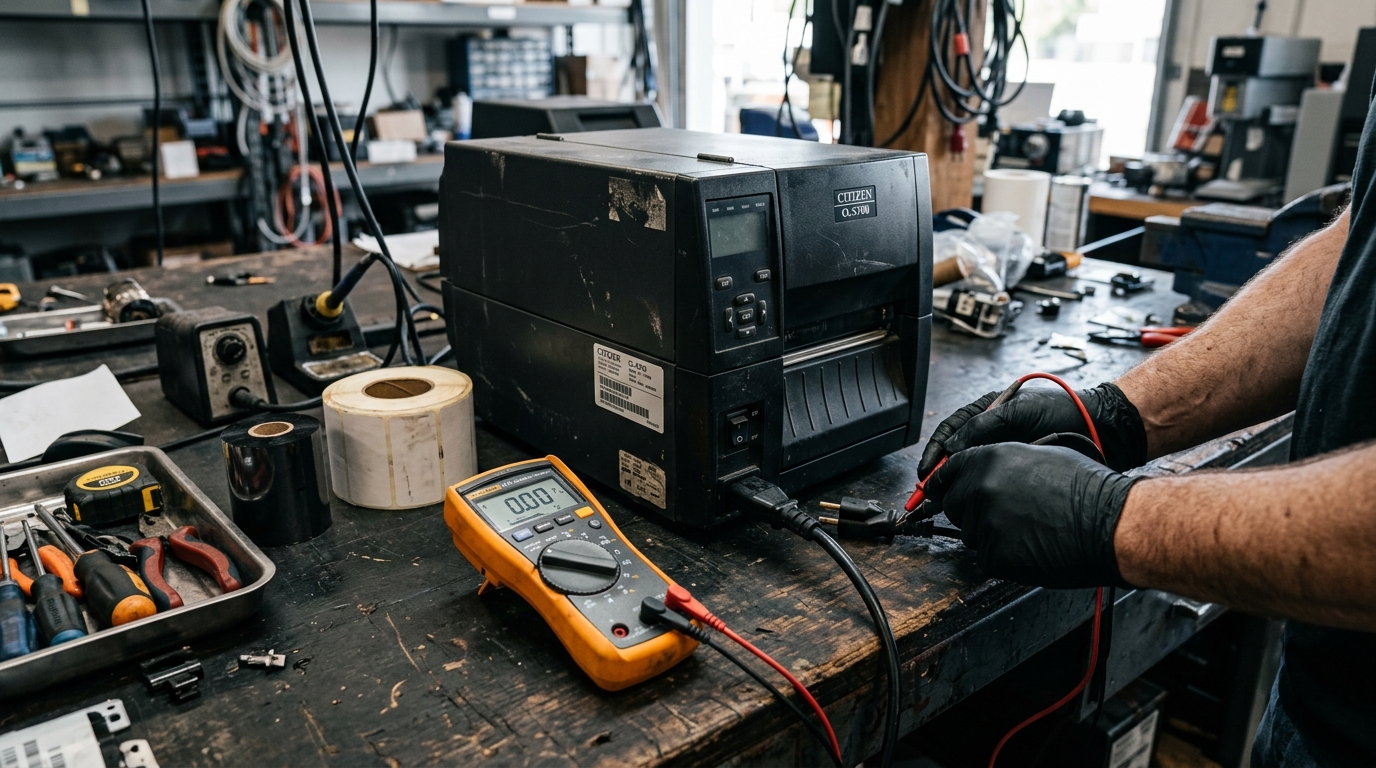
This board is responsible for distributing the correct voltages to the mainboard, motors, and printhead. Diagnosing a faulty power supply board requires using a multimeter to test the output voltages at various test points, a procedure that requires specialized knowledge of electronics and carries a risk of electric shock.
Another advanced issue is a failure on the main logic board. Even if the power supply is working perfectly, a fried component on the mainboard (such as a blown capacitor, a damaged voltage regulator, or a corrupted flash memory chip) will prevent the printer from powering on.
In these situations, component-level repair is rarely cost-effective, and the standard solution is to replace the entire mainboard assembly. This is a complex repair that involves disconnecting numerous ribbon cables and sensors, and it should only be attempted by an authorized service center.
It is also worth checking for any loose internal connections if you are comfortable opening the printer's casing. Sometimes, the cable connecting the power switch on the front panel to the mainboard can become unseated due to vibration over time.
Carefully inspecting and reseating these internal cables can occasionally resolve an apparent "dead printer" issue without requiring any replacement parts. Always ensure the printer is completely disconnected from power before opening the casing.
FAQ
Will a factory reset delete my loaded label templates?
Yes, a factory reset typically clears the printer's volatile and non-volatile memory, returning it to its out-of-the-box state. This means any stored label formats, custom graphics, or downloaded fonts will be erased and must be reloaded from your computer.
What if the power light flashes but the printer won't initialize?
A flashing power light without full initialization usually indicates a severe hardware error or a firmware corruption that cannot be bypassed by a simple restart. Consult your manual for the specific flash code meaning, as it may point to a specific failed component.
Can I use a power adapter from a different printer brand?
It is highly discouraged to use a non-OEM power adapter unless you are absolutely certain it matches the voltage, amperage, and polarity requirements precisely. Using an incorrect adapter can cause catastrophic damage to the printer's internal electronics.
How do I know if the internal fuse is blown?
Checking an internal fuse requires opening the printer casing and locating the fuse on the power supply board. A blown fuse often has a visible break in the internal wire or black burn marks.
Is there a way to backup settings before a reset?
If the printer cannot power on or communicate with a computer, you cannot back up the settings. However, if the printer is accessible via a network or USB connection but acting erratically, you can usually use the Citizen configuration utility software to save your settings to a file before performing a reset.
