


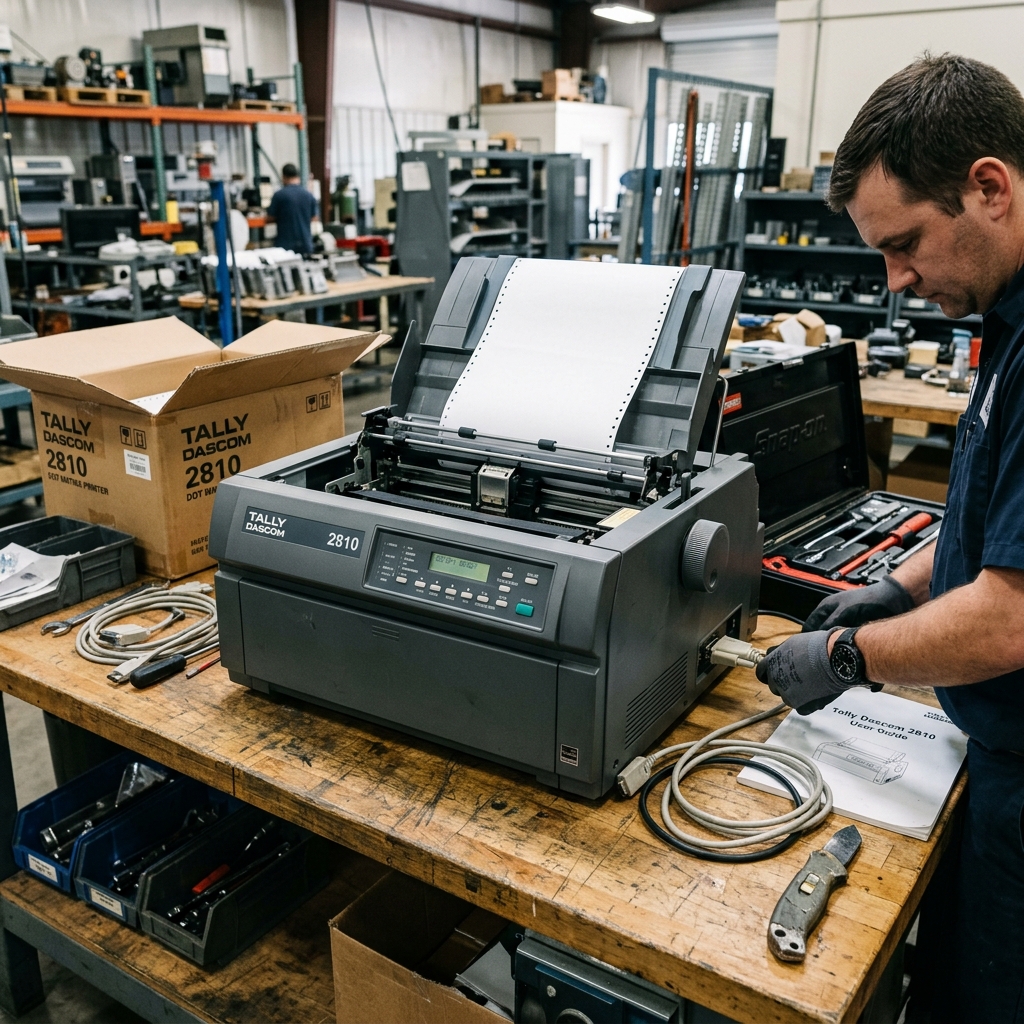
Tally Dascom 2800 Series Setup Guide: From Unboxing to Perfect Printing
The Tally Dascom 2800 series (including models like the 2810 and 2820) represents the pinnacle of heavy-duty dot matrix printing. These machines are engineered for brutal industrial environments, relentless continuous forms printing.
Creating multi-part carbonless copies where laser and thermal printers simply cannot compete. Whether you are printing shipping manifests, invoices in a dusty warehouse, or critical compliance reports, the 2800 series is designed to run 24/7.
However, setting up a high-end impact printer is fundamentally different from installing a standard office inkjet. It requires precise physical adjustments, meticulous paper path routing.
Settings of legacy communication protocols to ensure seamless integration with modern ERP systems or legacy AS/400 mainframes.
This comprehensive setup guide will walk you through every phase of the installation process. We will cover the critical unboxing steps to remove shipping restraints, the intricate process of installing the ribbon cartridge and adjusting the printhead gap, loading continuous tractor-feed paper, configuring the internal hardware settings via the control panel.
Finally, installing the correct drivers for your operating system. Because these printers bridge the gap between ancient serial interfaces.
Modern Ethernet, understanding the connectivity options and emulation settings is paramount for a successful deployment.
Why Setup Can Be Complex
Setting up a Tally Dascom 2800 series printer involves several technical challenges that are unique to impact technology. The first challenge is the physical setup.
Dot matrix printers use a mechanical printhead with tiny pins that strike a ribbon against the paper. If the distance between the printhead.
The platen (the roller) is incorrect, you will either get faint, illegible print or you will shred the ribbon and damage the printhead. This is known as the Platen Gap adjustment.
It must be calibrated based on the thickness of the paper (e.g., single sheet vs. 6-part form).
The second challenge is paper handling. The 2800 series typically uses push or pull tractors to feed continuous perforated paper.
Routing the paper correctly through the tractors, ensuring proper tension, and configuring the top-of-form (TOF) and tear-off positions are critical. If these are misconfigured, the printer will jam, or the printing will drift across the perforations, ruining the alignment of your pre-printed forms.
The third challenge is communication and emulation. These printers often replace older IBM, Epson, or Okidata printers.
To ensure compatibility with existing software that sends legacy escape sequences, the Dascom printer must be configured to "emulate" these older models (e.g., Epson FX, IBM Proprinter). Furthermore, configuring the interface—whether it's parallel (IEEE 1284), serial (RS-232C), USB, or Ethernet—requires diving into the printer's internal menu system, which is navigated using the physical buttons.
The small LCD screen, a process that can be daunting without a clear guide.
Step-by-Step Fix and Setup
- Unboxing and Restraint Removal: Carefully unpack the printer. Crucially, you must remove all shipping restraints before applying power. Open the top cover and locate any plastic clips, zip ties, or foam blocks securing the printhead carriage and the paper feed mechanism. Failure to remove these will result in immediate motor stalls. Potential gear damage when the printer attempts its setup sequence.
- Ribbon Cartridge Installation: Move the printhead carriage to the center of the platen. Turn the printhead gap adjustment lever to the highest setting (maximum distance) to provide clearance. Take the Dascom ribbon cartridge. Tighten the ribbon fabric by turning the tension knob in the direction of the arrow. Snap the cartridge into the holders on the carriage. Carefully thread the ribbon shield between the printhead and the platen. Ensure the ribbon is not twisted.
- Platen Gap Adjustment: This is the most critical physical setting. Turn the printer on. Look at the paper you are using. If you are using single-ply paper, set the gap lever to '1' or '2'. For multi-part forms (e.g., 4-part carbonless), adjust the lever to a higher number (e.g., '4' or '5'). Run a self-test. The text should be dark and crisp. If it is faint, the gap is too wide. If the printhead smears or catches the paper, the gap is too tight.
- Loading Tractor Feed Paper: Determine if you are using front, rear, or bottom feed. For standard rear feed, open the tractor covers. Align the holes on the edges of your continuous paper with the tractor pins. Close the covers to lock the paper in place. Adjust the right tractor horizontally so the paper is taut but not stretching the holes. Use the paper feed buttons on the control panel to advance the paper to the starting position.
- Setting Top-of-Form (TOF): The TOF setting dictates where the first line of print begins on the page. Press the 'Offline' button to take the printer offline. Use the Micro Feed up/down arrows on the control panel to position the paper exactly where you want the first line to print. Once positioned, press. Hold the 'Set TOF' button (or follow the specific menu sequence for the 2800 series) to save this vertical position in the printer's memory.
- Configuring Emulation and Interfaces: Press the 'Setup' or 'Menu' button to enter the settings mode. The printer will typically print out a menu structure, or display options on an LCD. Navigate to the 'Emulation' menu and select the language your software expects (e.g., Epson ESC/P, IBM Proprinter, or MTPL). Next, go to the 'Interface' menu. Configure your connection (e.g., set the IP address for Ethernet, or the baud rate/parity for Serial). Save the settings and exit the menu.
- Driver Installation (Windows): Connect the printer to the PC or network. Download the latest Windows drivers from the Dascom website. Do not rely on generic Windows drivers. Run the installer. If using a network connection, select 'Standard TCP/IP Port' during installation and enter the printer's IP address. If using USB, select the virtual USB printer port. Print a Windows test page to confirm communication.
- Configuring Tear-Off Mode: If you need to tear off forms after printing, enable 'Auto Tear-Off' in the printer menu. This feature automatically advances the paper to the tear bar after a print job finishes. Then retracts it to the TOF position when the next job starts, preventing wasted forms.
Advanced Troubleshooting
If you have followed the setup steps. Are experiencing issues, advanced troubleshooting requires looking at environmental factors and software interactions.
If the printer is randomly stopping or losing characters, especially over a serial connection, verify the handshake protocols. Software handshaking (XON/XOFF) can sometimes fail on long cable runs; switching to hardware handshaking (DTR/DSR).
Using a shielded, high-quality serial cable often resolves data loss issues.
If the print quality is inconsistent (e.g., light on the left side, dark on the right), the printhead carriage may be out of alignment, or the platen roller may be worn unevenly. This usually requires a service technician to recalibrate the carriage rail.
However, if specific pins are consistently missing (creating horizontal white lines through text), the printhead itself is likely damaged. Print a pin test page from the diagnostic menu; if pins are dead, the printhead must be replaced.
For complex network environments, such as AS/400 or SAP systems, you may need to configure specific device types or host print transforms. Dascom printers support a wide range of barcode generations and specific font down-loading commands.
If barcodes are printing as text, ensure that the software is sending the correct Dascom-specific escape sequences for barcode generation. That the emulation is set to MTPL (Mannesmann Tally Printer Language), which natively supports advanced barcode rendering.
FAQ
Why does the printer beep and flash an error light when I send a print job?
This typically indicates a paper-out condition, a paper jam, or that the printhead is too hot. Check the LCD screen for a specific error message.
How often should I change the ribbon?
Ribbon life depends on usage, but typically a 2800 series ribbon is rated for millions of characters. Change the ribbon when the print becomes too faint to read easily.
Can I print on single sheets of paper or envelopes?
Yes. You need to switch the paper path lever (usually located on the right side) from the 'Tractor' position to the 'Friction' or 'Single Sheet' position.
My pre-printed forms are not aligning correctly. How do I fix this?
, 11 inches). Next, check the Top-of-Form (TOF) setting on the printer.
How do I reset the printer to factory defaults?
Enter the printer's setup menu using the control panel. Navigate to the 'Maintenance' or 'System' menu, and look for an option to 'Reset Default Settings' or 'Load Factory Defaults'.
