


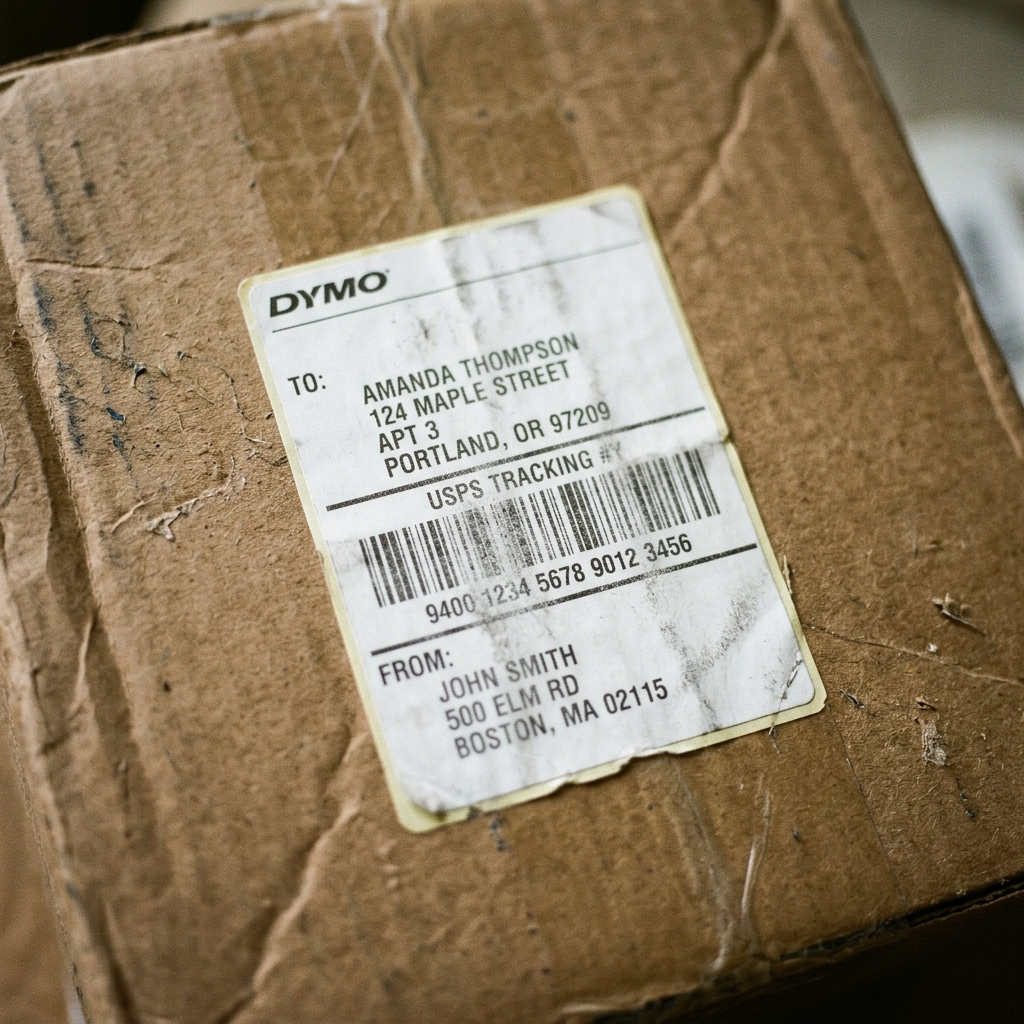
Understanding Direct Thermal Quality
Your DYMO LabelWriter does not use ink or toner. It uses a ceramic print head that heats up to hundreds of degrees, burning the image into chemically treated thermal paper.
Therefore, if the print is faint, streaky, or blurry, there are only two possible causes: the heat is not reaching the paper (physical barrier), or the printer is not generating enough heat (software density).
Fix 1: Cleaning the Ceramic Print Head
If you see a perfectly straight, vertical white line running down the entire length of your printed label, a microscopic piece of dirt, adhesive, or label backing is stuck to the print head. This dirt blocks the heat from touching the paper.
- Unplug the printer and remove the label roll.
- The Cleaning Card: If you kept the white cardboard cleaning card that came with the printer, push it into the feed path. Manually pull it back and forth a few times to scrub the print head.
- The Manual Clean: If you don't have the card, wrap a lint-free cloth over a thin piece of plastic (like a credit card), dip it in rubbing alcohol, and gently scrub the thermal head located directly above the rubber platen roller. Let it dry for 5 minutes before printing.
Fix 2: Adjusting Print Density (Windows)
If your labels are completely free of streaks, but the text is just uniformly light grey instead of pitch black, you need to increase the heat output.
- Open Windows Printers & Scanners.
- Click your DYMO printer and select Printing Preferences.
- Click the Advanced button.
- Look for the Print Density slider. Move it from Normal to Dark (or Light to Medium, depending on your driver version). Apply the settings.
Fix 3: Adjusting Print Density (Mac CUPS Method)
On macOS, adjusting the DYMO print density is notoriously difficult because Apple hides the advanced printer options. If your shipping barcodes are printing too lightly to scan on a Mac, you must use the hidden CUPS interface.
- Open the Terminal app on your Mac. Type
cupsctl WebInterface=yesand press Enter. (This unlocks the hidden menu). - Open the Safari web browser and type
http://localhost:631into the address bar. - Click the Printers tab at the top.
- Click on your DYMO LabelWriter.
- Click the Administration dropdown menu and select Set Default Options.
- Find the Print Density or Darkness setting. Change it from Normal/Medium to Dark.
- Click Save (you may be prompted for your Mac administrator password). Your barcodes will now print dark and scannable.
Why DYMO Thermal Label Printers Print Faint, Blurry, or Streaky Barcodes
DYMO LabelWriter printers are Direct Thermal devices. They contain no ink, toner, or ribbons.
Instead, a micro-thermal printhead containing a line of heating elements applies heat directly to heat-sensitive dye coating on the thermal paper. When text appears faint, washed out, or contains vertical white lines through barcodes, thermal element burnout, adhesive contamination, or low voltage is responsible.
Exhaustive 4-Step Thermal Quality Restoration Protocol
- Clean the Thermal Printhead with 99% Isopropyl Alcohol:
Unplug the printer. Open the top cover.
Look at the underside of the printhead assembly above the rubber platen. You will see a narrow, dark horizontal ceramic strip (the thermal line).
Adhesive dust and heat glaze accumulate here. Clean the thermal strip firmly using a cotton swab moistened with 99% anhydrous isopropyl alcohol.
Let dry for 2 minutes.
- Clean the Rubber Platen Drive Roller:
If the rubber roller beneath the printhead is coated with adhesive from peeled labels, the roller slips, compressing text and creating blurry double-lines. Wipe the rubber roller with an alcohol wipe while manually rotating the roller gear.
- Increase Print Density / Darkness in Driver Properties:
- Open Control Panel > Devices and Printers > right-click DYMO LabelWriter > Printing Preferences.
- Click on the Advanced tab > Print Quality / Darkness.
- Increase print density from "Normal" to "Barcodes and Graphics" or "Dark". This increases the microsecond thermal dwell time, producing deep, scan-ready black lines.
- Check the 24V DC External Power Supply Brick:
DYMO printers require a certified 24V DC / 1.75A - 2.5A power adapter. Using an incorrect 12V or 19V laptop charger will power the logic board and LEDs, but will starve the thermal printhead, producing ultra-faint gray prints.
Frequently Asked Questions
What causes a solid vertical white line running through my printed labels?
A solid vertical white line indicates a physically burned-out thermal element on the printhead die. If cleaning with alcohol does not remove the line, the printhead has suffered pixel burnout and must be replaced.
Why do thermal labels turn completely black when exposed to heat?
Direct thermal paper is chemically coated with leuco dyes that react to heat. Storing printed labels near sunny windows, car dashboards, or heat sources will darken the entire label surface.
