


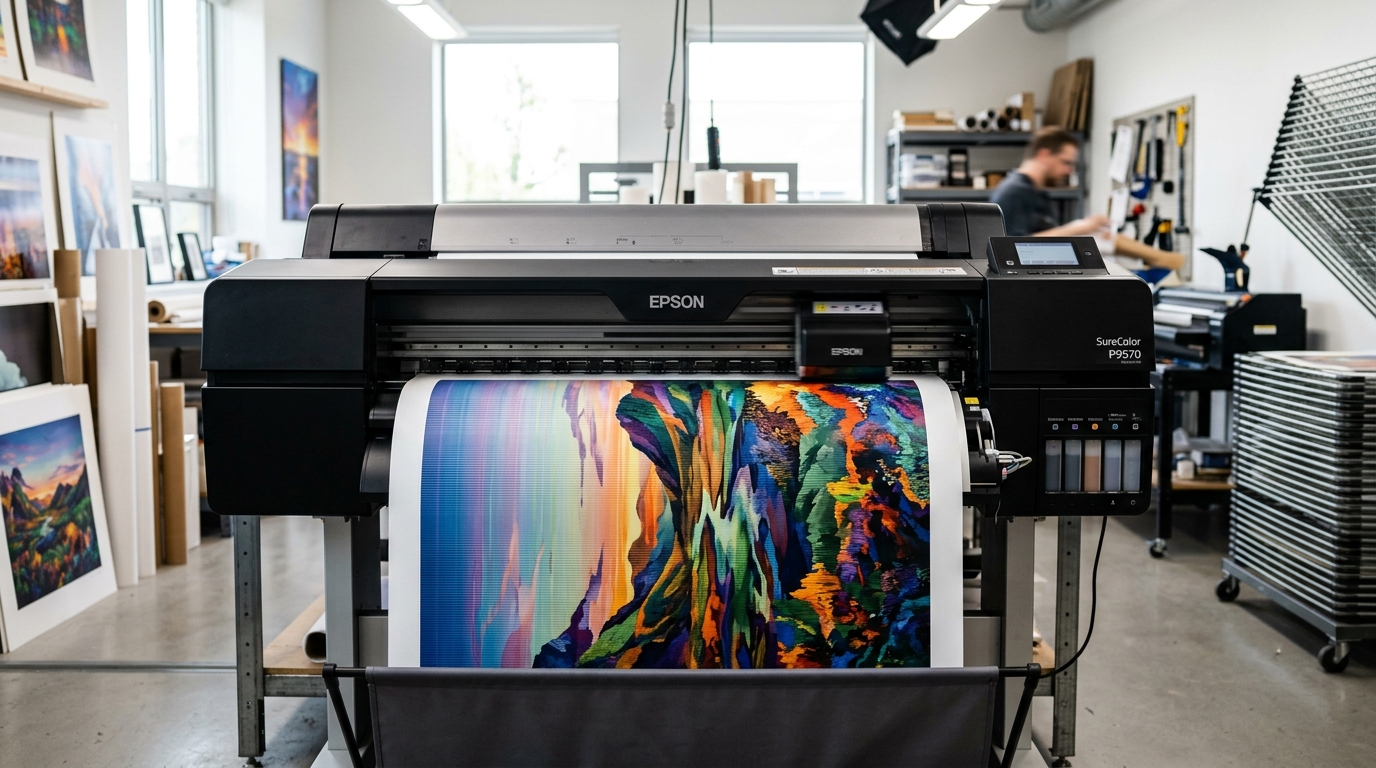
Understanding Banding Lines on SureColor Plotters
Horizontal banding across Epson SureColor wide-format printers (such as the P700, P900, P5000, and T3170) ruins fine art and CAD output. Banding appears either as pale missing lines or dark overlapping bands.
Light horizontal bands indicate clogged PrecisionCore nozzles or bi-directional timing offsets. Dark horizontal bands usually point to paper feed stepping errors and media advance drag.
Step 1: Print and Read a Diagnostic Nozzle Check
PrecisionCore MicroTFP printheads require every individual micro-channel firing cleanly across all color channels:
- Load photo or proofing paper: Load a sheet of clean letter-sized photo paper or smooth bond into the manual feed tray.
- Initiate nozzle check: On the front touch panel, tap Maintenance > Printhead Nozzle Check > Print.
- Inspect each color block: Examine the printed stepped pattern under bright light for broken lines or missing segments.
- Run targeted cleaning: If breaks appear in specific color channels, execute a paired channel cleaning rather than a full system flush.
Step 2: Calibrate Paper Feed Adjustment (Media Advance)
If the nozzle check is flawless but prints show evenly spaced horizontal lines, the roll feed stepping is out of calibration:
- Open the Paper Menu: On the touchscreen, select the currently loaded roll or sheet media profile.
- Select Paper Feed Adjust: Tap Paper Feed Adjust > Auto or Manual.
- Print test pattern: The plotter prints a series of numbered overlapping micro-lines.
- Select optimum value: Inspect the test patches and select the pattern value with the least visible grain or overlap (typically 0.00% to +/- 0.50%).
- Save to custom paper profile: Store the calibrated value so it applies automatically to that roll stock.
Step 3: Run Bi-Directional Printhead Alignment
When the print carriage jets ink in both left and right passes, droplet misalignment causes vertical fuzziness and grain:
- Access Head Alignment: Navigate to Maintenance > Head Alignment on the printer screen.
- Select Uni-D or Bi-D alignment: Run Bi-Directional Alignment using smooth coated or glossy media.
- Read printed patches: Review the alignment patches printed across all ink channels.
- Input clean patch numbers: Enter the patch number displaying the smoothest solid tone with zero vertical banding.
Step 4: Adjust Platen Gap for Thick Media
Heavy fine art canvas or rag papers can scrape the carriage or induce air turbulence:
- Check media thickness: In your printer driver or RIP software, check the Media Settings dialog.
- Widen platen gap: Increase the Platen Gap setting from Standard to Wide or Wider.
- Adjust paper suction: For lightweight bond paper that buckles, increase vacuum platen suction to hold media flat.
Frequently Asked Questions
What is the difference between light banding and dark banding?
Light banding indicates missing ink drops from clogged nozzles, while dark banding indicates media feed stepping overlap.
How many head cleanings should I run before resting the printer?
Run a maximum of two cleaning cycles, then wait 30 minutes for ink to settle before testing again.
Does uni-directional printing eliminate banding?
Yes, uni-directional printing prints only in one direction, eliminating bi-directional timing banding at the cost of print speed.
