


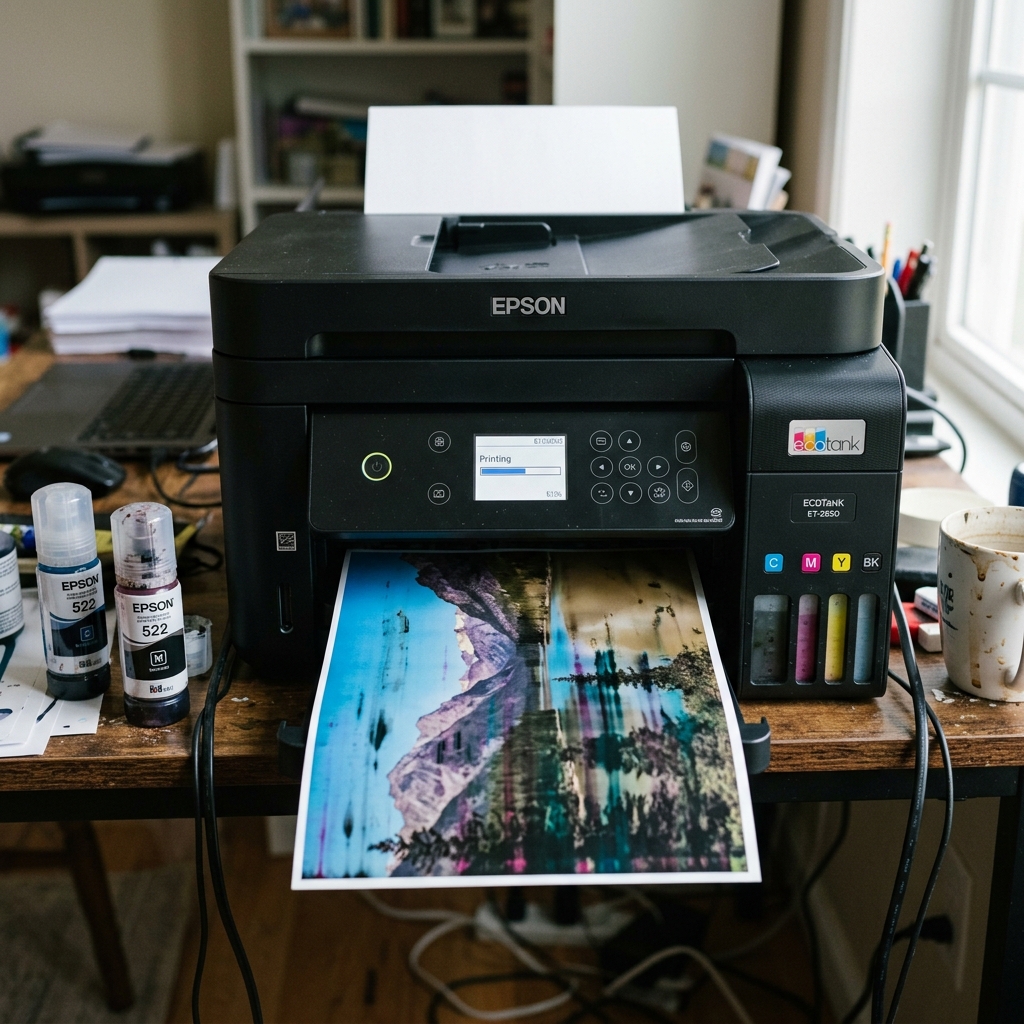
The EcoTank Nightmare: The Wrong Bottle
Epson EcoTanks are incredibly convenient, but they rely entirely on user diligence during the refill process. Epson designed keyed bottle nozzles for newer models (where the cyan bottle physically won't fit onto the yellow tank port), but on older models, or when using third-party squeeze bottles, it is incredibly easy to accidentally squirt magenta ink into the cyan tank.
If you realize your mistake instantly, or if you notice your skies are printing purple and your grass is printing brown, you have Contaminated Ink. The severity of the fix depends entirely on what you did after pouring the wrong ink.
Scenario A: You Realized Immediately (Before Printing)
If you just poured yellow into the cyan tank, stopped, and have not printed or run a cleaning cycle yet, you are in luck. The contaminated ink is sitting in the tank, but the long silicone tube and the printhead are still full of pure, correct cyan ink.
The Extraction Process:
- Buy a large 50ml plastic syringe and a 12-inch length of flexible silicone tubing (aquarium airline tubing works well).
- Attach the tubing to the syringe.
- Open the cap of the contaminated ink tank on the printer. Feed the silicone tube down into the port until it hits the bottom of the tank.
- Pull the syringe plunger back to suck all the mixed ink out of the tank. Eject this bad ink into a waste bottle. Repeat until the tank is completely bone dry.
- Take your correct bottle of ink (e.g., the actual Cyan) and refill the tank.
- Since the tubes were never compromised, you can now turn the printer on and print normally. The new correct ink will naturally flow into the tubes behind the old correct ink.
Scenario B: You Already Printed (The Ink is in the Lines)
If you didn't realize your mistake until your photos came out the wrong color, the contaminated mixture has already been pumped from the tank, all the way through the silicone tubes, and into the printhead. Fixing this requires a full system flush.
Step 1: Empty the Tank
Follow the extraction process in Scenario A to use a syringe and long tube to suck the contaminated tank completely dry. Once empty, fill it with the correct color ink.
Step 2: Purge the Silicone Lines and Damper
Even though the tank is now holding the correct color, the long silicone tube stretching to the printhead is still full of the bad mix. If you just run cleaning cycles to push it through, you will overflow your internal waste pad instantly.
- Unplug the printer and slide the printhead carriage to the center.
- Unscrew the plastic cover the printhead to expose the dampers.
- Unclip the damper for the /ink-toner-issues/epson-l3210-not-printing-black" title="Fix Epson L3210 Not Printing Black Ink (EcoTank Guide)">damper for the contaminated color (e.g., the Cyan damper) and lift it up.
- Take a clean syringe="/epson/ink-toner-issues/epson-ecotank-air-bubbles-in-ink-tubes-syringe-fix" title="Fix Air Bubbles in Epson EcoTank Tubes (Syringe Method)">syringe (no needle, no long tube). Insert the plastic tip directly into the round valve at the bottom of the damper.
- Pull the plunger back. You are now sucking the bad ink out of the damper, out of the silicone line, and drawing the fresh, correct ink from the tank.
- Keep pulling until you see the color of the liquid entering your syringe change from the muddy contaminated mix to the pure, bright correct color.
- Discard the bad ink from your syringe. Push the damper back onto the printhead.
Step 3: Flush the Printhead
The tank is clean, and the lines are clean, but the microscopic printhead nozzles still hold a few drops of the bad mix.
Plug the printer in and run two standard Head Cleaning cycles. This will purge the last remaining drops of bad ink out of the printhead itself and replace it with the pure ink now sitting in the damper.
Print a nozzle check. The color grid should be pure and bright again.
Alternative: Color Clogs (Not Contamination)
If you are certain you didn't mix up the bottles, but a color is completely missing or printing faintly, you do not have contaminated ink. You simply have a clogged printhead nozzle.
In this case, do not empty the tanks. Run a standard Nozzle Check, identify which color grid is missing lines, and perform a Head Cleaning or use Windex on a paper towel under the printhead to dissolve the dried dye.
