


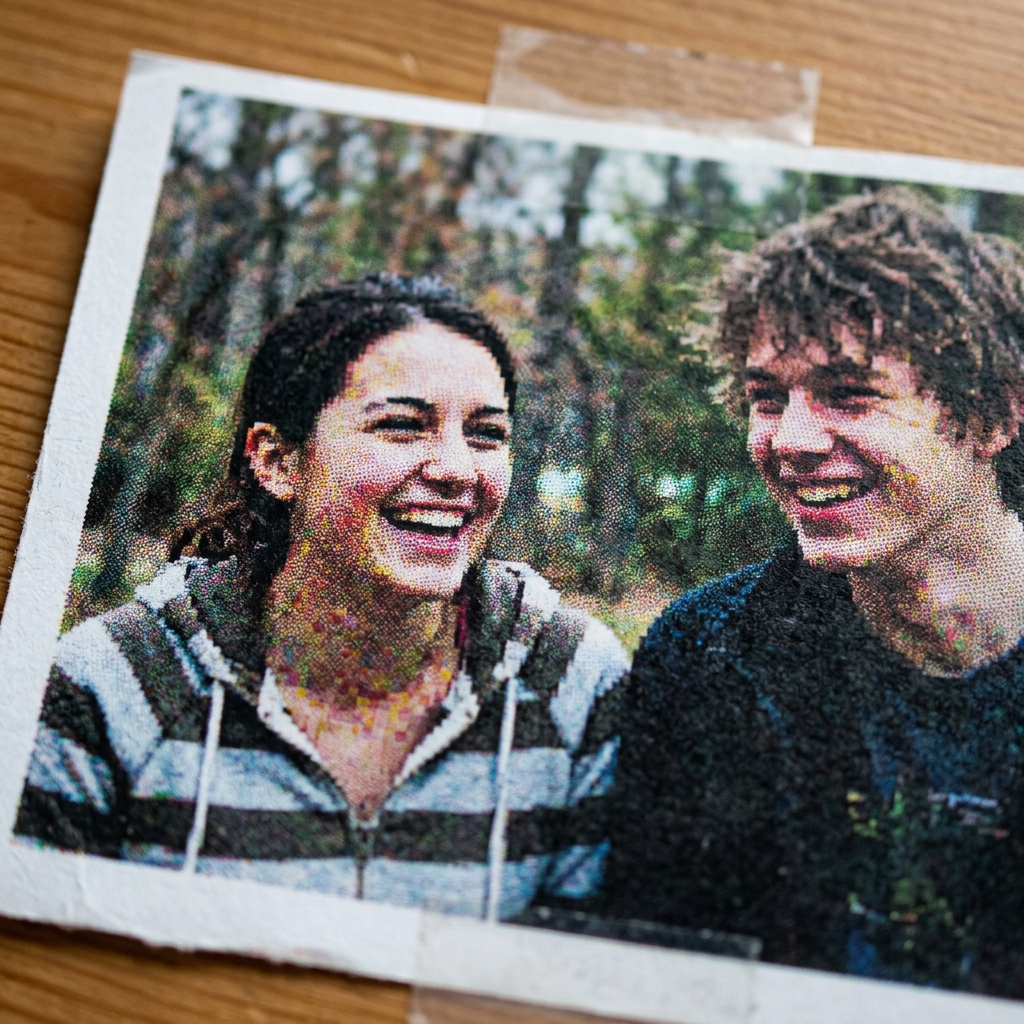
Why Are My Photos Grainy?
Epson printers (especially the Expression Premium and EcoTank Photo series) are renowned for producing lab-quality photographs. If you print a high-resolution image and it comes out looking grainy, dotted, or pixelated, it is almost never a hardware failure. You don't have a clogged printhead, and your printer isn't broken.
Grainy print quality is almost exclusively caused by a mismatch between the instructions the computer is sending, and the physical paper loaded into the tray.
Fix 1: The Paper Type Mismatch
When you tell an Epson printer to print on Plain Paper, it assumes you are printing a Word document. It optimizes for speed, firing large, fast droplets of ink spaced further apart so the cheap office paper doesn't become soggy and tear.
If you put expensive Glossy Photo Paper into the printer, but leave the software setting on "Plain Paper," the printer will still fire those large, widely spaced droplets. Because glossy paper doesn't allow the ink to bleed and blend like plain paper does, you see every individual dot of ink.
This creates the "grainy" or pixelated look.
- Before you hit print, click Properties or Printer Preferences in the print dialog box.
- Find the Media Type or Paper/strong> or Paper Type dropdown.
- Change it to exactly match what you loaded (e.g., Epson Premium Photo Paper Glossy, or Matte Paper Heavyweight).
- By changing this setting, the printer switches to firing microscopic, overlapping droplets of ink, completely eliminating the grain.
Fix 2: Disable High Speed (Bi-Directional) Printing
By default, Epson enables "High Speed Printing." This means the printhead sprays ink while sliding to the right, and also sprays ink while sliding to the left.
While this cuts print times in half, it causes a slight reduction in quality. As the printhead moves back and forth, the aerodynamics of the moving carriage can cause the microscopic ink droplets to drift slightly before hitting the paper, creating a hazy or grainy edge to fine details.
- Open your printer preferences.
- Look for a checkbox labeled High Speed, Fast Mode, or Bi-Directional Printing.
- Uncheck it.
- The printer will now only spray ink while moving in one direction. It will take twice as long to print the photo, but the droplets will land with pinpoint mathematical accuracy, resulting in a significantly sharper, grain-free image.
Fix 3: Image Resolution vs Print Size
If your settings are correct, but the image is still blurry and made of large square pixels, you are stretching a small image too far.
A printer needs about 300 DPI (Dots Per Inch) to print a perfectly sharp photo. If you download a small 600x400 pixel image from Facebook and try to print it on a full 8x10 sheet of paper, the printer has to invent data to fill the space.
It stretches those few pixels out, making them highly visible.
Ensure the source file you are printing is a high-resolution, original photograph (usually at least 2 to 3 megabytes in file size) before blaming the printer's hardware.
Why Epson Inkjet and EcoTank Prints Look Grainy or Pixelated
When printed photos or graphics display noticeable graininess, horizontal banding, or rough pixelation, the cause is an uncalibrated Micro Piezo printhead, incorrect print driver media profiles, or low source image resolution.
Exhaustive 4-Step Print Quality Restoration Protocol
- Perform Bidirectional Printhead Alignment:
- Load fresh, bright white paper in the tray.
- On the printer display: Go to Maintenance > Print Head Alignment > Vertical / Horizontal Alignment.
- The printer prints numbered alignment patterns. Examine each column and choose the box with the smoothest, most continuous pattern with zero visible vertical or horizontal white lines.
- This synchronizes the microsecond firing timing between left-to-right and right-to-left carriage sweeps.
- Configure Correct Media Type in Print Driver:
When printing from your PC, open Printer Preferences. Never leave Media Type set to "Plain Paper" when printing photos. Explicitly select "Epson Premium Glossy", "Ultra Glossy", or "Matte Paper". Selecting the proper media type tells the driver to use smaller picoliter dot sizes and higher screening frequency, eliminating grain.
- Verify Source Image Resolution (DPI):
Ensure the image file resolution is at least 300 DPI at the final physical print size. Printing a small 72 DPI web thumbnail on 8.5x11 paper will result in severe digital pixelation regardless of printer hardware settings.
- Execute a Nozzle Check:
Run a Nozzle Check Pattern. If even 5% of nozzles are clogged, the printer cannot lay down fine shading dots, resulting in visible grain.
Frequently Asked Questions
What is the difference between "Standard" and "High" quality print modes?
"High" quality mode enables multi-pass printing with smaller 1.5 to 3.0 picoliter droplet sizes, producing photo-lab smoothness at the expense of slower printing speed.
Does glossy photo paper eliminate grain?
Yes. High-gloss photographic paper holds ink droplets on the surface without fiber bleeding, resulting in sharper dots and smoother color gradients.
