


Diagnosing the Type of Banding
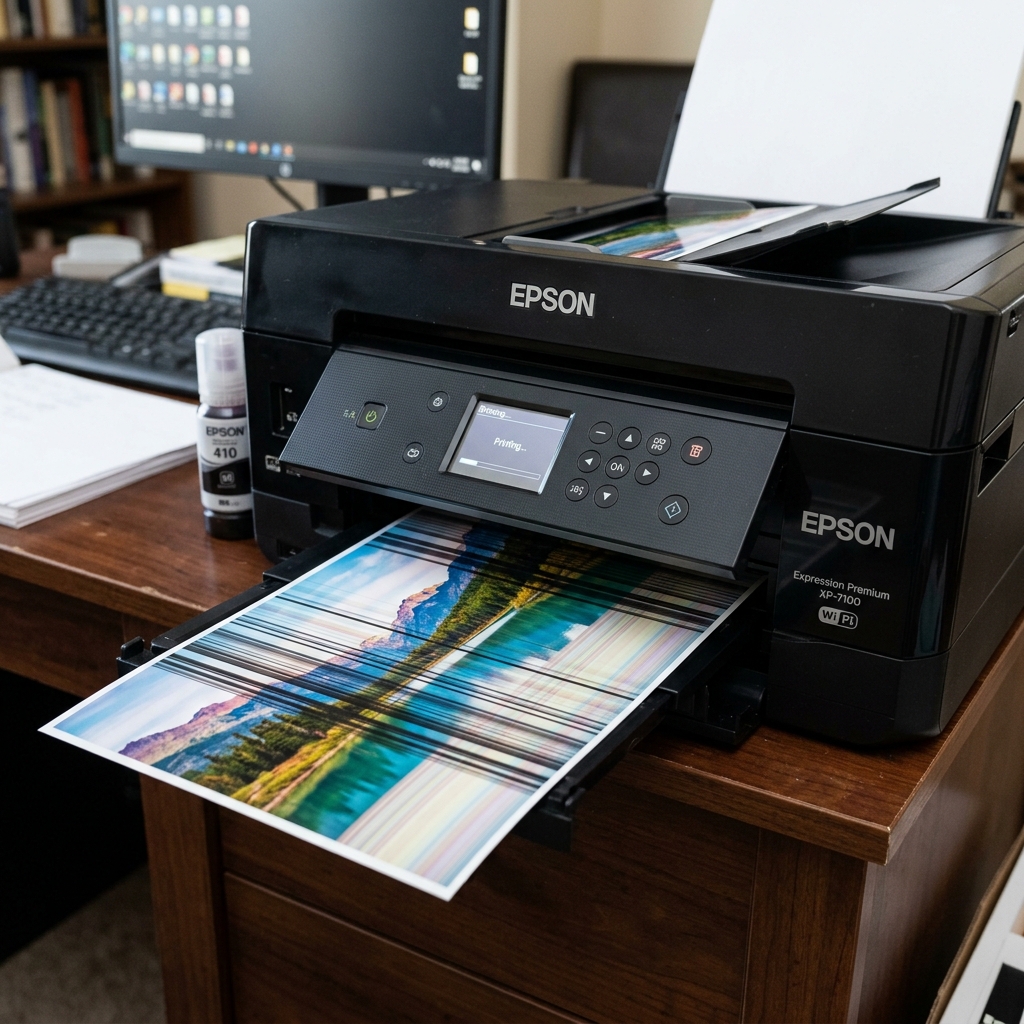
Nothing ruins a photo print faster than banding—those distinct, repeating lines that cut across your image. To fix banding on an Epson printer, you first have to diagnose what kind of banding you have, because the solutions are entirely different.
- Horizontal Banding: These lines run parallel to the way the printhead moves (left to right). They usually manifest as distinct white streaks or gaps in solid colors. This is almost always an ink flow problem.
- Vertical Banding: These lines run perpendicular to the printhead (top to bottom). They usually manifest as blurry, wavy, or misaligned vertical edges in photos, or shadow text. This is a mechanical timing problem.
Fixing Horizontal Banding (White Streaks)
Horizontal white lines mean that specific microscopic nozzles on your printhead are not firing ink. As the carriage moves across the page, the dead nozzles leave a blank trail.
Step 1: The Nozzle Check
Go to your printer's maintenance menu and print a Nozzle Check Pattern. This will print a staggered grid of lines for every color. Look closely at the grid. If you see breaks, gaps, or missing steps in the stair-step pattern, you have clogged nozzles.
Step 2: Standard Head Cleaning
Run a standard Head Cleaning cycle from the menu. This uses suction to pull fresh ink through the nozzles, blasting out dried clogs. Print another Nozzle Check. If it improves, run one more cleaning.
Step 3: Power Ink Flushing (EcoTanks)
If you have an EcoTank and your tubes are full of air bubbles, a standard cleaning won't work. You must run the Power Cleaning (or Power Ink Flushing) utility to aggressively pump the air out of the lines.
Note that this consumes up to 20% of your ink tanks in one go.
Fixing Vertical Banding (Wavy Lines & Blurry Edges)
If your vertical lines look wavy, or if straight architectural lines in photos look like they have jagged edges, the printer is firing ink at the wrong microsecond.
Step 1: Clean the Encoder Strip
The printhead knows exactly when to fire ink by reading a clear plastic ribbon with microscopic vertical lines running behind the carriage rail (the Encoder Strip). If this strip has a smudge of fingerprint grease or ink mist on it, the optical sensor gets confused and fires the ink a millimeter too late, causing jagged vertical banding.
- Unplug the printer and lift the lid.
- Locate the clear plastic ribbon behind the metal rail.
- Wipe it gently from left to right using a microfiber cloth and a drop of isopropyl alcohol.
Step 2: Printhead Alignment
Epson printers print bi-directionally (they lay down ink moving left, and also moving right). If the software timing between these two passes drifts out of sync, vertical lines will misalign.
- Go to the printer's maintenance menu.
- Select Printhead Alignmentpson/print-quality-issues/epson-printer-printing-blurry-double-vision-black-text-only" title="Fix Epson Printer Double Vision / Blurry Black Text">Printhead Alignment.
- The printer will print several rows of numbered boxes with vertical lines in them.
- Select the number of the box in each row that has the straightest, most seamless vertical lines. This recalibrates the printer's software timing and eliminates vertical banding.
Why Horizontal and Vertical Banding Ruins Epson Prints
Banding refers to unwanted visible lines or stripes appearing at regular intervals across printed photos and text documents. Horizontal white lines indicate clogged Micro Piezo nozzles. Horizontal dark overlapping lines indicate paper feed timing calibration errors. Vertical streaks indicate physical roller drag or ink buildup on the ejection star wheels.
Exhaustive 4-Step Banding Elimination Protocol
- Print and Evaluate a Nozzle Check Pattern:
Go to Maintenance > Nozzle Check. If any color staircase pattern contains gaps or missing lines, execute 1-2 standard Head Cleaning cycles. Let the printer rest for 30 minutes to allow fresh ink to dissolve nozzle crusts.
- Execute Print Head Alignment (Horizontal & Vertical):
- Load fresh, bright white paper.
- Select Maintenance > Print Head Alignment.
- The printer prints numbered alignment blocks. Select the box with the smoothest, most solid pattern in each set. This synchronizes bidirectional dot placement timing.
- Clean the Linear Optical Encoder Strip:
If horizontal banding is irregular or wavy, ink mist on the clear plastic encoder strip behind the carriage is causing positioning jitter. Clean the strip gently with warm distilled water on a microfiber cloth.
- Clean the Exit Star Wheels (Fixing Vertical Scratch Lines):
At the front paper exit slot sits a row of spiky metal star wheels. Clean each wheel with a damp cotton swab to remove wet ink buildup that tracks across drying photos.
Frequently Asked Questions
Why does banding appear only in Standard quality mode but disappears in High quality mode?
High quality mode uses multi-pass overlapping dot patterns that physically mask minor nozzle clogs. Running a Head Cleaning will fix the underlying clogs so Standard mode prints cleanly.
Can low ink levels cause banding?
Yes. When ink reservoirs drop below 15%, air bubbles enter the printhead manifold, causing intermittent starvation during wide print sweeps.
