


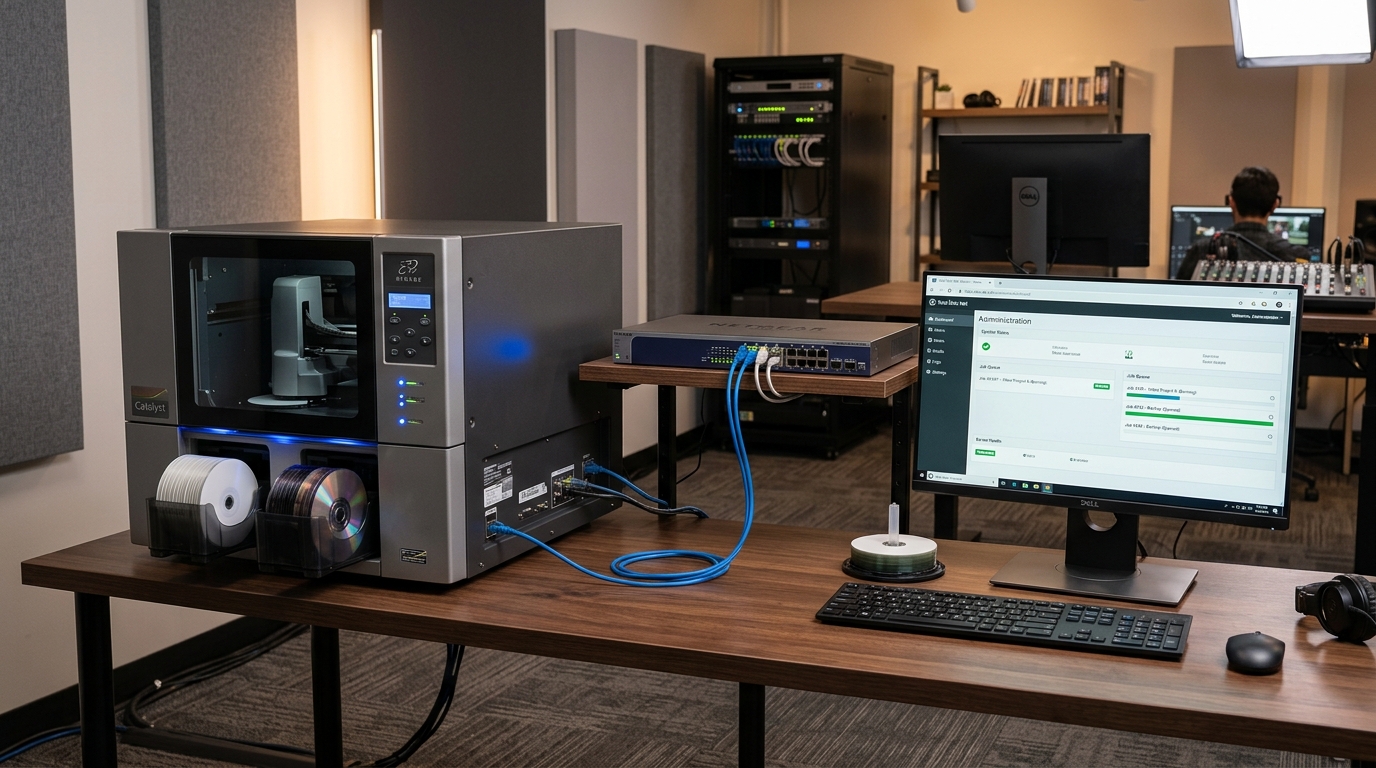
Overview of Discproducer Network Publishing
The Epson Discproducer PP-100N is an enterprise network disc publisher with an integrated embedded computer and Gigabit Ethernet interface. It operates as a standalone network node without requiring a dedicated host PC.
Users submit disc burning and printing jobs across local subnets using the Epson Total Disc Maker client software or automated network hot folders.
Step 1: Connect Ethernet and Access Embedded Web Config
Configure the initial network parameters via the embedded web management interface:
- Connect Gigabit Ethernet: Connect a shielded Cat6 Ethernet cable from the Discproducer rear LAN port to your network switch.
- Power on the unit: Turn on the power switch and wait for the front LCD status screen to display the system ready prompt.
- Check default IP address: Inspect the front LCD panel to note the assigned DHCP IP or default static IP (
192.168.192.168). - Open Web Config in browser: Open Chrome or Edge on an administrative computer and enter the Discproducer IP into the address bar.
Step 2: Assign a Dedicated Static IP Address
Production network publishers require permanent static addressing to prevent job queue interruptions:
- Log into Web Administrator: Enter administrative credentials (default username
admin, leave password blank or as configured on initial setup). - Navigate to Network Settings: Go to Network > TCP/IP Configuration.
- Select Static IP (Manual): Enter an unreserved static IPv4 address, subnet mask, and default gateway.
- Configure DNS servers: Enter your internal primary and secondary DNS server addresses.
- Apply and reboot: Click Submit to save parameters and restart the internal network controller.
Step 3: Configure Total Disc Net Administrator
Total Disc Net Administrator manages user permissions, priority queues, and device monitoring:
- Install Net Administrator: Install Epson Total Disc Net Administrator on the system administrator's PC.
- Discover publisher: Click Search Devices or manually enter the Discproducer static IP address.
- Configure user accounts: Create authorized user groups and assign permissions for CD, DVD, or BD publication.
- Set queue priorities: Designate high-priority queues for urgent medical records or on-demand legal evidence archiving.
Step 4: Configure Client Workstations with Total Disc Maker
Connect end-user workstations to the shared network Discproducer:
- Install Client Software: Run the Epson Total Disc Maker Client installer on each target workstation.
- Select Network Mode: During installation, select Network Discproducer (PP-100N) instead of USB.
- Connect to server IP: Enter the static IP address assigned in Step 2 and test communication.
- Send a test publication job: Submit a sample disc job with label art to confirm end-to-end burning and printing.
Step 5: Verify Firewall Rules and Network Ports
If client workstations cannot discover the PP-100N across corporate VLANs, open these required ports:
- HTTP / HTTPS management: Ensure TCP ports
80and443are open for browser administration. - Job submission port: Allow TCP port
2222and TCP port8080for Total Disc Maker communication. - Device status broadcast: Enable UDP port
161(SNMP) for real-time ink and disc tray status monitoring.
Frequently Asked Questions
Does the Epson PP-100N require a dedicated host computer?
No, the PP-100N includes an embedded processor and connects directly to your network switch via Gigabit Ethernet.
Can multiple users send jobs to the Discproducer simultaneously?
Yes, Total Disc Net automatically queues incoming jobs and processes them sequentially according to priority rules.
How do I reset the PP-100N network settings to factory default?
Use the front control panel maintenance menu or press and hold the rear network reset pinhole for 10 seconds while powering on.
