


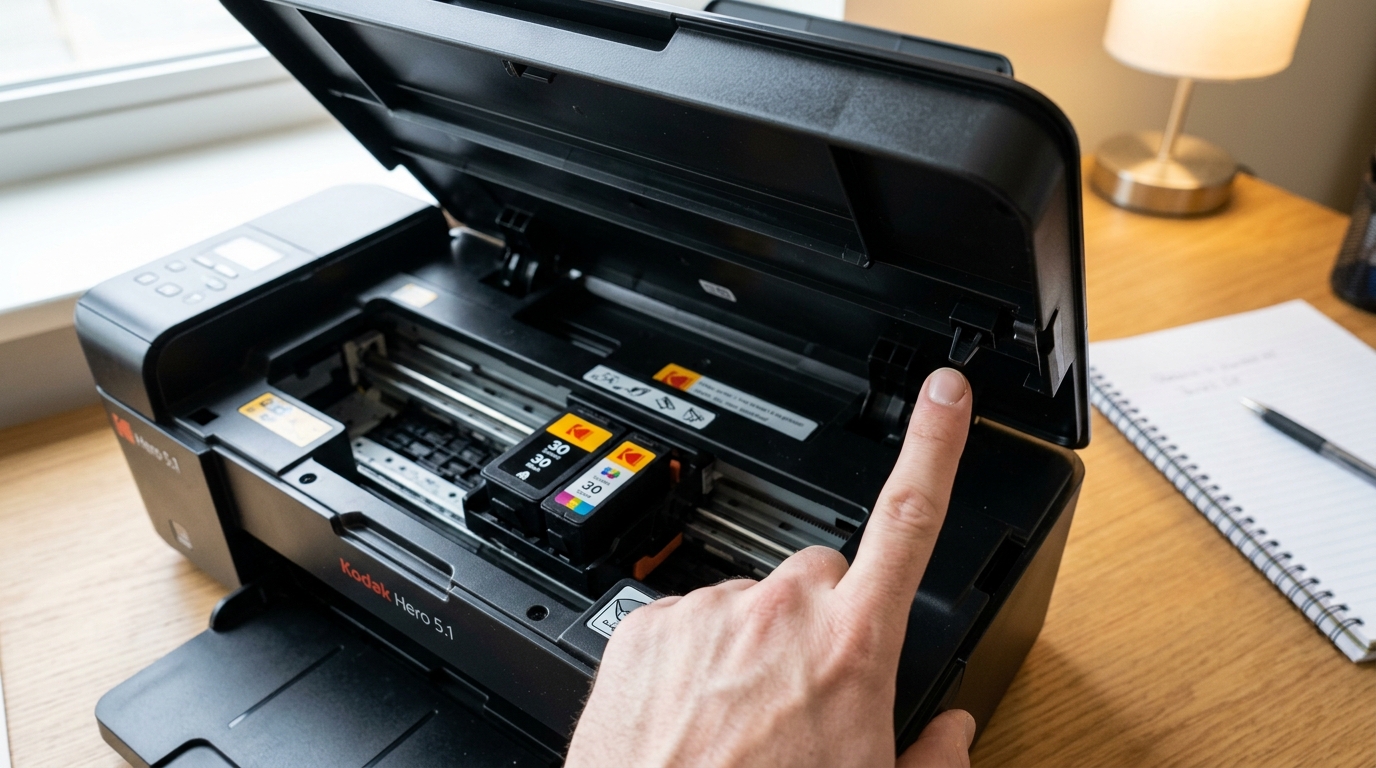
Kodak printer error 3501 is a status alert that indicates the printer's main access cover or ink door is open. For safety reasons, the printer locks out all motors and printhead operations when this code is active.
However, many users face a frustrating scenario where the error displays on the LCD screen even when the cover is visibly shut and latched. This bug is caused by a mechanical mismatch with the plastic sensor peg, a dirty optical door sensor, or a stuck micro-switch.
Here is how to diagnose and resolve error 3501.
Anatomy of the Cover Sensor
To detect if the door is closed, Kodak printers use one of two sensor designs depending on the model generation:
| Sensor Type | Location | How It Works |
|---|---|---|
| Mechanical Micro-Switch | Inside a small slot on the top-right frame. | A plastic peg on the cover lid enters the slot and presses a small copper leaf switch. |
| Optical Gate Sensor | On the mainboard bezel near the carriage path. | A plastic flag on the lid cuts an infrared light beam inside the printer body when shut. |
Step 1: Inspect the Cover Latch Peg
The most common cause of error 3501 is a broken or bent plastic peg on the inside of the cover lid. If this peg is damaged, it cannot reach down into the sensor slot to activate the switch.
- Open the printer's main cover lid.
- Examine the edges of the lid. Look for a small plastic tab or peg (usually about 1/2 inch long) protruding from the underside.
- If the peg is bent, gently warm the base with a hairdryer (on low heat) and nudge it back into a straight, vertical position.
- If the peg is broken off completely, you will need to manually trigger the switch (see Step 2).
Step 2: Locate and Test the Sensor Slot
If the cover peg is intact, the switch inside the printer body may be stuck or coated in dust.
- Locate the small, square sensor slot on the printer body that aligns with the cover peg.
- Use a flashlight to look inside the slot. You should see a small metal lever or a plastic arm.
- Use a clean plastic toothpick or pen cap to **gently press** the lever down. You should feel a light spring resistance and hear a faint click.
- If the lever does not click or feels stuck, spray a short burst of dry compressed air into the slot to blow out any paper dust or ink residue that may be holding the switch down.
Step 3: Perform a Sensor Clear Power Cycle
Sometimes, the printer's mainboard registers the door state correctly, but the firmware fails to clear the error code from its cache memory.
- With the cover closed as firmly as possible, unplug the power cord from the back of the printer.
- Wait exactly **60 seconds** to allow the capacitors to discharge.
- Plug the power cord back in and power on the printer.
- If the printer carriage moves and begins its startup sequence, the sensor cache has cleared.
Step 4: The Mechanical Pressure Alignment
On older ESP models, the printer frame can warp slightly over time, causing the cover peg to miss the sensor slot by a fraction of a millimeter. To test this, turn on the printer, close the lid, and **gently press down on the right corner of the cover** where the peg is located.
If the error clears while you are holding it down, the lid hinges are loose. You can tighten the hinge screws on the back of the printer using a Phillips screwdriver to restore alignment.
Related Kodak Troubleshooting Guides
Understanding Kodak Error 3501 (Access Door Open / Sensor Fault)
Error 3501 indicates that the printer's top cartridge/printhead access cover is open or that the optical/mechanical door interlock sensor switch is not detecting proper door closure. For operator safety, when the door is open, line voltage to the printhead carriage motor is cut to prevent mechanical pinching injuries.
Step-by-Step Inspection & Sensor Latch Repair
- Inspect the Physical Plastic Interlock Tab:
Lift the top access door of the printer. Examine the underside edges of the plastic lid.
You will see a small plastic actuator tab (typically 1/2 inch long) that protrudes downward. When the lid closes, this tab enters a narrow slot in the printer chassis to push the internal microswitch.
If this plastic tab is cracked, bent, or snapped off, the switch will not depress, causing a permanent Error 3501.
- Inspect the Chassis Sensor Slot:
Look into the matching rectangular slot on the main printer body with a flashlight. Paper fibers, dust bunnies, or small pieces of packing tape can fall into this slot, blocking the actuator tab from reaching the internal switch.
Clean the slot using a wooden toothpick or a puff of compressed air.
- Test the Microswitch Manually:
With the printer powered ON, carefully insert the tip of a non-conductive plastic probe or wooden toothpick into the sensor slot and gently press downward. If Error 3501 clears from the screen and the printhead carriage begins to move, the internal microswitch is functional, confirming that the lid's plastic actuator tab was simply failing to make contact.
- Temporary Fix for a Broken Cover Tab:
If the plastic tab on the lid has snapped off, you can cut a small piece of stiff cardboard or plastic to the same dimensions and tape it securely over the broken stump to restore switch contact when the lid closes.
Frequently Asked Questions
Why does Error 3501 occur while printing in the middle of a page?
Vibration during rapid printing can cause a loosely latched lid to bounce slightly. Ensure the access lid is pressed down firmly on both sides until it clicks into its rubber detents.
Can I bypass the door switch permanently?
While technicians can jump the two switch solder pads on the sensor board, leaving the door interlock permanently bypassed poses safety risks and allows dust to enter the print chamber during operation.
