


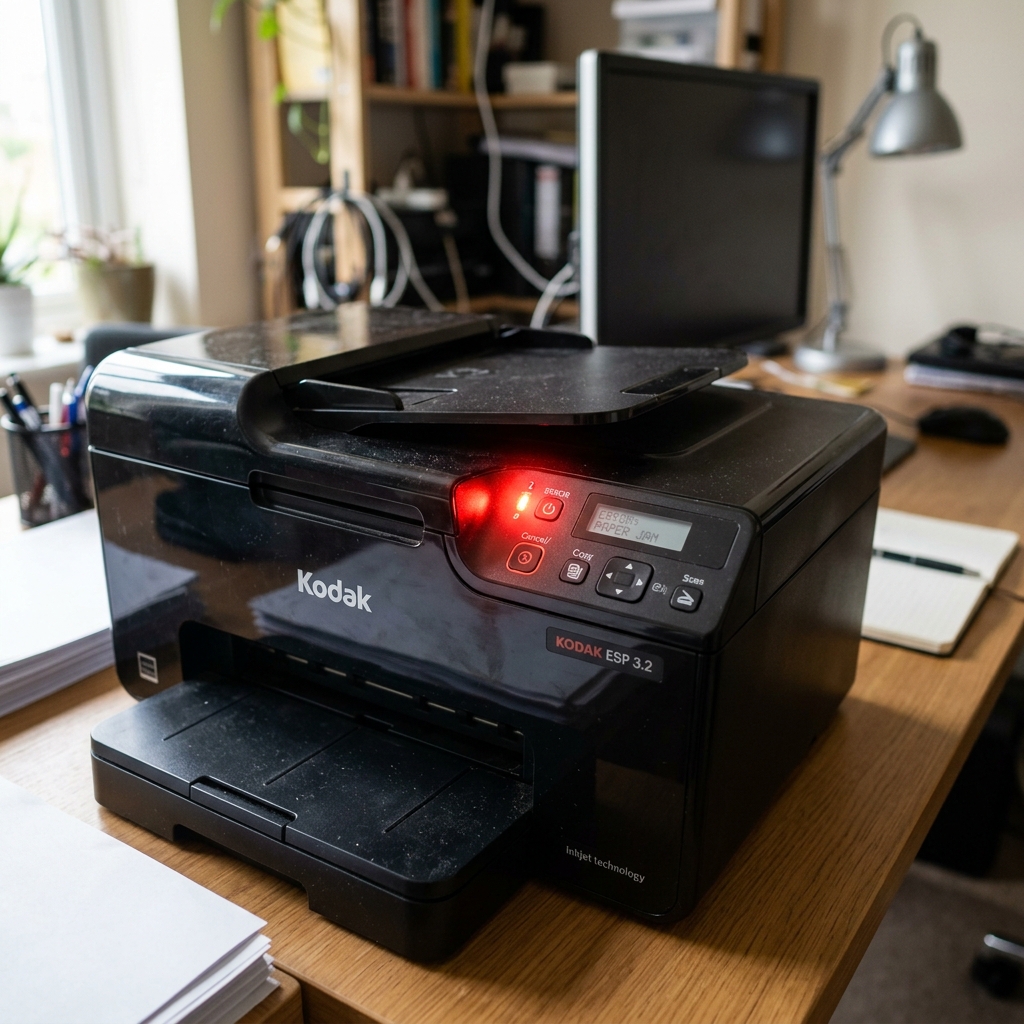
A flashing red light (typically on the Power button or the warning indicator triangle) is a Kodak printer's way of communicating a critical hardware block. When this light flashes, the printer will refuse all print commands.
On legacy Kodak ESP and Hero all-in-one models, this error is triggered by a printhead carriage obstruction, an unlatched cartridge sensor, or a physical paper jam. This guide walks you through the diagnostic patterns and fixes to clear the red error state.
Flash Code Diagnostic Matrix
To identify the root cause, observe the behavior of the red light and the carriage carriage:
| Red Light Behavior | Mechanical Carriage State | Root Cause |
|---|---|---|
| Continuous, rapid flashing red | Carriage is locked on the right side | Carriage rail obstruction or broken drive belt (Fix 1) |
| Slow, rhythmic flashing red | Carriage moves to center, then stops | Ink cartridge sensor block or loose cartridge (Fix 2) |
| Flashing red light + paper icon lit | Carriage moves but feeds no paper | Paper jam or dusty pickup roller (Fix 3) |
Fix 1: Clear Carriage Rail Locks & Drive Belts
If the printhead carriage cannot move freely along the metal rail, the motor will experience high electrical resistance, triggering the rapid flashing red light as a safety override.
- Unplug the printer from the wall outlet completely.
- Open the main access cover.
- Check the far right side of the printer (the maintenance station). The carriage carriage should not be jammed or stuck against the plastic parking gears.
- Gently slide the printhead carriage back and forth by hand. It should move smoothly without grinding.
- Look behind the carriage rail for the black rubber drive belt. If the belt is loose, cracked, or has slipped off its gears, the carriage cannot move, triggering the error. Re-engage the belt onto the gear tooth if it has slipped.
- Wipe the metal carriage rail with a clean, dry cloth to remove dried ink grease.
Fix 2: Resolve Ink Cartridge Sensor Blocks
If the red light blinks slowly, the printer cannot verify that the ink cartridges are installed correctly. This is often caused by a loose cartridge latch.
- With the printer powered on, open the access door. The carriage should slide to the center.
- Locate the black and color cartridges.
- Press the release tab on the front of each cartridge and pull them out.
- Inspect the gold chips on the cartridges. If you see ink spots or grease, rub them clean with a dry pencil eraser.
- Reinstall the cartridges: slide them in and press down firmly until you hear a **loud, clean plastic click**. If the cartridges are not fully locked down, the optical sensor cannot align with the chip.
- Close the cover. The carriage will return to the right side and run a charging cycle, clearing the red light.
Fix 3: Clear the Rear Paper Path
If the red warning light is flashing alongside the paper indicator LED, a paper sensor is blocked.
- Turn the printer off.
- Unplug the rear power cable.
- Remove the rear access door duplex panel.
- Look for any paper scraps, dust, or labels stuck to the rollers. Clean the path, close the door, and power back on.
Fix 4: Perform a Hard Capacitor Drain Reset
If the red light continues to flash after verifying all mechanical systems are clear, the error state is likely locked in the cache memory. Perform a hard reset to clear it: unplug the printer, hold the power button down for 20 seconds, leave it unplugged for 5 minutes, then reconnect directly to a wall outlet.
Related Kodak Troubleshooting Guides
Decoding Red LED Flashing Codes on Kodak Printers
When the main power button or exclamation point warning LED on your Kodak all-in-one or portable printer flashes red, the internal microcontroller has triggered an emergency hardware fault condition. The flash rate and accompanying acoustic beeps identify the exact subsystem failure.
Diagnostic Pattern Matrix for Kodak Red Lights
| Blink Pattern / Beeps | Hardware Error Identified | Immediate Fix Procedure |
|---|---|---|
| Continuous Rapid Red Flash | Carriage Jam / Printhead Motor Stall | Clear paper obstruction from carriage rail; clean encoder strip |
| Slow Red Pulse (1 flash / 2 sec) | Ink Cartridge Depleted or Missing | Replace empty Series 10/30 ink cartridge; clean chip contacts |
| 3 Red Flashes + Long Pause | Printhead Electrical Failure (Voltage Error) | Clean rear copper contact pads with 99% isopropyl alcohol; reseat |
| Solid Red (Portable Models) | Battery Critically Low or Charging Fault | Connect certified 5V/2A charger; allow 30 minutes of charging |
Systematic Hardware Reset Workflow
- Disconnect the AC power brick directly from the wall outlet and the rear of the printer.
- Open the front and top access panels. Check with a flashlight for foreign objects, staples, or shredded paper fragments jammed in the gear train.
- Slide the printhead carriage ntly back and forth by hand to confirm smooth, unrestricted mechanical glide across the guide rod.
- Press and hold the physical Power button for 30 seconds while unplugged to drain the logic board circuitry.
- Reconnect power directly to a wall outlet and turn on.
Frequently Asked Questions
Why does the red light flash only when I try to print double-sided?
Duplex printing engages the rear reversing rollers. If the duplex door latch is loose or the lower sensor flag is dusty, the printer fails the duplex timing check and flashes red.
Can a corrupt print job cause the red light to flash?
Yes. If a massive, complex print job overfills the printer's internal RAM buffer, the printer may stall and flash red.
