


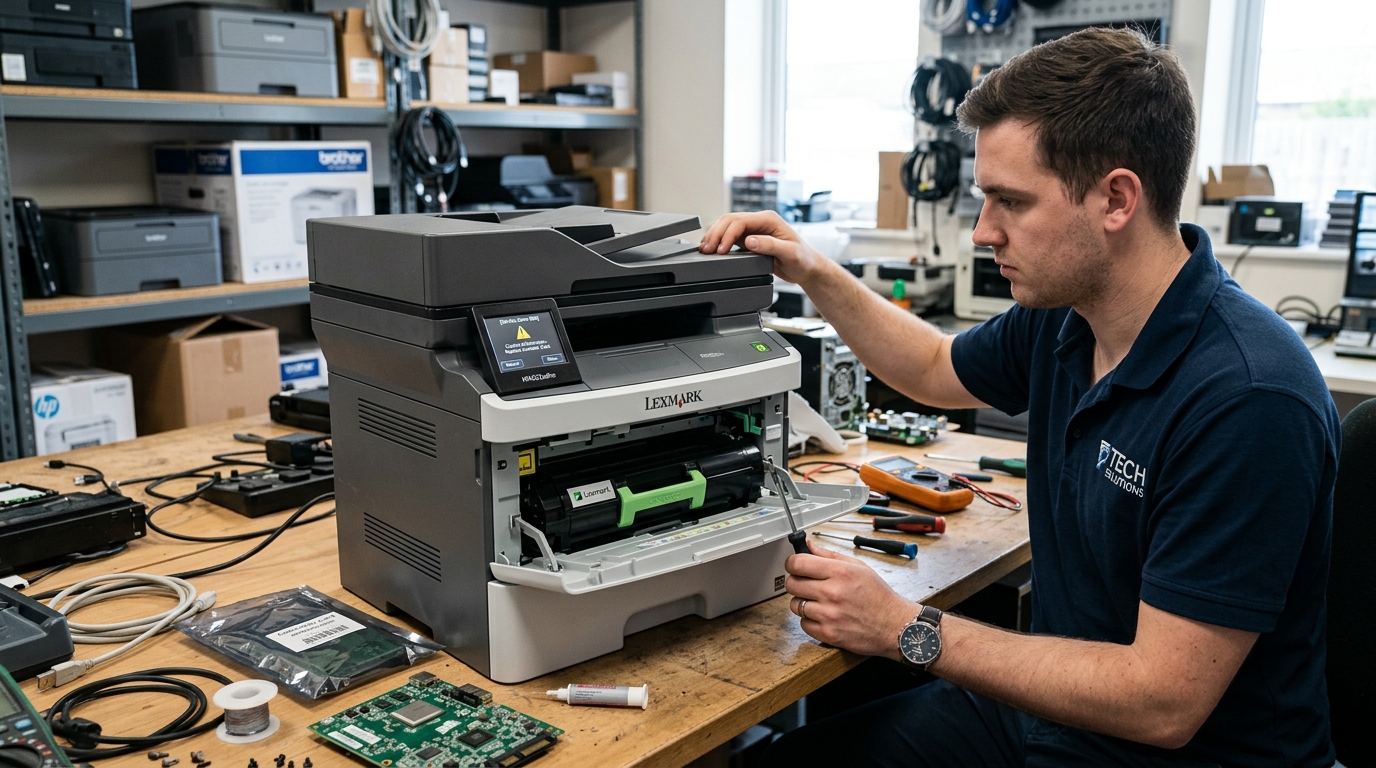
Encountering a 980 or 820 Service Error on your Lexmark printer can abruptly halt your entire workflow, leaving you with a non-functional machine. A frustrating cryptic code on the display.
These specific error codes are notorious among IT professionals. Printer technicians because they point directly to critical hardware failures within the engine controller card or the scanner lamp assembly.
The Lexmark engine controller card acts as the central nervous system of the printer, managing everything from paper feed timing to laser modulation. When it fails, the printer cannot coordinate its internal mechanisms.
Similarly, the scanner lamp (associated with the 820 error) is vital for the optical reading of documents; if it fails to illuminate properly or if its movement is hindered, the printer cannot initialize its copying or scanning functions.
This detailed troubleshooting guide will explore the technical reasons behind these failures, provide a comprehensive step-by-step approach to diagnosing and potentially fixing the issues.
Offer advanced repair strategies for those comfortable with hardware intervention. By understanding the root causes, you can make informed decisions about whether to attempt a repair yourself, seek professional service, or replace the unit entirely.
Addressing hardware issues promptly can often prevent secondary failures, saving significant repair costs in the long run.
Why This Happens
The 980 Service Engine Controller Card error generally indicates a breakdown in communication between the main logic board (formatter board) and the engine board. This can be caused by a variety of factors.
A sudden power surge or brownout is a common culprit, as the delicate electronic components on the controller card are highly susceptible to voltage fluctuations. If a power spike bypasses the printer's internal surge protection, it can fry microcontrollers or corrupt the firmware (internal software) stored on the board's EEPROM.
Another frequent cause is thermal stress. Printers generate significant heat during operation, especially near the fuser unit.
Over time, this constant heating and cooling cycle can cause solder joints on the controller card to become brittle and crack, leading to intermittent connections and eventual complete failure. Additionally, physically forcing a paper jam clearance or dropping the printer can cause physical damage to the card or its connecting ribbon cables.
Vibration during heavy printing cycles can also unseat poorly secured cables over long periods.
The 820 Scanner Lamp error specifically targets the scanning carriage assembly. The scanner lamp requires a high starting voltage, provided by an inverter board.
If the inverter board fails, or if the lamp itself burns out (similar to a fluorescent tube), the sensor will not detect the necessary light intensity during the power-on self-test (POST), triggering the 820 error. Furthermore, the scanner carriage moves along a track using a system of belts and gears driven by a stepper motor.
If the track is dirty, unlubricated, or if the belt is worn or broken, the carriage cannot move to its home position for calibration. This can also throw an 820 or related scanner error.
Dust accumulation on the optical mirrors within the scanner assembly can also degrade the signal, confusing the printer's diagnostic routines into believing the lamp has failed. Environmental factors like high humidity can also accelerate the degradation of these sensitive optical components, leading to premature failure of the scanning mechanism.
Step-by-Step Fix
- Perform a Hard Reset and Power Drain: The first step in any hardware-level printer error is to completely drain residual power. Turn the printer off using the power button. Unplug the power cord directly from the wall outlet, not just from the back of the printer. Leave the printer unplugged for at least 15 to 30 minutes. This allows all internal capacitors to discharge fully, resetting volatile memory. Clearing transient electrical faults that might be causing a false error state.
- Inspect and Reseat All External Connections: While the printer is unplugged, carefully inspect the power cord for any signs of damage or fraying. Disconnect all USB or Ethernet cables. Sometimes, a faulty data cable can send corrupt signals that cause the logic board to freeze and throw a spurious 980 error. Plug the power cord back directly into the wall outlet—bypass any power strips, surge protectors, or UPS devices, as these can sometimes degrade the power quality. Cause issues with the engine controller.
- Attempt to Enter Diagnostic/Service Mode: Reconnect the power and turn the printer on. Try to enter the printer's specific service mode (the key combination varies by Lexmark model, often involving holding the Go and Return buttons while powering on). If you can access the service menu, print an event log or error history. This can provide more granular detail about the failure. If the printer immediately halts with the 980 or 820 error before entering service mode, the hardware failure is severe and prevents basic boot processes.
- Isolating the 820 Scanner Error (Visual Inspection): If you have an 820 error, open the scanner lid. Turn the printer on and observe the scanner carriage. Does the lamp illuminate at all? Does the carriage attempt to move along the glass? If the lamp is completely dark, the bulb or the inverter board is likely dead. If the lamp lights up but the carriage stutters or grinds, the issue is mechanical (gears, belt, or track).
- Cleaning the Scanner Glass and Track (For Mechanical 820 Errors): Unplug the printer again. Thoroughly clean the underside of the scanner glass (if accessible). The white calibration strip on the underside of the lid with a lint-free cloth and isopropyl alcohol. If you are comfortable opening the scanner chassis, carefully wipe down the metal track the carriage rides on. Apply a very small amount of appropriate silicone-based lubricant. Never use WD-40, as it attracts dust and will worsen the problem over time.
- Checking the Ribbon Cables (For 980 and 820 Errors): This step requires significant disassembly and should only be attempted if you are comfortable working with electronics. Access the main logic board and the engine controller card. Carefully inspect the flat flexible ribbon cables connecting these boards and connecting to the scanner assembly. Look for any tears, bent pins, or scorch marks. Disconnect and firmly reconnect (reseat) every cable to ensure a solid contact. Loose cables are a shockingly common cause of intermittent 980 errors.
- firmware (internal software) Flash (If Possible): In rare cases, a corrupted firmware (internal software) installation can mimic a hardware failure. If you can force the printer into firmware (internal software) update mode (usually via USB from a computer, even if the display shows an error), attempt to flash the latest firmware (internal software) downloaded from the official Lexmark support site. This overwrites the potentially corrupted EEPROM data with clean code.
- Component Replacement: If all troubleshooting steps fail, the only remaining option is hardware replacement. For a 980 error, you will likely need to source and install a new Engine Controller Card. For an 820 error, you may need a new scanner lamp assembly or an entire replacement scanner unit. Consult the official Lexmark service manual for your specific model for detailed disassembly instructions and part numbers.
Advanced Troubleshooting
For those equipped with a multimeter. A deeper understanding of electronics, advanced troubleshooting involves tracing power circuits on the boards.
For the 980 error, verify the voltage outputs from the main power supply unit (PSU) to the engine controller card. The PSU typically supplies +5V, +24V, and sometimes other specific voltages.
If the +24V rail is dead, the motors won't turn, and the engine card will fail its diagnostics. Check the fuses on the power supply.
The engine board; a blown micro-fuse often indicates a downstream short circuit that must be found before replacing the fuse. Testing these rails requires precision and safety precautions to avoid electric shock.
For the 820 error, you can test the continuity of the flat ribbon cable connecting the scanner carriage to the logic board. These cables flex every time the scanner moves and frequently develop microscopic breaks in the internal copper traces.
If continuity is broken on any pin, the cable must be replaced. You can also measure the output voltage of the scanner inverter board (use caution, as these voltages can be high enough to cause injury).
If the inverter is receiving power but outputting nothing, the inverter is faulty. If it outputs correct voltage but the lamp is dark, the lamp itself is the culprit.
Replacing just the lamp bulb requires delicate soldering skills, so replacing the entire assembly is often recommended for most users.
FAQ
Is it worth repairing a Lexmark printer with a 980 or 820 error?
This depends entirely on the model and the cost of replacement parts. For expensive, high-end enterprise Lexmark multifunction printers, replacing an engine board ($100-$300) is far more economical than buying a new machine ($1000+).
Can a paper jam cause a 980 Service Engine error?
Yes, but indirectly. While a standard paper jam won't fry the electronics, if a user aggressively yanks jammed paper out, they can strip gears or break sensors.
Where is the engine controller card located?
The location varies significantly by model. In many Lexmark laser printers, it is located behind the main rear or side access panel, often near the primary logic board or formatter board.
Why does the printer ask for a firmware (internal software) update after replacing the engine card?
The engine controller card and the main formatter board contain synchronized firmware (internal software) and serialized data. When you install a new, blank, or different engine card, the main board detects the mismatch.
