


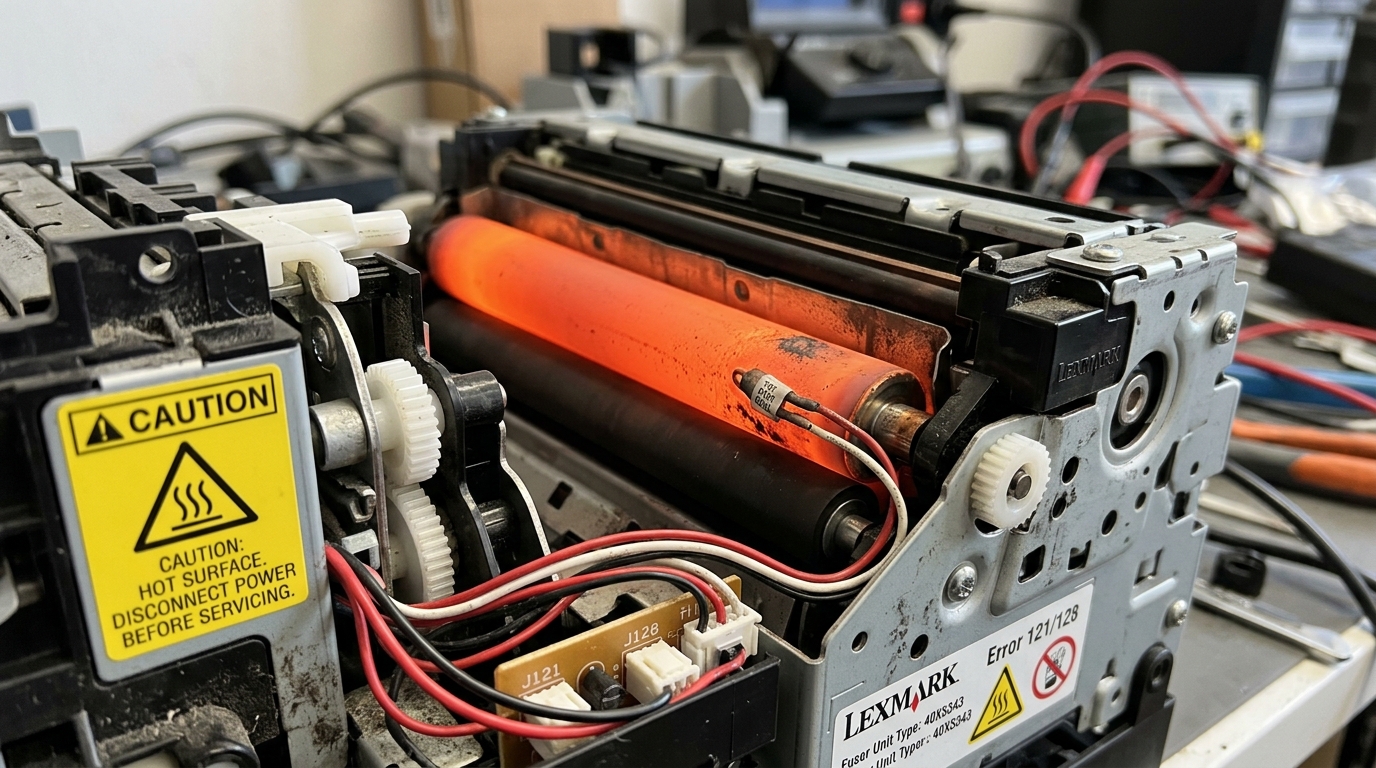
Lexmark printers work well in busy offices. Users often see 128 and 121 errors.
These errors come from the fuser unit. The fuser bonds toner to paper using heat and pressure.
The printer stops working if the fuser gets too hot or cannot control heat. This stops damage and shows these error codes.
You need to know how the fuser kit works. You must also know how the room environment adds to heating problems.
It is vital to learn how to test and replace bad parts. This keeps the printer running longer and stops delays.
Why This Happens
The fuser unit has a heating roller and a pressure roller. The fuser must reach temperatures over 400°F (200°C) to melt toner.
Heat sensors watch this temperature. A sensor might get covered in toner dust or fail.
It gives bad readings to the main board. This makes the heater pull power all the time.
The printer then gets too hot, showing error 121 or 128. Poor airflow around the printer can also stress fuser parts.
Using the wrong paper types can slow the engine and change heating. Power surges also harm the fuser.
The safety fuse may blow over time. You must then replace the whole fuser kit.
Step-by-Step Fix
- Turn off the Lexmark printer right away and unplug it. Let it cool for 30 to 45 minutes. Fuser units stay very hot after use.
- Open the back or side doors to reach the fuser. Check your user manual for the exact spot.
- Look for any signs of damage on the fuser. Check for melted plastic, burned rollers, or torn film covers. Look for too much toner dust on the heat sensors.
- Unlock the levers or remove the screws holding the fuser unit. Slide the old fuser unit out of the printer slowly.
- Open the new maintenance kit or fuser. Do not touch the heating roller with bare hands. Skin oils can cause early failure or print problems.
- Slide the new fuser unit in until it clicks or locks into place. Lock the levers or put the screws back in.
- Close all doors and plug the printer into the wall. Do not use power strips for laser printers. This ensures steady power.
- Turn the printer on. Enter the setup or test menu. You usually do this by holding buttons like 2 and 6 during startup. Reset the maintenance counter to clear the error codes.
Advanced Troubleshooting
Advanced testing uses a meter to check the fuser's heater and safety fuse. A blown safety fuse shows a broken circuit.
This means you must replace it. You should also check the low voltage power supply and engine control board.
A part on the control board can short out. This keeps the fuser turned on all the time.
The control board is likely broken if a new fuser blows right away. You must replace the board.
Make sure the firmware (internal software) is updated. Lexmark sometimes releases fixes to improve heat control.
General Maintenance and Best Practices
Taking care of your printer goes beyond fixing errors. A regular care schedule is key for keeping your hardware running well.
Printers have many moving parts, sensors, and items that wear out over time. Dust, paper fibers, and toner build up inside.
This can block sensors and jam gears. It leads to early breakdowns.
Toner dust build-up is a big issue for laser printers. Tiny toner specks escape even with good cartridges.
Use a special toner vacuum sometimes to clean the inside. This stops short circuits and stops sensors from reporting false paper jams.
Never use a house vacuum or compressed air. Air pushes toner deeper into the sensitive laser unit.
House vacuums can create static electricity that harms the main board.
Thermal printers need a different care method. The printhead touches the label paper directly.
Glue or dust from labels moves to the printhead. This dirt makes a heat block over time.
It causes faint prints, missing barcode lines, and bad scan rates. Clean the thermal printhead often.
Do this every time you change a label roll. Use a clean cloth or cotton swab with 99% isopropyl alcohol.
Let the printhead dry completely before printing again.
Room conditions also change printer speed and quality. Printers run best in climate-controlled rooms with medium humidity.
High humidity makes paper soak up water. This causes paper to curl and jam, especially in laser printers.
Very low humidity makes static electricity worse. Static can make pages stick together and feed at the same time.
It can also mess up how toner moves to the drum. Keep your paper and labels in their boxes until you need them.
Keeping your printer's internal software updated is also a very important care step. Makers often release software fixes for bugs.
These updates improve internal rules and save energy. They change heat controls to make parts last longer.
They also fix connections with new computer systems. Check the official maker's website for updates.
Never turn off the printer during a software update. This can break the main control board.
These care steps will greatly lower the number of errors. They will cut down on annoying delays. They ensure your printer stays a good tool for your business for years. Doing this often is key. A few minutes of care saves hours of fixing and costly repairs later.
FAQ
Can I just clean the thermistor instead of replacing the fuser?
You can carefully clean a heat sensor with isopropyl alcohol. The part is likely worn out if the error stays.
What does a 121.xx error specifically indicate?
A 121 error usually means the fuser is too cold or slow to heat up. A 128 error often points to a hard over-temperature state.
Is it safe to bypass the thermal fuse?
No, bypassing the safety fuse is a huge fire risk. It is a critical safety part.
How often should the fuser kit be replaced?
Care times change by model. A Lexmark fuser kit should usually be replaced every 150,000 to 300,000 pages.
Why did the error happen shortly after a power outage?
Power surges or quick power drops can harm sensitive parts on the control board or the fuser's heat sensors. This leads to instant heat control failures when power returns.
