


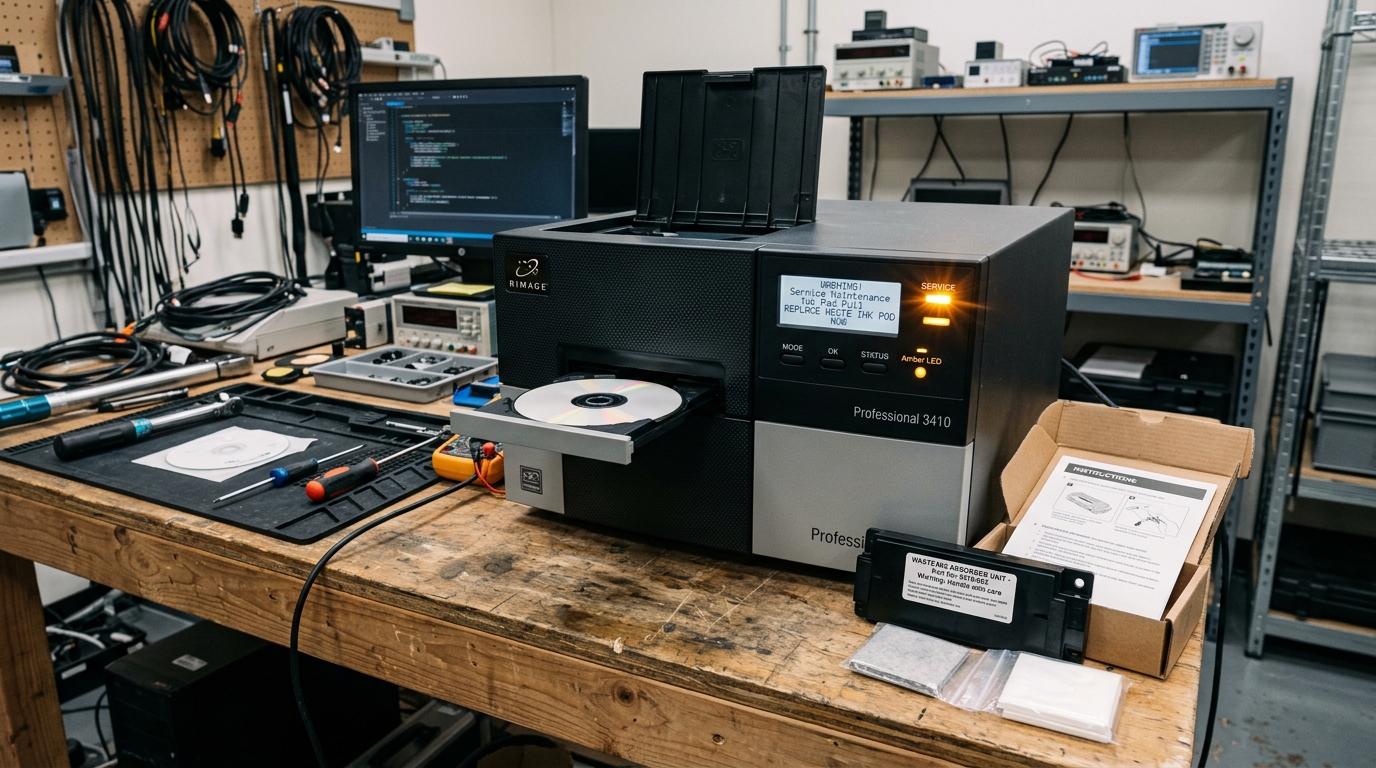
Understanding the Waste Ink Pad Warning
Epson Discproducer PP-100 and PP-50 units feature internal waste ink pads that absorb surplus ink from nozzle cleaning cycles and margin overspray. Over extended production runs, these pads become fully saturated.
To prevent ink overflow inside the mechanical carriage and electronic chassis, the printer firmware triggers a service warning as the counter reaches capacity.
Step 1: Identify the Pad Warning Stage
The Discproducer displays two distinct stages of waste pad alerts:
- Near end of service life: The Total Disc Monitor displays a warning, but burning and printing continue normally. Order replacement pads immediately.
- End of service life reached: The printer halts operation, error LED flashes, and jobs are blocked until the pads are serviced and reset.
Step 2: Access and Replace the Waste Ink Pads
Physical pad replacement ensures waste ink does not pool beneath the AcuGrip robotic transport:
- Power down and disconnect: Switch off the Discproducer and disconnect both the power cable and USB interface cable.
- Remove the side access panel: Unscrew the maintenance access cover on the lower section of the chassis.
- Extract the pad tray: Slide out the waste ink absorbent tray carefully using protective nitrile gloves.
- Install fresh absorbent felts: Seat the genuine Epson replacement pad set into the tray, ensuring proper slot alignment.
- Reinstall the maintenance cover: Slide the tray back into place and fasten the retaining screws firmly.
Step 3: Reset the Waste Ink Counter with Epson Utility
Replacing the physical pads alone will not clear the firmware lockout without a software counter reset:
- Connect via USB: Ensure the Discproducer is connected directly to a dedicated administrative workstation via USB.
- Launch Total Disc Setup Tool: Open the Epson Total Disc Setup Tool or authorized Epson Service Adjustment Utility.
- Navigate to Consumables Management: Select the Ink Pad Counter or Maintenance Box Counter menu.
- Execute counter reset: Click Reset Pad Counter and confirm the prompt to write zero values to the internal EEPROM.
- Cycle printer power: Turn off the Discproducer for 15 seconds and power it back on to verify the green ready state.
Step 4: Minimize Waste Ink Accumulation
Adopting proper maintenance habits reduces the frequency of future waste pad warnings:
- Avoid unnecessary deep cleanings: Only run printhead cleaning cycles when nozzle check patterns show missing nozzles.
- Keep the unit plugged in: Allow the Discproducer to enter standby sleep mode rather than cutting main switch power daily.
- Batch print jobs: Group disc production jobs together to minimize pre-print priming cycles.
Frequently Asked Questions
Can I clean and reuse the existing Discproducer waste ink pads?
Washing pads is not recommended because degraded fibers lose absorption capacity and risk leaking into internal robotics.
Can I bypass the pad warning without replacing the felts?
Resetting the software counter without installing new pads will cause waste ink to overflow into the printer chassis.
How many discs can a Discproducer print before the pad warning triggers?
Depending on printhead cleaning frequency and print density, pads typically last between 20,000 and 30,000 discs.
