


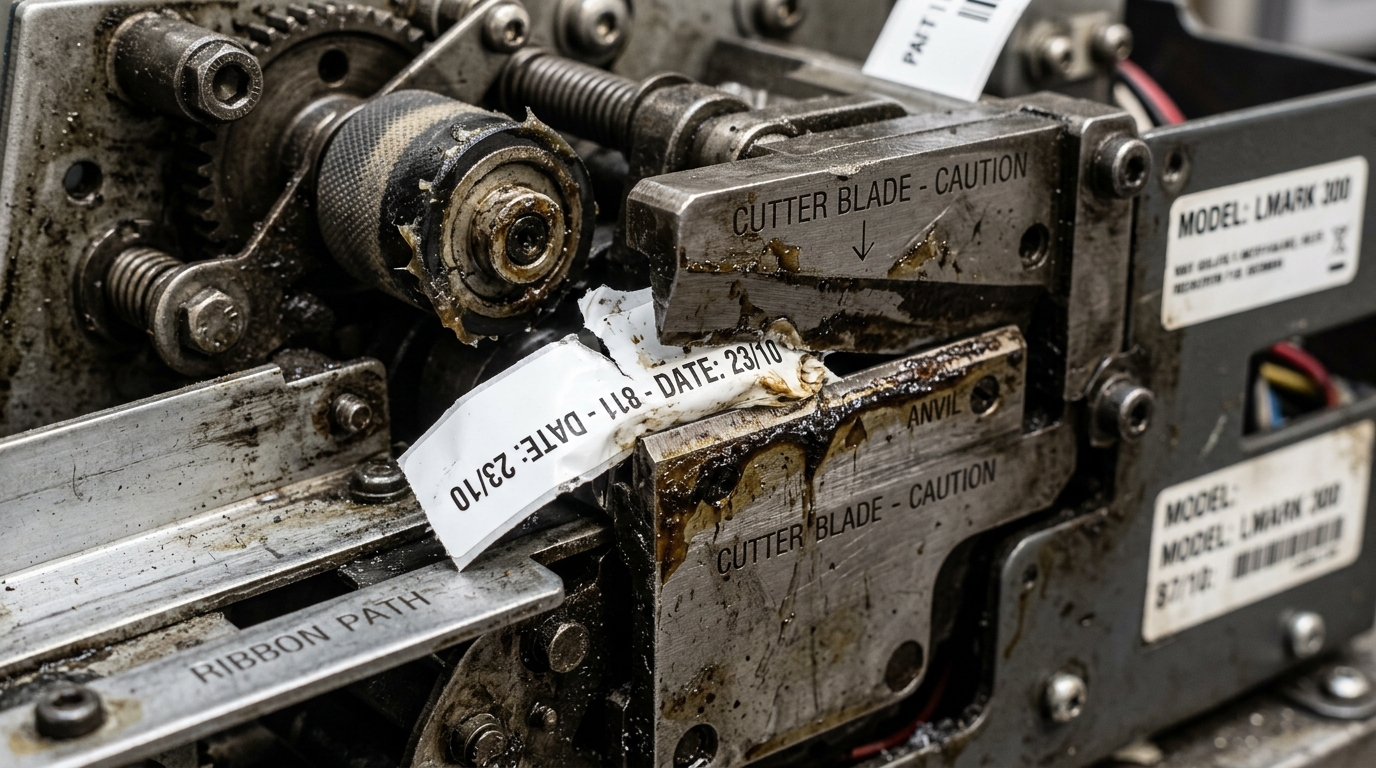
Diagnosing LabelWorks Cutter Failures
Epson LabelWorks handheld and desktop printers feature either manual lever cutters or motorized guillotine cutting assemblies. High-volume industrial models also support automatic half-cutting for peelable strips.
When printed tape exits uncut, folds around the blade, or produces jagged tears, the issue is typically adhesive buildup, worn cutting edges, or incorrect cut settings.
Step 1: Verify Cut Mode Settings in Software
Software settings often override physical button presses or disable automatic cutting:
- Check Cut Mode in Label Editor: In Epson Label Editor, open Print Preferences > Cut Options.
- Verify Full Cut vs Half Cut: Ensure the job is not set to "No Cut" or "Chain Print without Cut".
- Disable Pick & Print pause: If "Pick & Print" is active on models like the LW-PX900, the machine waits for you to pull the label before triggering the next cut.
- Adjust half-cut depth: If half-cuts slice through the backing liner, adjust the half-cut depth lever or menu setting to a lighter notch.
Step 2: Clean Adhesive Residue off the Cutter Blade
Adhesive transfer from industrial vinyl and polyester labels causes the cutter blade to stick:
- Power off the unit: Switch off the printer and remove all batteries and the AC adapter.
- Remove the tape cassette: Unlatch the door and lift out the cartridge.
- Inspect the exit slot: Use a flashlight to examine the stainless steel cutter shears near the tape exit aperture.
- Scrape adhesive with alcohol: Wet a cotton swab with 99% isopropyl alcohol and wipe both sides of the shear blades thoroughly.
- Cycle the cutter manually: Press the manual cut button or lever several times to ensure effortless mechanical return.
Step 3: Replace the Cutter Blade Unit (Industrial Models)
Industrial units like the LW-PX900, LW-Z5010BE, and LW-PX800 feature user-replaceable cutter modules:
- Check cutter life counter: Access the maintenance menu on the LCD screen to review the total blade cut count.
- Order official replacement: Obtain the genuine Epson replacement cutter kit rated for 300,000+ cuts.
- Unscrew retaining screw: Open the cutter maintenance hatch and unscrew the single securing thumb screw.
- Install fresh cutter: Slide out the worn blade assembly, insert the new cutter cartridge, and tighten the retaining screw.
Frequently Asked Questions
Why does the printer leave a small tab connecting each label?
The "Half-Cut" feature is active; switch the cut mode setting to "Full Cut" in the printer menu or software.
Why does the cutter stall on heat shrink tubing?
Heat shrink tube is significantly thicker than vinyl; disable half-cutting and clean adhesive debris from the blade pivot.
Can I sharpen an Epson LabelWorks cutter blade?
No, the precision shear blades are factory-ground; attempt to replace the cutter module rather than grinding the blade.
