


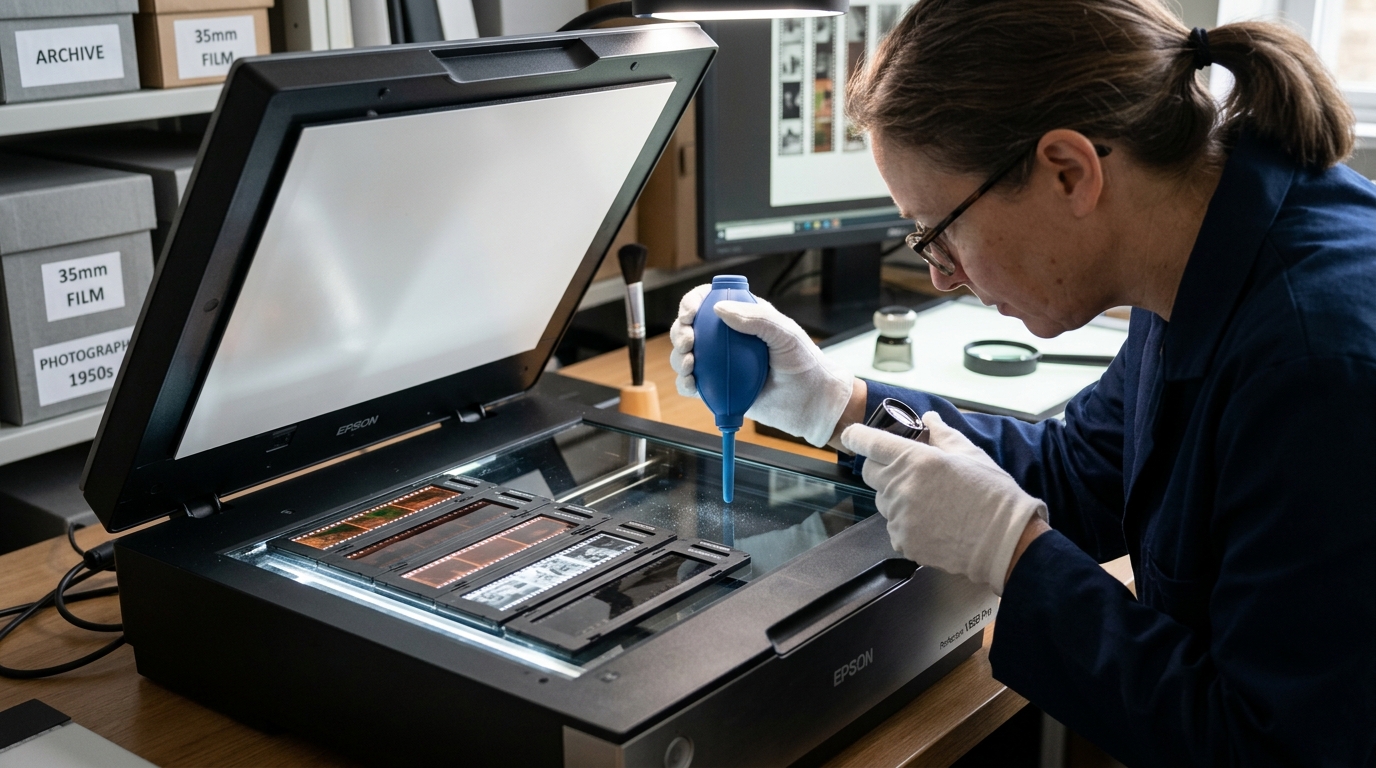
Troubleshooting Flatbed and Film Scan Defects
Epson Perfection photo scanners (such as the V600 Photo, V850 Pro, and V39) use high-resolution CCD sensors and dual-lens optics to digitize photos, reflective documents, and film negatives.
When scans display colored vertical streaks, blurry grain, washed-out highlights, or concentric Newton rings, specific optical contaminations or focus-plane misalignments are responsible.
Step 1: Clean the Critical Calibration Glass Area
Colored vertical streaks running the full length of a scan almost always originate in the calibration zone:
- Locate the calibration window: Inspect the top 1-inch strip of glass closest to the scanner hinge.
- Understand calibration reads: The optical sensor samples this strip before every scan to establish white balance and dark offset.
- Clean with optical wipe: Clean the glass with a lint-free optical lens cloth and optical glass cleaner. Never spray cleaner directly onto the glass.
- Inspect underside: Ensure no dust particles or haze are trapped on the underside of the upper platen.
Step 2: Adjust Film Holder Height Spacers (V850 Pro & V600)
Film scanning requires positioning negatives precisely within the optical depth-of-field of the scanner lens:
- Inspect film holder height adjusters: On Epson V850 film holders, inspect the orange plastic height spacer feet.
- Adjust focal plane: If 35mm or 120 medium format negatives scan soft, change spacer feet between 3.0mm, 3.5mm, or 2.5mm.
- Load film emulsion side correct: Place negatives into holders with the emulsion side (matte finish) facing upward toward the light source.
- Snap film guides tight: Ensure negative strip tension bars snap firmly shut to prevent film bowing and sagging.
Step 3: Eliminate Newton Rings with Anti-Newton Ring Glass
Concentric rainbow-colored interference rings appear when smooth film backs make direct contact with the scanner platen:
- Suspend film off the glass: Ensure film holders keep the negative suspended 1mm to 2mm above the lower platen glass.
- Use ANR glass inserts: For curled medium format or sheet film, place an Anti-Newton Ring (ANR) glass insert over the film.
- Control room humidity: Excessive humidity exacerbates optical contact sticking between film base and glass surfaces.
Step 4: Configure Digital ICE and Software Settings
Misconfigured software sharpening and dust reduction filters introduce unwanted digital artifacts:
- Enable Digital ICE for color film: In Epson Scan or SilverFast, activate Digital ICE to remove physical dust and scratches using infrared light.
- Disable Digital ICE for black & white film: Traditional silver halide B&W film blocks infrared beams and turns the scan into a garbled, textured mess.
- Turn off excessive Unsharp Mask: Disable the software Unsharp Mask filter in Epson Scan to avoid exaggerated film grain.
- Scan at native optical resolution: Use true optical steps (such as 2400 dpi or 3200 dpi) rather than interpolated software extremes.
Frequently Asked Questions
Why does my scan have a colored vertical stripe across the whole image?
A single speck of dust or hair on the top calibration glass strip tricks the sensor during white-point calibration, producing a solid streak.
Why does Digital ICE ruin my black and white film scans?
Traditional black-and-white film contains silver particles that absorb infrared light, causing Digital ICE to falsely identify image details as scratches.
What is the best resolution for archiving 35mm film on an Epson flatbed?
Scan at 2400 dpi or 3200 dpi; higher settings produce bloated file sizes without capturing additional optical resolving power.
