


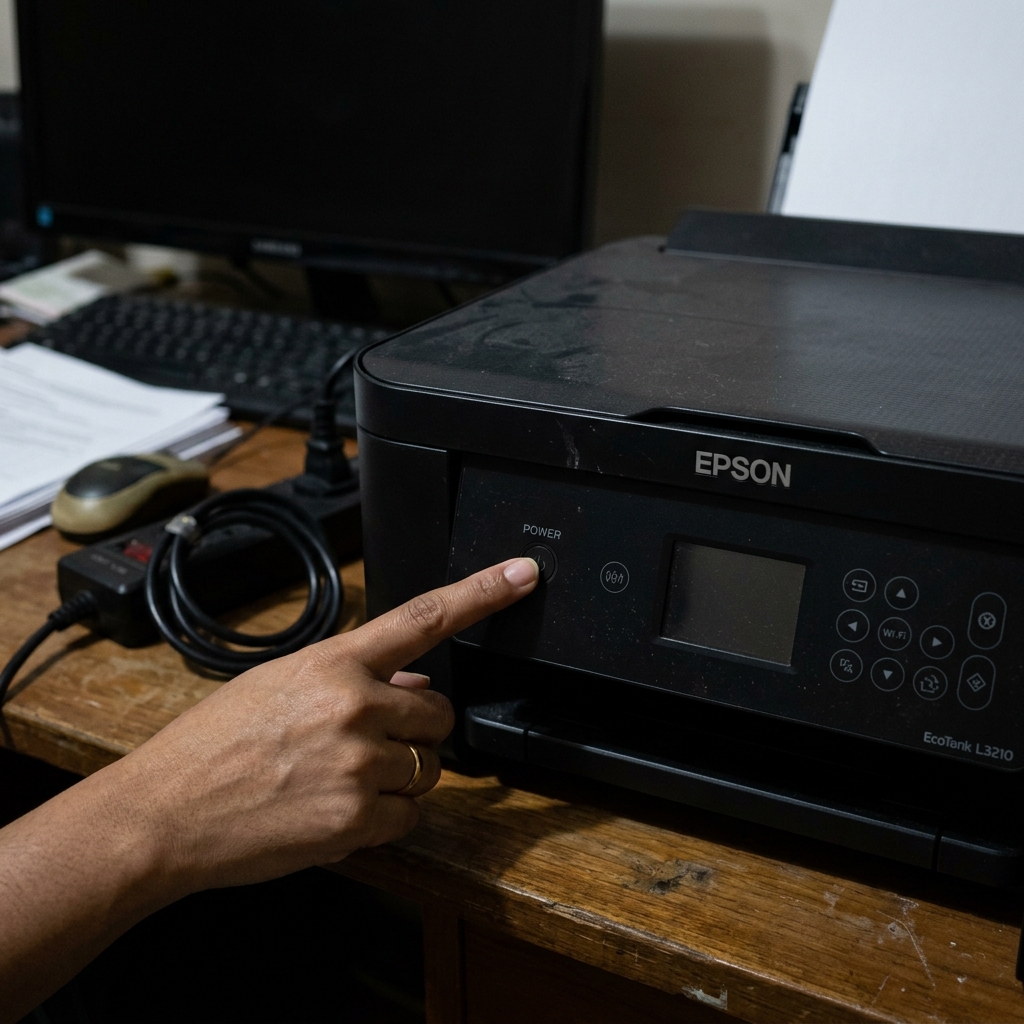
The Completely Dead Printer
You press the power button, and nothing happens. No beeps, no lights, no mechanical whirring. Or, worse, you press the power button, a single green light flashes for a fraction of a second, you hear a faint "click," and the printer goes completely dead again.
This is the ultimate Fatal Error. The printer is failing its absolute most basic electrical checks. The problem lies in one of two places: the Power Supply Unit (PSU) , or the Mainboard.
Step 1: The Capacitance Drain
Before ripping the printer apart, rule out a safety lockout. If the printer experienced a power surge (from a lightning storm or a faulty power strip), the internal circuitry may have locked down.
- Unplug the power cord from the back of the printer.
- Press and hold the physical power button on the printer for 60 solid seconds. This forces the internal capacitors to drain any residual trapped voltage.
- Wait 10 minutes.
- Take the printer's power cord and plug it directly into a wall outlet. Do not use a surge protector, power strip, or extension cord for this test.
- Press the power button. If it turns on, your surge protector was likely at fault.
Step 2: Testing the Power Supply Unit (PSU)
Epson printers do not have internal, exposed power supplies like a desktop computer. They have a modular brick (the PSU) that slides into the bottom or rear of the printer.
If the printer remains dead, you need to know if the PSU is actually converting AC wall power into DC power for the motherboard.
- Turn the printer around. Look at where the power cord plugs in. This plastic block is the PSU.
- On most models, it is held in place by 2 or 3 Phillips screws. Remove them and slide the PSU block out of the chassis.
- It will be connected to the motherboard by a bundle of wires (usually 3 pins: 42V, GND, and a control pin). Disconnect this harness.
- Plug the PSU into the wall. Take a digital multimeter set to DC Voltage.
- Carefully test the pins. You should see a reading of approximately 41V to 42V DC. (Some models output 42V and a secondary 5V rail).
If the multimeter reads 0V: The power supply is dead. A capacitor or fuse inside the brick blew. Replacing the PSU (usually $20-$30 on eBay) will completely fix the printer.
Step 3: The Mainboard Short (The Microsecond Flash)
If your multimeter proves the PSU is outputting 42V perfectly, then the PSU is healthy. The problem is the motherboard.
If your printer's light flashes for a millisecond when you press power and then dies, it is exhibiting Short Circuit Protection. The PSU sends 42V to the motherboard, the motherboard detects a massive short (often caused by liquid ink leaking onto the printhead ribbon cables), and instantly commands the PSU to shut down to prevent a fire.
This is a catastrophic failure. The short has likely destroyed the F1 and F2 SMD fuses on the mainboard, the driving transistors, and the printhead itself. Because fixing this requires replacing both the motherboard and the printhead, it is universally more cost-effective to buy a new printer.
Diagnosing Fatal Startup Failures and Power Supply Faults on Epson Printers
When an Epson printer completely refuses to power on (no lights, no sounds, no LCD display) or immediately trips a "Fatal Error" shutdown upon pressing the power button, the issue is electrical: a failed AC/DC internal switch-mode power supply, a blown surface-mount pico-fuse (F1/F2), or an ink leak shorting the printhead high-voltage DC rail.
Exhaustive Electrical Diagnostic Protocol
- Test the AC Power Outlet & Power Cable:
Disconnect the power cable from the back of the printer. Test the wall outlet with a lamp. Verify that the power cable fits tightly into the printer socket without wiggling. Avoid battery backup UPS units or loose extension cords.
- The 60-Second Capacitor Discharge Test:
Unplug the printer from the wall. Press and hold the physical Power button for a full 60 seconds while completely disconnected from AC power. This drains all residual charge from the high-voltage electrolytic capacitors on the internal power board. Reconnect directly to a known-working outlet and attempt power-on.
- Inspect for Internal Printhead Ink Leaks:
Open the printer lid. Look at the white flat flexible ribbon cables (FFC) plugging into the back of the printhead. If ink has pooled around the ribbon connectors, fluid has bridged the high-voltage +42V piezo pins to ground, causing the power supply to enter over-current protection shutdown.
- Mainboard F1 / F2 Fuse Inspection:
On Epson motherboards, tiny surface-mount fuses (labeled F1 or F2) protect the power supply from printhead shorts. If a multimeter shows open circuit across these fuses, replacing the fuse or board is required.
Frequently Asked Questions
Can a clogged printhead prevent the printer from powering on?
No. Physical nozzle clogs have no impact on electrical power startup.
Is the internal power supply module replaceable on Epson printers?
Yes. The internal AC/DC power supply board can be unscrewed from the chassis base and replaced as an individual modular component.
