


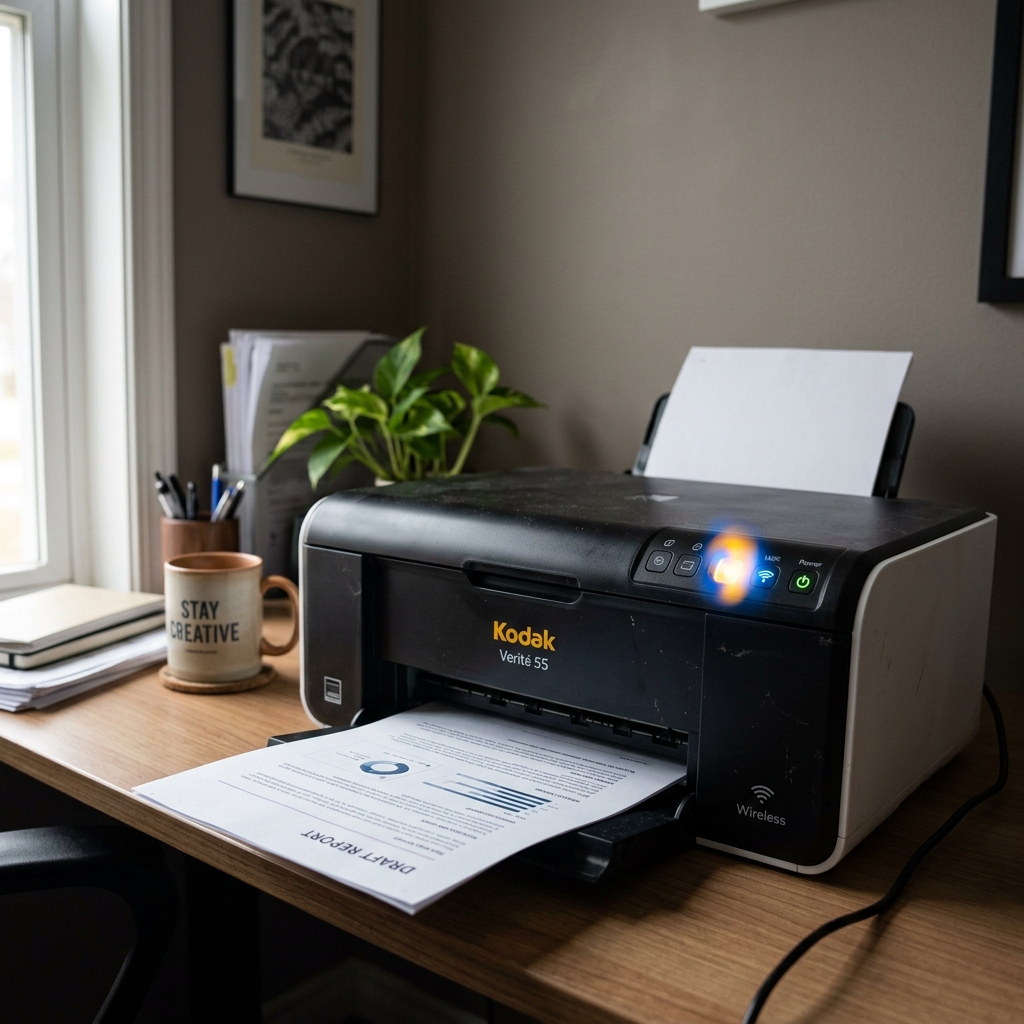
A blinking Wi-Fi light (typically blue on ESP and Hero series) indicates that the wireless network card inside the printer is searching for a router connection but cannot establish one. Because Kodak printers were manufactured prior to 2013, their integrated wireless cards rely on legacy Wi-Fi standards.
Modern dual-band routers and newer security protocols will frequently block these older chips. Understanding how to align your router settings with legacy standards is the key to restoring wireless printing.
Understanding Wi-Fi Light States
The behavior of the wireless indicator tells you exactly where the connection is failing:
🔵 Wireless LED State Diagnostics
- LED Off: The wireless card is disabled. Turn Wi-Fi on in the network settings.
- Slow Blinking Blue: The printer detects the network name (SSID) but cannot authenticate (check password/security).
- Rapid Flashing Blue: The printer cannot find the SSID at all (out of range, or 5GHz band conflict).
- Solid Blue: Connected and authenticated. Ready to print.
Step 1: The 2.4GHz Router Band Separation
Kodak printer network cards (802.11 b/g/n) operate strictly on the 2.4GHz frequency band. They cannot detect or connect to modern 5GHz network bands. If your router uses 'Smart Connect' or 'Band Steering' (combining 2.4GHz and 5GHz under a single network name), the printer will fail to connect and continue blinking.
- Log into your wireless router admin portal (typically by entering 192.168.1.1 or 192.168.0.1 into a browser).
- Navigate to the Wireless Settings menu.
- Disable Band Steering or Smart Connect if it is active.
- Rename your bands so they are distinct. For example, name the 2.4GHz band 'HomeNet_2G' and the 5GHz band 'HomeNet_5G'.
- Ensure your computer and your Kodak printer are both connected directly to the 2.4GHz band ('HomeNet_2G').
Step 2: Downgrade Router Security to WPA/WPA2 Mixed
Many modern routers default to WPA3 wireless security. Legacy Kodak firmware cannot interpret WPA3 encryption, resulting in authentication failures (slow blinking light) even if you enter the correct password.
- In your router wireless settings, locate the Security Mode or Encryption field for the 2.4GHz band.
- Change the mode from WPA3 or WPA2-Only to WPA/WPA2 Personal (also listed as WPA/WPA2 Mixed or TKIP/AES).
- Click Save and allow the router to reboot.
Step 3: Re-Run the Wi-Fi Setup Wizard
Once your router settings are compatible, re-authenticate the printer:
- On the printer control panel, press the Menu button.
- Scroll to Network Settings and press OK.
- Select Wi-Fi Setup Wizard (or Wireless Setup Wizard).
- The printer will scan for networks. Select the newly renamed 2.4GHz SSID (e.g., 'HomeNet_2G') from the list.
- Enter your network password carefully. Note that password keys are case-sensitive. Use the arrow keys to toggle between uppercase, lowercase, and numbers.
- Press OK to connect. The light should transition from blinking to solid blue.
Step 4: Check IP Range Conflicts
If the light turns solid blue but the printer still refuses to print, check for IP address lease conflicts. Turn off the printer, restart your router, and turn the printer back on. This forces the router to assign a clean, unused DHCP lease to the printer.
Related Kodak Troubleshooting Guides
Understanding the Kodak Wi-Fi Status LED States
The Wi-Fi indicator LED on the front bezel of your Kodak ESP or HERO printer displays the exact real-time status of the internal 802.11 b/g/n network adapter. When this light transitions from solid to blinking, your printer has lost its connection handshake with the local wireless access point.
Kodak Wireless LED Status Matrix
- Solid Blue: The printer is connected to your wireless network and has received a valid IP address via DHCP. Ready for printing.
- Blinking Blue (Slow - 1 second interval): The printer is actively searching for the configured SSID or is negotiating WPA encryption keys with the router.
- Blinking Blue (Rapid - 3 flashes per second): Wi-Fi Protected Setup (WPS) discovery mode is active.
- Blinking Amber / Orange: Wireless communication error; DHCP IP assignment failure (APIPA 169.254.x.x) or security key rejected.
- LED Off: Wireless radio is disabled in the menu or the physical network adapter has lost power.
Step-by-Step Recovery for Blinking Wi-Fi LED
- Check the 2.4GHz Band Constraint: Kodak printers only support the legacy 2.4GHz frequency band. If your modern router uses single-SSID band steering or has disabled the 2.4GHz radio, the printer will blink blue indefinitely. Ensure your router broadcasts a dedicated 2.4GHz network.
- Run the On-Screen Wi-Fi Setup Wizard:
- Press Home on the printer.
- Select Network Settings > Wi-Fi Setup Wizard.
- Select your network name from the discovered list.
- Carefully input your WPA2 password. Note that Kodak password entry is strictly case-sensitive.
- Set a Static IP to Stop Intermittent Disconnects:
When the printer connects, type its IP into a browser to open the Embedded Web Server. Under Network > IP Configuration, change from DHCP to Static IP. This prevents the printer from blinking and disconnecting every time the router renews DHCP leases.
Frequently Asked Questions
Why does the Wi-Fi light start blinking whenever my microwave is running?
Microwave ovens, older cordless phones, and baby monitors operate on the exact same 2.45 GHz radio frequency as 2.4GHz Wi-Fi. Heavy RF interference will overwhelm the unshielded antenna on older Kodak printers, dropping the connection.
Can I connect my Kodak printer using WPS?
Yes. In the printer's Network Settings menu, choose WPS (Wi-Fi Protected Setup).
