


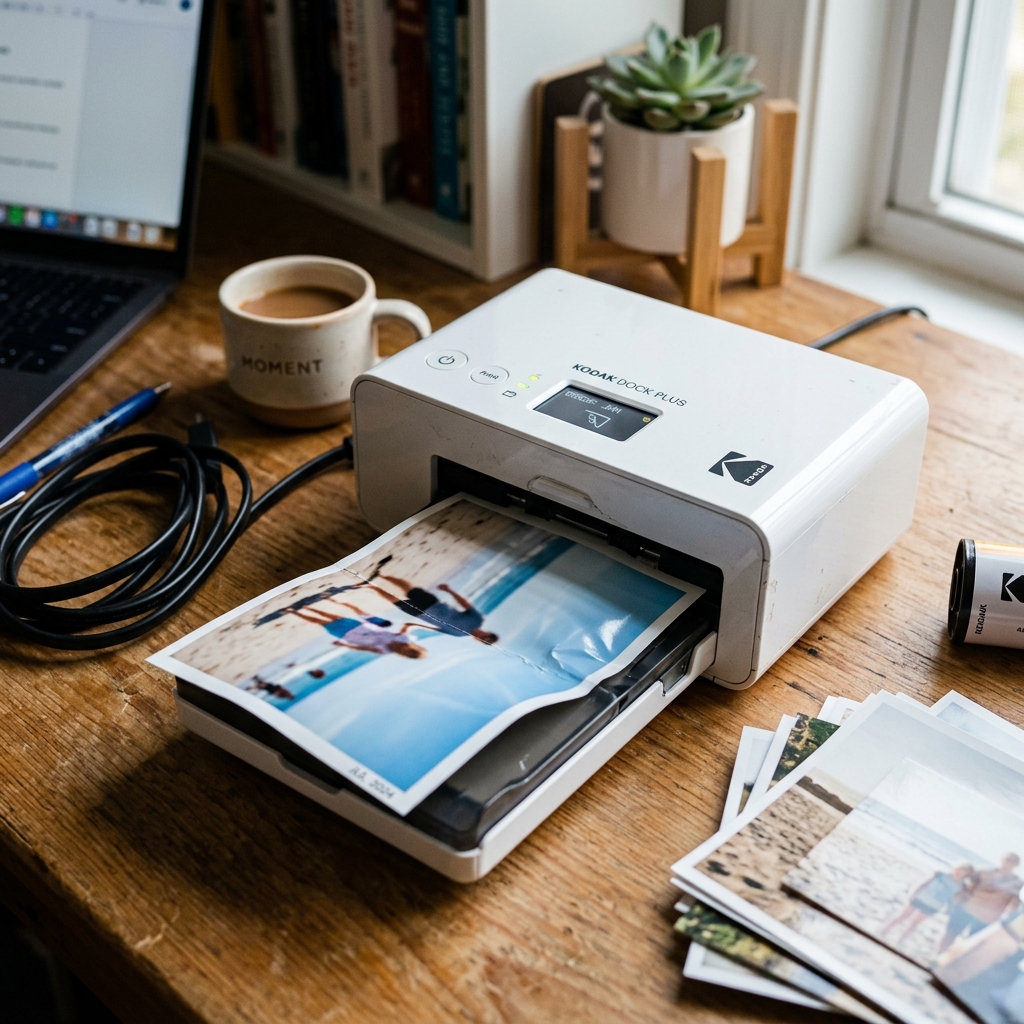
The Kodak Dock Plus and portable Step photo printers do not use inkjet or standard laser printing. Instead, they rely on 4PASS Dye-Sublimation technology, where heat is applied to a yellow, magenta, and cyan ribbon cartridge to transfer colors onto specific glossy photo paper sheets.
Because the paper must pass back and forth through the print zone four times (once for each color, plus a protective clear coat), a paper jam is a unique problem. Jams are usually caused by a twisted ink ribbon cartridge, misaligned photo paper guides, or rolling friction errors.
Here is how to clear jams safely without tearing the delicate ink ribbon.
How the 4PASS Printing Process Affects Jams
During a print run, the Kodak Dock Plus pulls a single photo sheet from the front cassette, slides it out the rear slots, pulls it back in to apply the yellow dye, slides it out the rear again, and repeats this loop for the other colors. If the rear slot is blocked by a wall or cable, or if the photo sheet gets slightly crooked, the printer will jam immediately.
Fix 1: Trigger the Auto-Eject Routine
Before attempting to pull paper out manually, let the printer's drive gears clear the jam electronically:
- Press and hold the Menu button to turn off the printer.
- Disconnect the power cord from the printer dock.
- Wait 30 seconds, then reconnect the power cord.
- Power on the printer. The printer's firmware will run an initial self-test. If it detects paper in the carriage, it will rotate the drive rollers forward for 10 seconds to eject the sheet automatically.
Fix 2: Inspect and Release the Ink Ribbon Cartridge
If the photo paper is stuck mid-pass, the colored ink ribbon has likely melted or wrapped around the paper rollers. Trying to pull the paper out in this state will tear the ribbon inside the cartridge.
- Open the cartridge door hatch on the side of the printer dock.
- Look at the cartridge release lever. Do not pull the cartridge out yet if you feel strong resistance.
- Check if the colored ribbon (yellow, pink, or blue) is wrapped around the rubber feed rollers.
- If the ribbon is caught, use a plastic tool (like a pen cap) to gently lift the loop off the roller.
- Once the ribbon is free, press the cartridge release tab and slide the cartridge out.
- Examine the cartridge. If the ribbon is slack, use your finger to turn the gear wheel on the side of the cartridge in the direction of the arrow to tighten the ribbon. If the ribbon is torn, the cartridge must be replaced.
Fix 3: Clear the Paper Cassette Path
If the jam occurred right at the start of printing, the paper tray or paper feeding path is likely misaligned:
- Remove the paper cassette cartridge from the front of the printer dock.
- Verify that the photo paper is loaded glossy side up (the barcode/Kodak logo side must face down).
- Ensure that you have not loaded more than 10 sheets of paper in the cassette. Overloading the cassette causes the pickup roller to pull multiple sheets, jamming the entry slot.
- Look into the paper entry slot on the printer with a flashlight. Clean any lint or dust using a dry microfiber cloth.
Friction Roller Maintenance
Dye-sublimation photo paper relies on clean rollers to guide the sheet back and forth precisely. If the rubber rollers get greasy from fingerprints, they slip, causing the print to misalign or jam.
- Never touch the glossy printing surface of the photo paper. Always handle sheets by the perforated edges. Oils from your skin will transfer to the rollers and cause feed failures.
- If you need to clean the internal rollers, remove the ink cartridge, blow compressed air into the slot, and use a dry microfiber cloth to lightly wipe the rubber rollers that are visible inside the compartment.
Related Kodak Troubleshooting Guides
Why Paper Jams Occur in the Kodak Dock Plus 4PASS Mechanism
The Kodak Dock Plus moves 4x6 photo paper forward and backward through the print engine four times (Yellow, Magenta, Cyan, Laminate). Because the sheet passes through the open rear slot and front tray multiple times, paper jams are triggered by physical obstructions behind the printer, bent paper corners, or loose ribbon film.
Step-by-Step Clearing & Jam Prevention Protocol
- Maintain Required 4-Inch Rear Clearance:
During dye transfer passes, the 4x6 photo sheet extends out the back of the printer by up to 4 inches before reversing. If the printer is placed against a wall, books, or cables, the paper collides with the wall and buckles inside the roller track.
Always keep 4 inches of clear space behind the printer.
- Clearing a Stuck Sheet Safely:
- Do NOT violently yank the paper from the front tray.
- Turn off the printer power switch. Unplug the 24V DC power brick.
- Gently pull the paper in the direction of the roller feed (whichever direction offers less resistance).
- Open the side door, remove the cartridge, and inspect for ribbon tears.
- Proper Paper Loading in the Detachable Cassette:
- Open the paper cassette lid.
- Load a maximum of 10 sheets of genuine Kodak Dock Plus photo paper. Overfilling causes double-feeding jams.
- Load paper with the glossy print side facing UP and the Kodak watermark facing DOWN.
- Snap the cassette firmly into the front dock slot until both side locking pins engage.
Frequently Asked Questions
What should I do if the photo paper is stuck inside with the ribbon melted to it?
Let the printer cool down for 15 minutes. Once cool, the dye bonds solidify and the paper will peel away cleanly from the ribbon film without shredding.
Can I reuse a sheet of photo paper that jammed during the first yellow pass?
No. Re-feeding a partially printed or creased photo sheet will damage the micro-heaters on the thermal printhead.
